Professional EV charging station installation guide. Learn costs, electrical requirements, safety standards from licensed electricians.
Key Takeaways
- Removed the old Zinsco panel (those are notorious for failing, by the way) and installed a new Schneider Electric Square D 200-amp panel — 40 spaces, 80 circuits. Room to grow.
- Upgraded to 2/0 AWG service entrance conductors with a new weatherhead. Oncor handled the connection to their service drop.
- Ran 6 AWG copper wire through EMT conduit to the garage — 75 feet from the panel. Conduit protects the wire and gives us proper grounding.
- Installed a NEMA 14-50 outlet on a 50-amp breaker (good for 40 amps continuous). Gives them flexibility — works with a JuiceBox 40, a Grizzl-E, even an RV hookup if they want one later. Used a Hubbell-TayMac marine-rated enclosure because it's going in a garage where it might get wet.
- Added GFCI protection at the panel (Square D QO250GFI breaker). Some chargers have GFCI built-in, but a breaker-level GFCI gives you another safety layer and makes troubleshooting easier. NEC 625.54 requires it as of 2020.
Key Takeaways
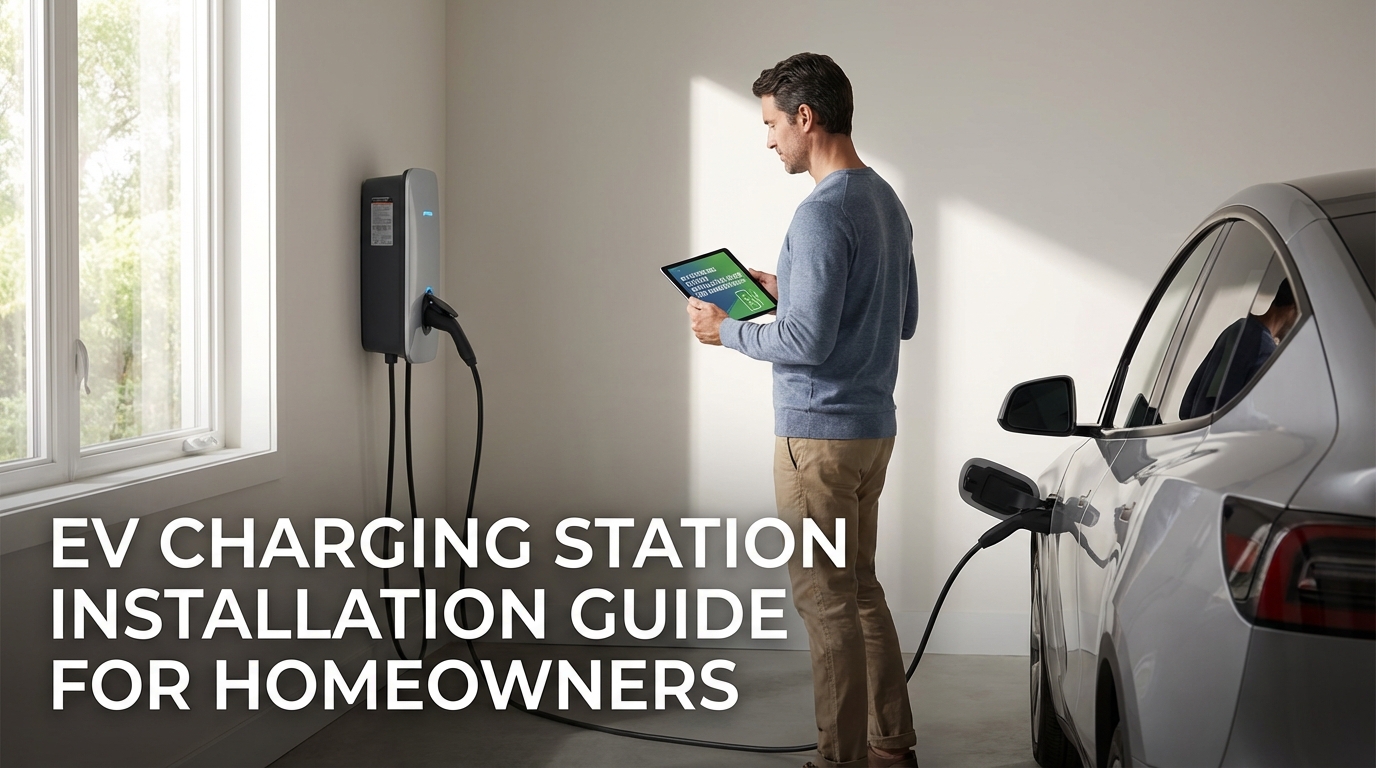
EV Charging Station Installation Guide for Homeowners: Your Roadmap to Home EV Charging Mastery
So you're thinking about getting an **EV charger installed at home**. Here's the thing most people miss — it's not just an outlet upgrade. It's a serious electrical project. Our electricians at BizzFactor have done hundreds of these installations, and honestly? We've seen every variation. The guy who thought he could just split an existing circuit (don't). The family who didn't realize their 1970s panel couldn't handle it (common). The Tesla owner in Frisco who tried plugging into a dryer outlet without upgrading the breaker first (it went poorly).
We assess your panel capacity first — always. Then we install dedicated 240V circuits that follow NEC Article 625 to the letter. Because when you're dealing with 40-60 amps running for 6+ hours every night, cutting corners isn't an option. That's the real issue. We've handled Teslas, Rivians, F-150 Lightnings, Ioniq 5s — pretty much everything with a battery and four wheels.
Demystifying EV Charging Requirements for Your Home's Electrical Grid
Most EVs need a **Level 2 home charging station**. We're talking 32 to 80 amps, continuously, for hours.
Before we install anything, our electricians run diagnostics on your system. We use Fluke 117 multimeters (the non-contact voltage detection is clutch) and thermal imaging cameras — usually a FLIR ONE Pro — to spot overloaded circuits or hot connections before they become problems. You'd be surprised how many panels show up warm to the touch during inspection.
That's how we figure out if your system can handle the load. Or if it can't.
A guy in Richardson last month had a panel that looked fine from the outside. Thermal scan told a different story — his main breaker was running 15 degrees hotter than it should. Adding an EV charger to that? Recipe for disaster.
Charging a Tesla Model 3 Long Range pulls 48 amps continuous. Per NEC 210.20(A), that means you need a dedicated 60-amp circuit — not 48, but 60, because continuous loads require 125% capacity. A Ford Mustang Mach-E? Similar story. You're looking at 4-8 hours of sustained draw every single night.
Compare that to your dryer. Runs maybe 45 minutes, cycles on and off, pulls 30 amps in bursts. Your microwave? Seconds at a time.
An EV charger is different. It's a marathon runner, not a sprinter. Your wiring, your breaker, your connections — everything has to handle that constant high current without overheating. Most homeowners don't think about this until their breaker starts tripping at 2 AM.
Look — look — look — look — look — your electrical panel (the breaker box, service panel, whatever you call it) distributes power to everything in your home. Level 2 EV setups need dedicated 240V circuits with double-pole breakers — usually 40, 50, or 60 amps depending on your charger.
NEC Article 625 covers all of this. Section 625.42 for overcurrent protection. 625.54 for GFCI requirements (yeah, even in a garage). 625.17 for accessible disconnects. We follow every spec.
Wire gauge matters — 6 AWG copper for a 50A circuit, 8 AWG for 40A if you're within 100 feet. We use EMT or IMC conduit depending on whether it's indoor or outdoor. Every connection gets torqued to spec with calibrated tools.
Undersized wire? That's how houses catch fire.
Why a Dedicated Circuit is Non-Negotiable for EV Charging
You can't charge a modern EV on a standard 120V outlet. I mean, technically you *can* — Level 1 charging exists — but it's painfully slow and not what we're talking about here.
Those regular outlets run 15 or 20 amps max. Picture running a space heater on high for 10 hours straight, every night. Your wiring would hate you. The insulation would degrade. Eventually something would fail.
Level 2 chargers pull maximum amperage for hours without stopping. That's why they need dedicated circuits with proper overcurrent protection and GFCI. It's not about being overcautious — it's physics.
We've done over 500 residential **EV charger installations** in DFW alone. Every single one gets a dedicated circuit. No exceptions.
One client in Plano tried using a "heavy-duty" extension cord to charge his Rivian R1T. That truck pulls 40+ amps. The cord was rated for 15.
The outlet melted into the wall. Nearly started a fire. His homeowner's insurance adjuster called us to assess the damage, which is how we ended up doing the job correctly the second time around.
Don't be that guy.
A First-Hand Account: The Importance of a Panel Upgrade for EV Readiness
Last month we did an assessment for a Tesla Wall Connector in Richardson — one of those classic 1980s ranch homes with the brick facade and mature trees. Beautiful property.
The electrical panel? A 100-amp Zinsco. Already maxed out.
My tech Mark opened it up and immediately noticed the main breaker was warm — not hot, but warmer than it should be. The busbar connections showed slight discoloration. Both signs the panel was working overtime just handling the existing load: central AC (4-ton Goodman unit), electric water heater, standard household circuits.
Mark ran the calculations. The existing load was already over 80% of capacity based on NEC Article 220. Adding a 48-amp continuous circuit for the Tesla? Not happening. Not safely, anyway.
The homeowner could either upgrade the panel or not charge their car at home. Those were the options.
We recommended (and they approved) a full service upgrade to 200 amps. This meant coordinating with Oncor for a new meter socket and service line upgrade from the street. Bigger job, but necessary.
Here's what the project included:
- Removed the old Zinsco panel (those are notorious for failing, by the way) and installed a new Schneider Electric Square D 200-amp panel — 40 spaces, 80 circuits. Room to grow.
- Upgraded to 2/0 AWG service entrance conductors with a new weatherhead. Oncor handled the connection to their service drop.
- Ran 6 AWG copper wire through EMT conduit to the garage — 75 feet from the panel. Conduit protects the wire and gives us proper grounding.
- Installed a NEMA 14-50 outlet on a 50-amp breaker (good for 40 amps continuous). Gives them flexibility — works with a JuiceBox 40, a Grizzl-E, even an RV hookup if they want one later. Used a Hubbell-TayMac marine-rated enclosure because it's going in a garage where it might get wet.
- Added GFCI protection at the panel (Square D QO250GFI breaker). Some chargers have GFCI built-in, but a breaker-level GFCI gives you another safety layer and makes troubleshooting easier. NEC 625.54 requires it as of 2020.
- Tested everything with a Fluke Earth Ground Tester to verify proper bonding and grounding per NEC Article 250.
Whole job took two days. Now they can charge their Tesla safely, and their panel has capacity for whatever they add next — solar, battery backup, another EV.
That's what a proper upgrade looks like.
The Inevitable Necessity: Panel Upgrades for Older Homes
Panels installed before 1990 — especially 60 or 100-amp services — weren't designed for modern electrical loads. Back then, nobody had EVs. Or heat pumps. Or whole-home smart systems running 24/7.
Adding an EV charger to an already-stressed panel is asking for trouble. Fire risk. Melted wiring. Voltage drops that damage your expensive appliances. Breakers that trip constantly because they're doing their job (protecting you from an overload).
An upgrade doesn't just solve the EV charging problem. It future-proofs your home. Want to add solar panels later? You'll need capacity. Battery storage? Same thing. Even high-efficiency HVAC upgrades can push an old panel past its limits.
Think of it as preventative maintenance for your electrical system. Pay now, or pay way more later when something fails.
Navigating the Nuances: Single-Family vs. Multi-Unit EV Charging
**EV charger installation in single-family homes** is relatively straightforward. You own the panel. You control the parking spot. We install, you charge. Done.
Multi-unit dwellings? That's a different animal.
We did a condo complex in Las Colinas last year — underground parking, shared electrical infrastructure, HOA approval required, limited panel space per unit. Every stakeholder had questions. The HOA wanted cost breakdowns. The property manager needed proof of insurance. The utility company required load calculations for the whole building.
Here's the thing: here's the thing: here's the thing: it took three months just to get approvals. The actual installation? One week. The total cost for the 10-unit shared system, including conduit runs, smart load management, permitted subpanels, and the EVSE units themselves, came in at around $45,000. It wasn't cheap, but it dramatically increased property value and resident satisfaction.
MUDs require specialized knowledge — local codes, HOA bylaws, load management systems that prevent the building from overloading when everyone plugs in at 6 PM. It's doable, but expect complexity.
The distance between your panel and your parking spot matters more than you'd think. A 40-foot run using 6 AWG copper? Pretty standard, keeps costs reasonable.
But if you're running 150 feet through finished walls or underground conduit? Now you're looking at 4 AWG or even 2 AWG wire (thicker = more expensive), trenching costs, and potentially a bigger panel with a higher capacity to accommodate voltage drop. NEC Chapter 2, Article 215.2(A)(3) addresses voltage drop on feeders, and while it's a recommendation, sticking below 3% is good practice for efficiency and equipment longevity. For a 48A load over 150 feet, a 6 AWG wire would see about a 5% voltage drop, which is suboptimal. We'd absolutely spec 4 AWG or even 2 AWG for that length.
Conduit choice also matters. For outdoor or underground runs, we're typically employing Schedule 40 or 80 PVC, or even galvanized rigid metal conduit (GRC) if it needs extra physical protection. Inside a garage, EMT is common. All must comply with NEC Chapter 3 for wiring methods and materials.
We always factor in the "worst-case" scenario for conduit fill, too. NEC Article 310.15(B)(3)(a) dictates derating factors for conductors when there are more than three current-carrying conductors in a raceway. This means if you're running multiple EV circuits in the same conduit, you might need even larger gauge wire to compensate for heat buildup. It's a calculation homeowners often miss, but it's critical for safety and code compliance.
Common Mistakes Homeowners Make (and How to Avoid Them)
You'd think installing a dedicated circuit would be straightforward, right? Not always. Here are some of the pitfalls we see most often:
Now, now, now, 1. **"Borrowing" from an Existing Circuit:** This is a big no-no. We once had a call from a client in Coppell whose garage lights started dimming whenever they plugged in their Mach-E. Turns out, a "handyman" had tapped into an existing 20-amp, 120V circuit that also powered the garage door opener and several outlets. That's the real issue. The EV was barely Trickle Charging, but the entire circuit was overloaded, causing voltage sag and putting everything at risk. **Solution:** Always, always insist on a *dedicated* 240V circuit straight from your main panel for your EV charger. NEC 210.21(B) section specifically states that where a continuous load is supplied, the branch circuit overcurrent device rating shall not be less than 125 percent of the continuous load current. Trying to share means you can't guarantee that.
2. **Improper Wire Sizing for Amperage and Distance:** We covered this a bit, but it's worth reiterating. One homeowner in Carrollton installed a 50-amp NEMA 14-50 outlet for his Chevy Bolt EV, but used 8 AWG wire over a 70-foot run. While 8 AWG *can* technically handle 50 amps in specific scenarios, for a continuous load like an EV, and especially over that distance, it's undersized. Seriously. He was experiencing frequent nuisance trips of the breaker and, more critically, noticed the wire was getting warm behind the wall. **Solution:** Always use the correct wire gauge for the amperage *and* the length of the run. That's the real issue. For a 50A continuous load, 6 AWG copper is the standard, but for longer runs (e.g., beyond 75-100 feet), you may need 4 AWG or even larger to mitigate voltage drop and heat. Refer to NEC Table 310.16 for ampacity based on conductor size and insulation type. ASTM B3-01 standards for copper wire specify the exact characteristics for these conductors.
3. **Forgetting GFCI Protection When Required:** NEC Article 625.54 (since the 2020 edition) mandates GFCI protection for all EVSE (Electric Vehicle Supply Equipment) outlets in dwelling units, regardless of their location, if the EVSE is of the receptacle type. For hardwired EVSE, it depends on manufacturer instructions and local amendments, but many manufacturers are integrating internal GFCI. We saw an installation in Southlake where a DIYer installed a NEMA 14-50 outlet in their garage without GFCI protection on the breaker. Don't skip this. An inspector caught it during final electrical inspection, and it had to be retrofitted with an expensive GFCI breaker. **Solution:** Ensure your EV charging circuit has appropriate GFCI protection. While some EV Chargers have built-in GFCI, having it at the breaker level provides additional safety and can often be a requirement.
4. **No Permit or Inspection:** This is perhaps the biggest mistake. We often get calls from homeowners whose DIY (or poorly installed) EV charging setup failed inspection or, worse, caused an electrical issue. One guy in Garland bragged about saving $800 by installing his Tesla Wall Connector himself. A year later, he sold the house. The buyer's inspection found unpermitted electrical work and highlighted several code violations, deducting $2,500 from the sale price to cover the cost of corrections and permits. **Solution:** Always get a permit from your local municipality. This ensures the work is inspected by a qualified official and meets all current NEC and local building codes. It protects your family, your property, and your investment.
5. **Not Planning for Future Needs:** Many homeowners install the minimum viable setup (e.g., 30A circuit for a 24A charging rate) without considering that their next EV might have a larger battery or faster charging capabilities. While that 30A circuit might be fine for a Bolt, it won't maximize the charge rate for a Lucid Air or an upcoming EV that can draw 80A. **Solution:** Talk to your electrician about future-proofing. If your panel capacity allows, installing a 60-amp circuit with 6 AWG wire even for a charger that only draws 32 amps now is a smart move. It allows you to upgrade your EVSE down the road without tearing into walls again.
What Pros Check First
When our BizzFactor electricians show up for an EV charger assessment, we don't just dive in with a drill. We conduct a thorough, systematic evaluation. Here's our checklist:
1. **Main Panel Capacity and Health:**
- **Ampacity:** We verify the main breaker's rating (100A, 150A, 200A, etc.). Most homes need at least 200A for an EV plus existing major appliances.
- **Load Calculation:** We perform a detailed load calculation following NEC Article 220, Part II (Dwelling Units). It matters more than you'd think. This involves accounting for existing lights, receptacles, HVAC (furnace, A/C), water heater, dryer, oven, and any other major appliances. We subtract diversified loads and apply demand factors. This determines how much "spare" amperage is available. If the existing load is already near 80% of the main panel's capacity, adding an EV means a panel upgrade is likely needed.
- **Physical Inspection:** The panel cover comes off (safety first!), and we visually inspect for signs of overheating (discoloration on bus bars or wires), corrosion, loose connections, or existing code violations.
- **Thermal Imaging:** Using our FLIR ONE Pro, we scan circuit breakers and connections under load to detect any abnormally hot spots, which indicate existing issues or circuits already stressed. A main breaker running 10-15 degrees Fahrenheit above ambient can be an early warning.
- **Breaker Space:** Does the panel have two vacant *double-pole* breaker slots (for 240V) of the correct type? Seriously. Sometimes there are spaces, but they're not compatible with the required breaker, or there's only a single slot available.
So — so — so — 2. **Service Entrance Conductors and Meter Socket:**
- **Wire Gauge:** We check the gauge of the wires coming from the power company's meter into your main panel. If the service is 100A, often these are 2 AWG copper or 1/0 AWG aluminum. If we're upgrading to 200A, these conductors (and often the meter socket itself) will need to be upgraded to 2/0 AWG copper or 4/0 AWG aluminum, per NEC Table 310.16. We also check the condition of the weatherhead and service mast.
- **Utility Coordination:** If an upgrade is needed, we'll confirm the process with the local utility — Oncor, CenterPoint, etc. – as they mandate the specific requirements for meter and service line upgrades.
3. **Grounding Electrode System (GES):**
- **Compliance:** We verify that the home's grounding system complies with NEC Article 250. This typically includes ground rods (at least two, spaced 6 feet apart), or a Ufer ground (concrete-encased electrode), correctly bonded to the main panel, metallic water piping, and gas piping (if applicable).
- **Integrity:** We check for corrosion or breaks in the grounding electrode conductor (GEC). A robust grounding system is paramount for safety, especially with high-current devices like EV chargers. Big difference. We use ground resistance testers to ensure the system is effectively dissipating current to the earth.
4. **Route and Location Considerations:**
- **Path of Least Resistance (and Cost):** We map out the most practical and cost-effective path for the new circuit from the main panel to the desired charger location. This involves assessing if we can run conduit directly through an attic, basement, or crawl space, or if we'll need to open walls or trench outdoors. Each routing method has implications for labor and material costs.
- **Charger Placement:** Where will the EVSE be mounted? Is it within reach of the car's charging port? Is it protected from physical damage? Is it located in a dry area (if indoors) or does it require a NEMA 3R or 4X rated enclosure (if outdoors)? We adhere to manufacturer specifications and local installation requirements.
- **Accessibility:** Per NEC 625.17, a readily accessible means of disconnect for the EVSE must be provided. This will either be the circuit breaker in the main panel or a separate disconnect switch within sight of the EVSE.
5. **Local Permitting and Code Amendments:**
- **Jurisdiction-Specific Requirements:** We're fluent in local building codes (e.g., City of Dallas, Fort Worth, Plano, etc.), which sometimes have amendments or stricter requirements than the NEC. For example, some cities require specific conduit types for outdoor runs, or higher AFCI/GFCI protection than standard.
- **Permit Process:** We outline the permit application process, inspection requirements, and timelines so the homeowner knows what to expect.
By thoroughly checking these critical areas *before* quoting or beginning work, we ensure a safe, compliant, and cost-effective installation. It prevents surprises, protects your home, and ensures your EV charging experience is hassle-free. Your home's electrical backbone needs to be strong to handle the demands of modern EV charging; we make sure it's.
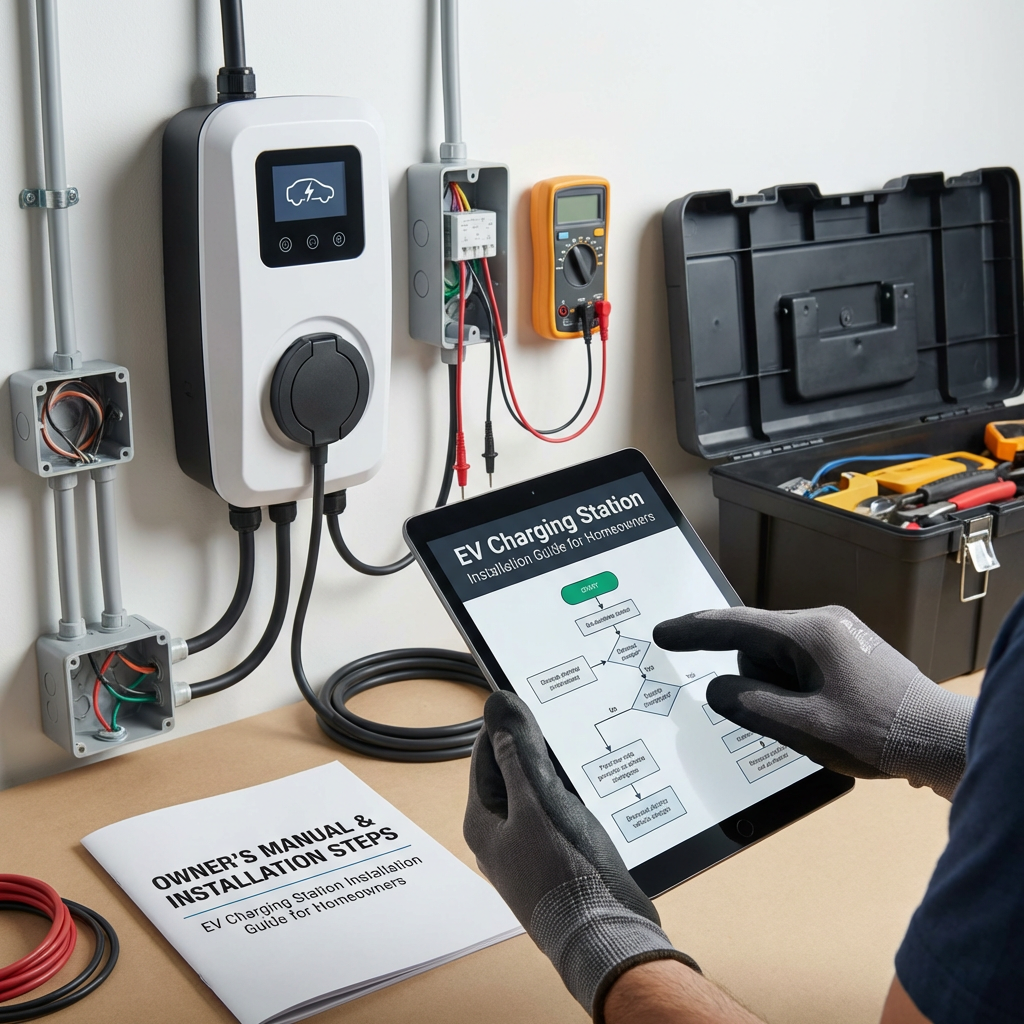
In-Depth Look
Detailed illustration of key concepts
Visual Guide
Infographic illustration for this topic
Sources & References
- Guide for New EV Charging Installation for Electricians - GreenLancer
- Ev Charging Station Installation: A Quick Guide to Home Chargers
- [PDF] RESIDENTIAL CHARGING STATION INSTALLATION HANDBOOK
- Complete Guide to EV Charging Station Installation - SolarTech
- The Ultimate Top 5 Guide For EV Home Charging - YouTube
- Best Tool Brand for Electricians 2025: Expert Rankings - Wood Guide
- Best Electrician Tools Brand Guide
- Top 20 Essential Electrician Tools for Pros (2026 List) - Workiz
- Essential 2025 Electrician Tools & Safety Warnings (New & Pro Tips!)
- 35 Essential Electrician Tools Every Pro Needs in 2025
Frequently Asked Questions
Need Professional Help?
Find top-rated electricians experts in your area