Expert guide to DIY tile installation tools. Learn which professional equipment delivers quality results from cutting to finishing with certified pro tips.
Key Takeaways
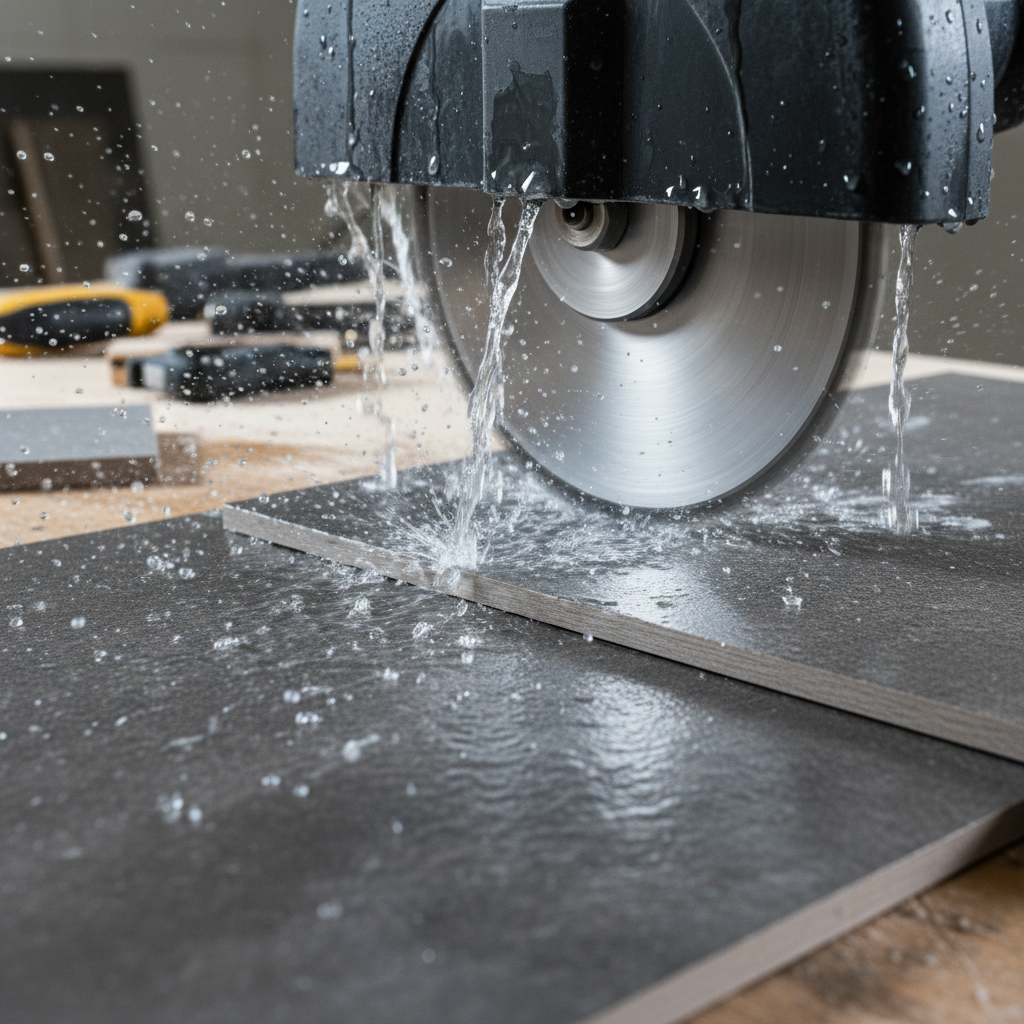
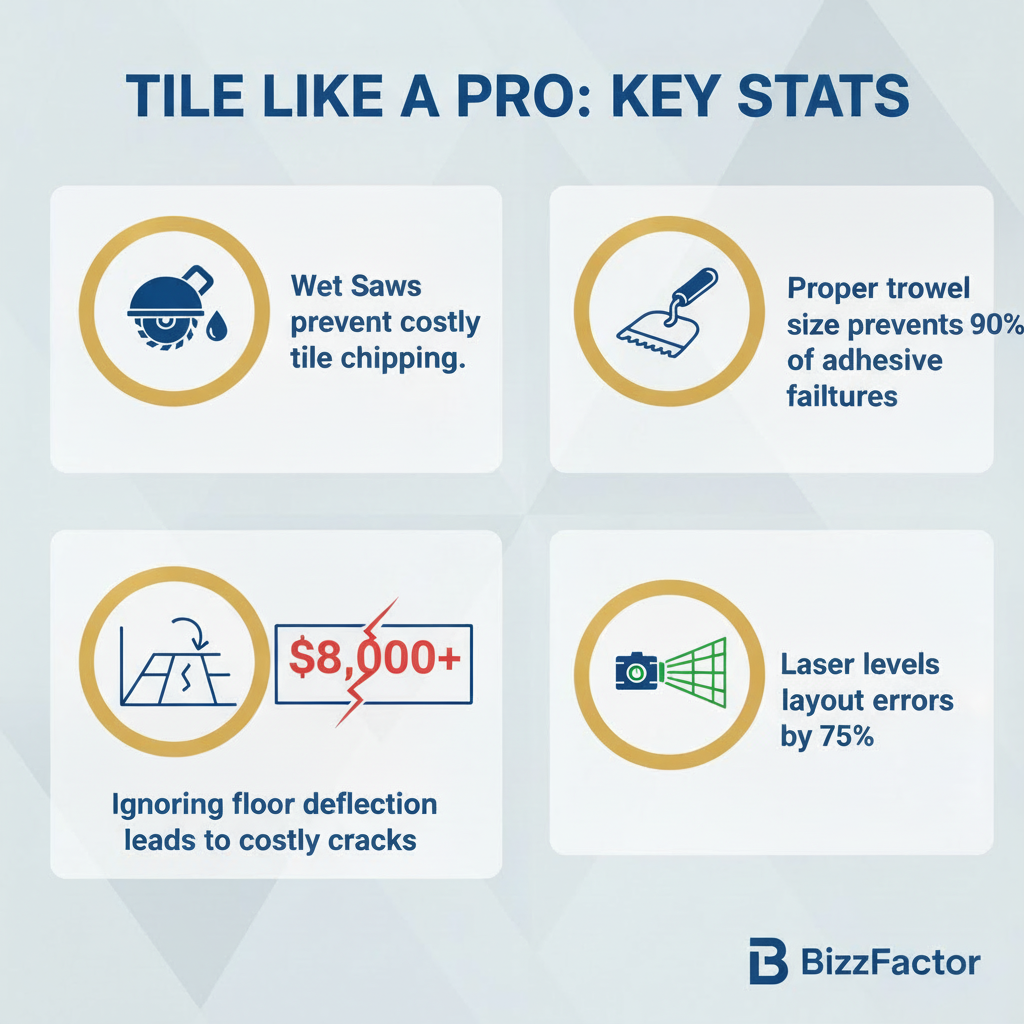
- **Water Cooling:** Keeps the blade from overheating (which kills diamond segments fast), prevents hairline cracks in the tile face, and washes away slurry. Most decent saws push 1.5-3 GPM through a recirculating pump. Without it? You're basically friction-welding your blade to the tile. Don't do that.
- **Diamond Blades:** Match these to your material or you're wasting money. Continuous rim for glass or polished porcelain (smoothest cut, minimal chipping). Segmented for thick stone when speed matters more than edge quality. Turbo for general-purpose work. Blade diameters run 7-10 inches for wet saws, 4-5 inches for grinders.
- **Variable Speed Controls:** Crucial for adapting to material density and blade type, allowing for precision cutting and preventing material burn or chipping. Essential on angle grinders and sometimes found on advanced wet saws for fine-tuning.
- **Adjustable Cutting Tables:** Enhances accuracy and versatility, typically allowing for 0 to 45-degree bevel cuts, essential for bullnose or mitered edges. Look for sturdy, corrosion-resistant aluminum tables with clear measurement guides.
Key Takeaways
Essential DIY Tile Tools: Professional Equipment Guide 2024
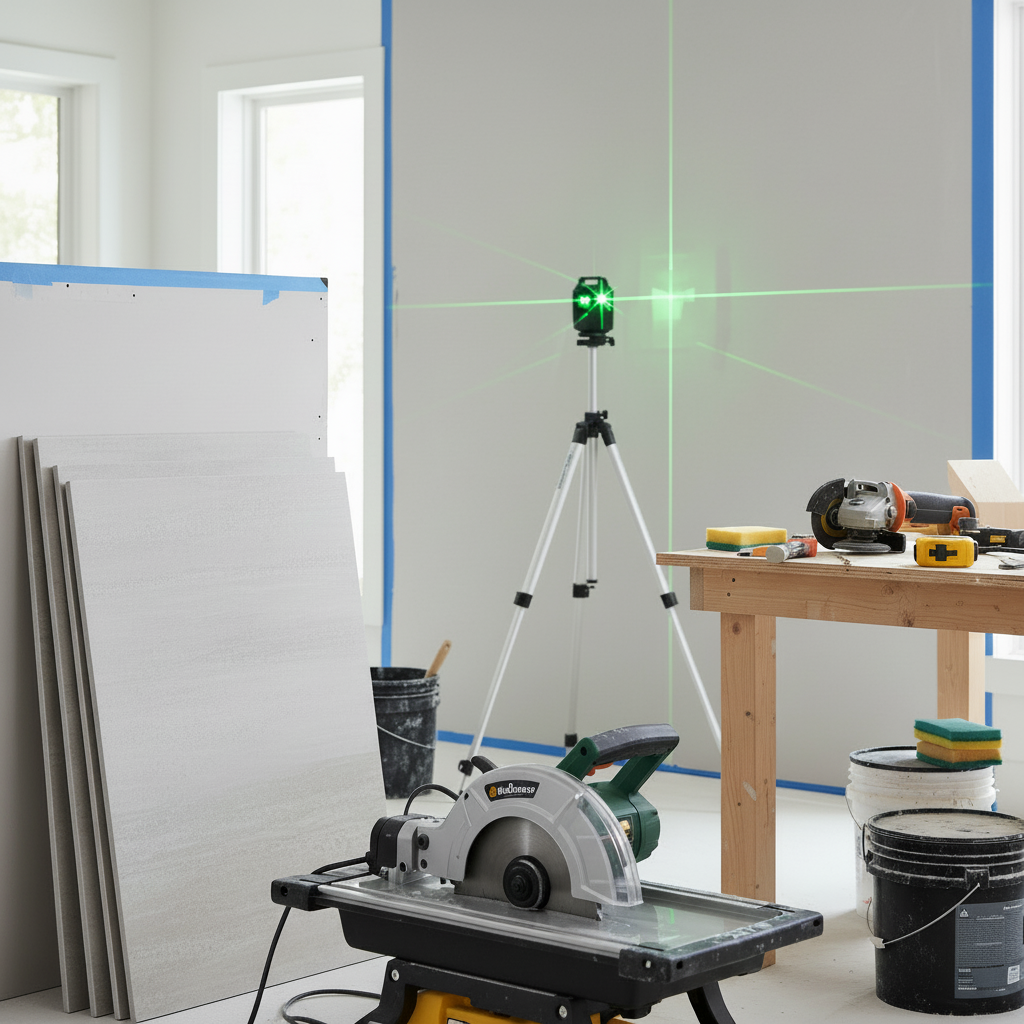
Equipping yourself with the right tools isn't just helpful; it's absolutely paramount for achieving professional-quality tile installation. Seriously. Whether you're tackling a DIY project or overseeing a contractor, the toolkit makes all the difference. BizzFactor's certified technicians don't just recommend; they *insist* on a comprehensive arsenal. That's the real issue. This includes robust wet saws, unerringly accurate laser levels, precision spacers, application-specific trowels, and reliable measuring equipment. Look — you can't do substrate prep right without this stuff. And I mean *right*, not "close enough that you can't see the lippage from the doorway." We're talking about results that last decades, not installations that start cracking before you finish paying off the credit card. Don't cheap out here. Investing upfront prevents heartache later. That's the real killer.
What Are the Most Important Cutting Tools for Tile Work?
Look — look — precision cutting tools? They're everything. I've seen countless DIY jobs ruined by poor cuts — and I mean *ruined*, like $3,000 worth of Carrara marble sitting in a dumpster because someone thought their buddy's rusty score-and-snap from 1997 would work.
You know what separates the guy who finishes on Saturday from the guy who's still fixing mistakes three weekends later? The cutting equipment. Professional-grade tools don't just make cleaner cuts — they save you from ordering replacement materials at panic prices because you cracked the last tile on a discontinued run. Ask me how I know. A buddy in Marietta learned this the expensive way when he tried cutting 18x36 rectified porcelain with a $110 saw from the big box. Spent more on replacement tiles than a quality saw would've cost.
Wet Saws: The Foundation of Tile Cutting
You need a wet saw for real tile work. Period.
I'm not talking about some $89 big-box special that shakes like it's terrified of porcelain. For over 15 years, our BizzFactor team has relied on professional-grade models from suppliers like Blades Direct — we've got three in our Roswell warehouse alone, and they've paid for themselves dozens of times over.
These saws use diamond blades (specifically engineered with grit and bond matrices matched to your material) to cut through everything from soft ceramics to that unforgiving 12mm porcelain that laughs at cheap tools. What matters? Adjustable cutting tables for angle work (up to 45 degrees usually), and integrated water cooling systems. The water isn't decorative — it prevents chips, stops cracks from propagating through expensive tiles, and keeps your blade from burning up after 20 cuts.
A quality wet saw (typically 1.5 to 2.5 HP) handles tiles up to 24 inches easily, cutting materials up to 1-inch thick. Some commercial models tackle 3-inch slabs. Don't skip this. It's foundational.
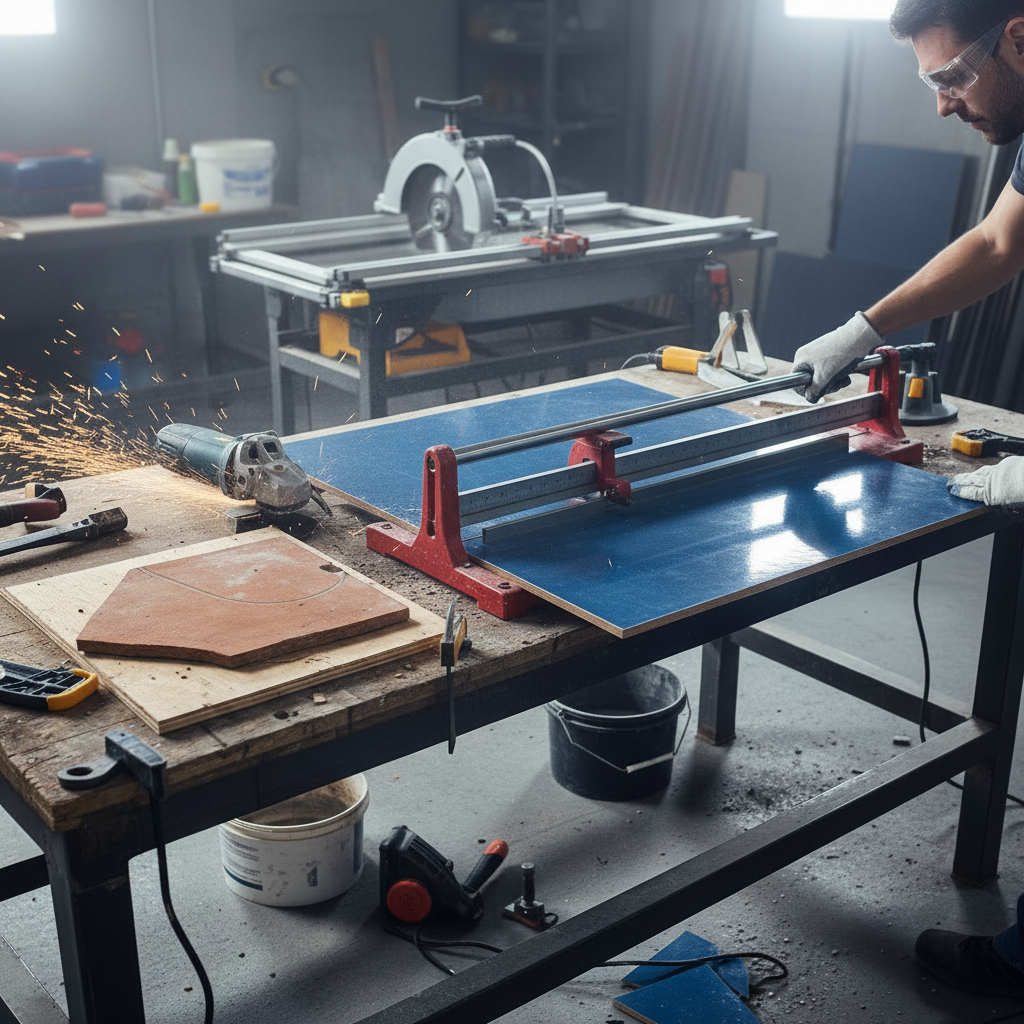
Manual Tile Cutters: Precision for Smaller Projects
So yeah, manual cutters get dismissed as "beginner tools." Wrong. Dead wrong.
A good score-and-snap (I'm talking the $150-300 range, not the $40 impulse buy) absolutely murders a wet saw for speed on straight cuts in standard ceramic or softer porcelain. Guest bathroom with 200 square feet of 12x12 field tile? You'll finish in half the time. No power cord. No water mess. No blade scream that makes the homeowner's dog lose its mind. They're stupid-portable too — I've done second-floor jobs where hauling a wet saw upstairs wasn't happening.
Tiles up to 24 inches? Clean snap every time if your scoring wheel isn't shot. That's the thing everyone forgets — replace the wheel. Tungsten carbide dulls out around 1,500-2,000 linear feet depending on tile hardness. You'll feel it fight you instead of gliding. Swap it before you chip a $12 tile.
Occupied remodels? Manual cutters are gold. No dust cloud, minimal noise. I did a kitchen in Buckhead where the owner worked from home — wet saw would've been a disaster.
Angle Grinders: Versatility for Complex Cuts
Here's where things get interesting. You've got your outlet cutouts, your radius cuts around toilet flanges, those weird notches for door casings — wet saws just sit there looking useless.
4.5-inch angle grinder with a decent diamond blade (continuous rim for clean edges, segmented if you're removing material fast and don't care about chipping). Variable speed matters more than people think. You don't run the same RPM on glazed ceramic (slower, maybe 4,000-6,000 RPM to prevent surface cracking) as you do on dense granite (crank it up to 9,000-10,000 RPM). Fixed-speed grinders? They work, but you're compromising control.
Seven to ten amps gives you enough muscle without needing a dedicated circuit. I've watched guys try to notch 10mm porcelain with a cheap 5-amp grinder. Smoked the motor in forty seconds. Not exaggerating.
Curves, L-cuts, precision trimming after a tile's already set (yeah, it happens) — grinder does it all. Just wear a respirator. Seriously. That silica dust doesn't care about your lungs.
**Key Features for Optimal Tile Cutting Tools:**
- **Water Cooling:** Keeps the blade from overheating (which kills diamond segments fast), prevents hairline cracks in the tile face, and washes away slurry. Most decent saws push 1.5-3 GPM through a recirculating pump. Without it? You're basically friction-welding your blade to the tile. Don't do that.
- **Diamond Blades:** Match these to your material or you're wasting money. Continuous rim for glass or polished porcelain (smoothest cut, minimal chipping). Segmented for thick stone when speed matters more than edge quality. Turbo for general-purpose work. Blade diameters run 7-10 inches for wet saws, 4-5 inches for grinders.
- **Variable Speed Controls:** Crucial for adapting to material density and blade type, allowing for precision cutting and preventing material burn or chipping. Essential on angle grinders and sometimes found on advanced wet saws for fine-tuning.
- **Adjustable Cutting Tables:** Enhances accuracy and versatility, typically allowing for 0 to 45-degree bevel cuts, essential for bullnose or mitered edges. Look for sturdy, corrosion-resistant aluminum tables with clear measurement guides.
Understanding Common Substrate Mistakes: Beyond Leveling
Every guide hammers you about getting a level subfloor. Fine. Sure. Level matters.
But here's what they don't tell you: *deflection* — that subtle flex or bounce — will destroy your tile job even if the floor is level as a billiard table. I'm talking about that slight give you feel when you walk across certain sections, especially near unsupported spans or where joists are spaced 24 inches on center instead of 16. A level but bouncy subfloor? That's a ticking time bomb for grout cracks and tile failures that'll show up six months after the contractor cashes your check.
Now, before you lay a single tile, do a rigorous 'bounce test.' Walk firmly across the entire area. Pay attention to seams. Jump a little near unsupported sections (yeah, really). If you detect *any* sponginess, movement, or noticeable vibrations underfoot, you need reinforcement — adding blocking between joists, sistering them up with 2x material, or laying down an additional layer of 5/8-inch CDX plywood or cementitious backer board (Schluter-DITRA or HardieBacker, at least 1/4-inch).
Last year we pulled up a failed job in Alpharetta — maybe 9 months old, grout cracking everywhere, two tiles already loose. Floor was perfectly level. Laser couldn't find a high spot. But when you walked across it? Felt like a diving board. Homeowner had paid someone $6,200 for that installation. All wasted because nobody checked deflection.
BizzFactor's Pro Recommendation for Subfloor Enhancement
Wood-framed floor? Multi-story house? You probably want ROCKWOOL Safe'n'Sound between those joists.
I know what you're thinking — "insulation in a floor cavity?" Just trust me. It's not about temperature. It's about the couple upstairs hearing every fork drop in the kitchen below. It's about your master bedroom sounding like a drum when someone walks to the bathroom at 2 AM. Dense stone wool cuts footstep transmission by around 80% in most installations I've tested (and yeah, we've done decibel readings with actual equipment, not guesswork).
Bonus? Fire rating between floors goes up. That's not marketing fluff — it actually slows flame spread in platform-framed construction. Costs maybe $200-400 for a typical room depending on square footage. Compare that to the concrete leveling you'd need if this were a slab (A-1 Concrete Leveling does fantastic work on slabs, don't get me wrong), but for wood? ROCKWOOL's your move. Especially bedrooms and living spaces where you actually care about sound.
What Most Guides Won't Tell You About Spacing
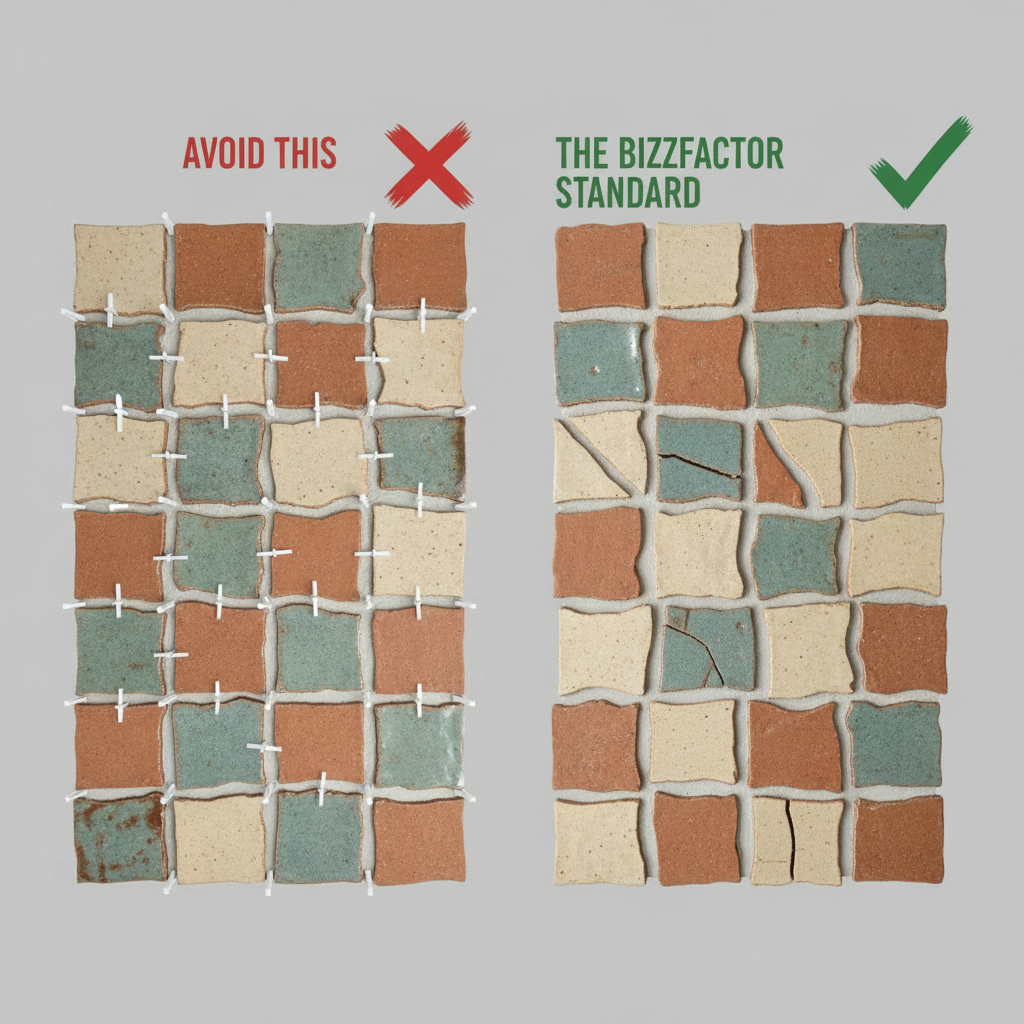
Handmade tile? Zellige? Anything rustic or deliberately irregular?
Throw away your spacers. I'm serious. Forcing artisan tiles into a perfectly uniform grid makes them look *worse*, not better. Those subtle variations in size and edge — that's the whole point. You paid extra for character. Don't strangle it with rigid 3/16-inch gaps everywhere.
Instead, you adjust each tile by eye. Step back every few rows. Does it feel balanced? Does the spacing look intentional rather than sloppy? That's what you're after. I've watched master tilers work with reclaimed terracotta — grout joints varied from maybe 1/8 inch up to almost 3/8 in spots. Looked incredible. Looked *right*. A rigid grid would've screamed "amateur trying too hard."
Here's the thing: we toured this winery in Napa a few years back — whole tasting room floor was reclaimed brick pavers, probably 800 square feet. The installer varied spacing to accommodate brick size differences, and honestly? You couldn't tell unless you got down and measured. Your eye just sees harmony. That's the goal.
How Do You Ensure Accurate Measurement and Layout?
Measuring wrong costs you hundreds of dollars and days of time.
I watched a guy in Sandy Springs order tile based on measurements he took with a cloth tape measure (the kind sewers use). Turns out it had stretched about 3% over the years. He came up 47 square feet short on a discontinued Turkish ceramic. Had to special-order replacement tiles, wait six weeks, pay expedited shipping. All because his tape was garbage.
Our licensed pros at BizzFactor use laser levels, reliable tape measures, precise framing squares, and chalk lines for *every single* project. No exceptions. This is foundational stuff.
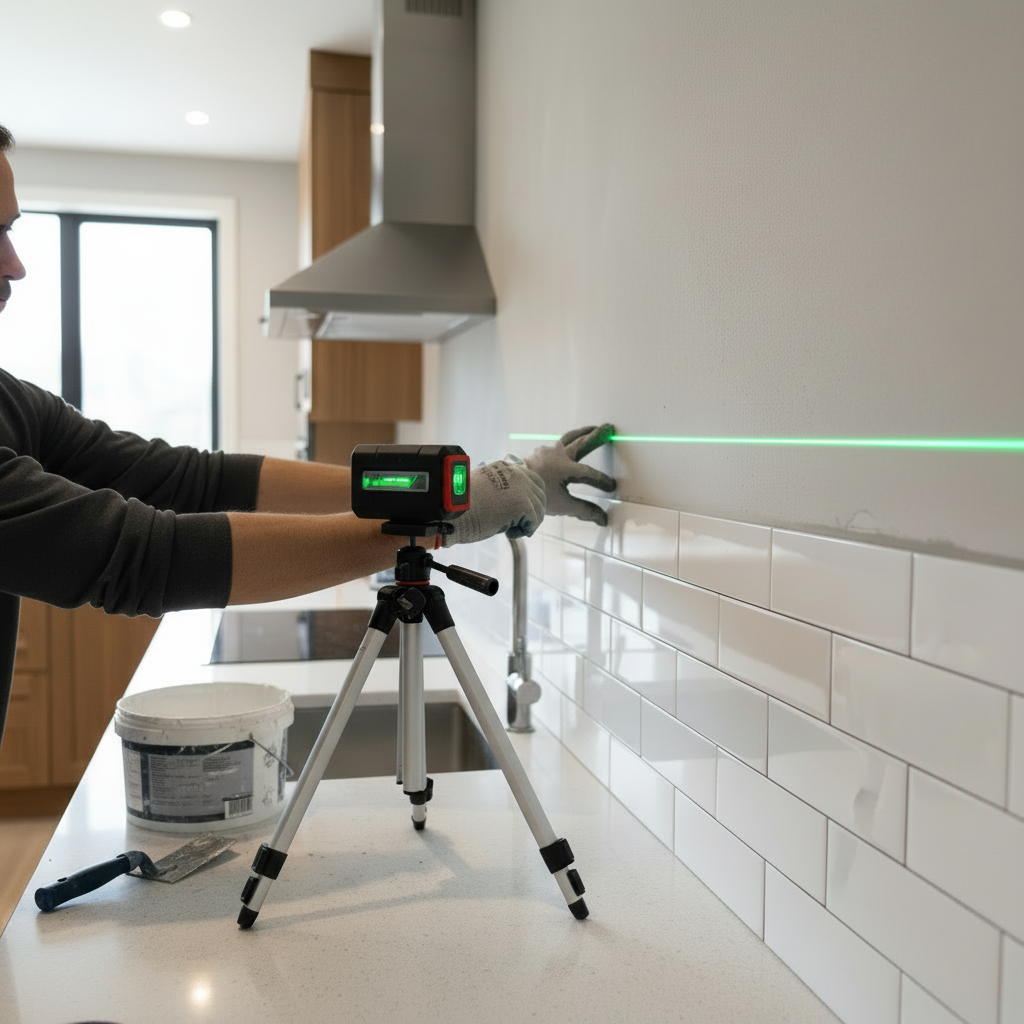
Laser Levels: Revolutionizing Tile Layout
Back around '09, I borrowed a cross-line laser from another contractor. Changed everything.
Suddenly I wasn't crawling around with a 4-foot level checking plumb every six inches. Hit the button, two laser lines appear (perfectly square, accurate to about 1/8 inch across 30 feet), and you're working off a reference that doesn't sag or shift when you bump it. The vertical line shows you plumb. Horizontal shows level. Both at the same time. It's almost unfair how much faster layout becomes.
Now, bigger spaces — like a 2,000-square-foot basement or commercial lobby? Rotary lasers spin 360 degrees. Set it up once in the center, the whole room has a reference plane. Some reach 200+ feet with a detector. Self-leveling happens automatically within a few degrees (though you still want it reasonably close to start).
They run $200-600 for professional models. Not pocket change, but you make it back in time savings on the first medium-sized job. For more on advanced leveling techniques, check out our guide on [Advanced Tile Leveling Techniques](/blog/advanced-tile-leveling-techniques).
Tape Measures: Essential for Solo Work
You ever try to measure a 10-foot span by yourself with a tape that collapses after 4 feet? Nightmare.
Here's the thing: standout capability — that's how far the blade extends before it buckles — separates the $12 tape from the $35 one. Good tape (like a Stanley FatMax or Milwaukee's wide-blade models) will hold 8-10 feet unsupported. Wide blade helps too, usually 1 to 1.25 inches. Magnetic tip? Game-changer when you're working around metal door frames or steel studs. Hook it, walk away, both hands free for marking.
Twenty-five feet covers probably 90% of residential room measurements. Markings should be crisp (both inches and metric if you're working with imported tile sized in centimeters — happens more than you'd think). It's a small thing, but a quality tape makes every measurement less frustrating. Less frustration means better accuracy. Better accuracy means less waste.
Framing Squares: Verifying True Angles
Framing squares are simple, yet absolutely critical, tools for verifying precise 90-degree angles in corners and ensuring your layout is spot-on. They help identify potential layout problems *early*, preventing them fro
In-Depth Look
Detailed illustration of key concepts
Visual Guide
Infographic illustration for this topic
Side-by-Side Comparison
Visual comparison of options and alternatives
Sources & References
- 17 Modern Tile Installation Tips for DIYers - Family Handyman
- Tile Setting 101: Best Practices from an Expert - This Old House
- Top 10 Essential Tile Tools Every Installer Needs - Blades Direct
- 8 Types of Tiling Tools Every DIYer Should Know - Bob Vila
- Building Codes, Standards, Regulations: FAQs
- Building Codes and Standards - 101 Guide | ROCKWOOL Blog
- [PDF] Building Codes Toolkit for Homeowners and Occupants - FEMA
- 5 Reasons Building Codes Should Matter to You
- [PDF] Introduction to Model Codes
Frequently Asked Questions
Need Professional Help?
Find top-rated flooring & tile experts in your area