Licensed painters reveal the exact 4-step system for flawless paint jobs that last 10+ years. Professional prep techniques, tools, and application methods explained.
Key Takeaways
4 Pro Painting Steps That Actually Work (From Licensed Painters)",
"content": "# 4 Pro [Painting](/guides/house-painters/painting-bad-work-guide) Steps Professionals Actually Use",
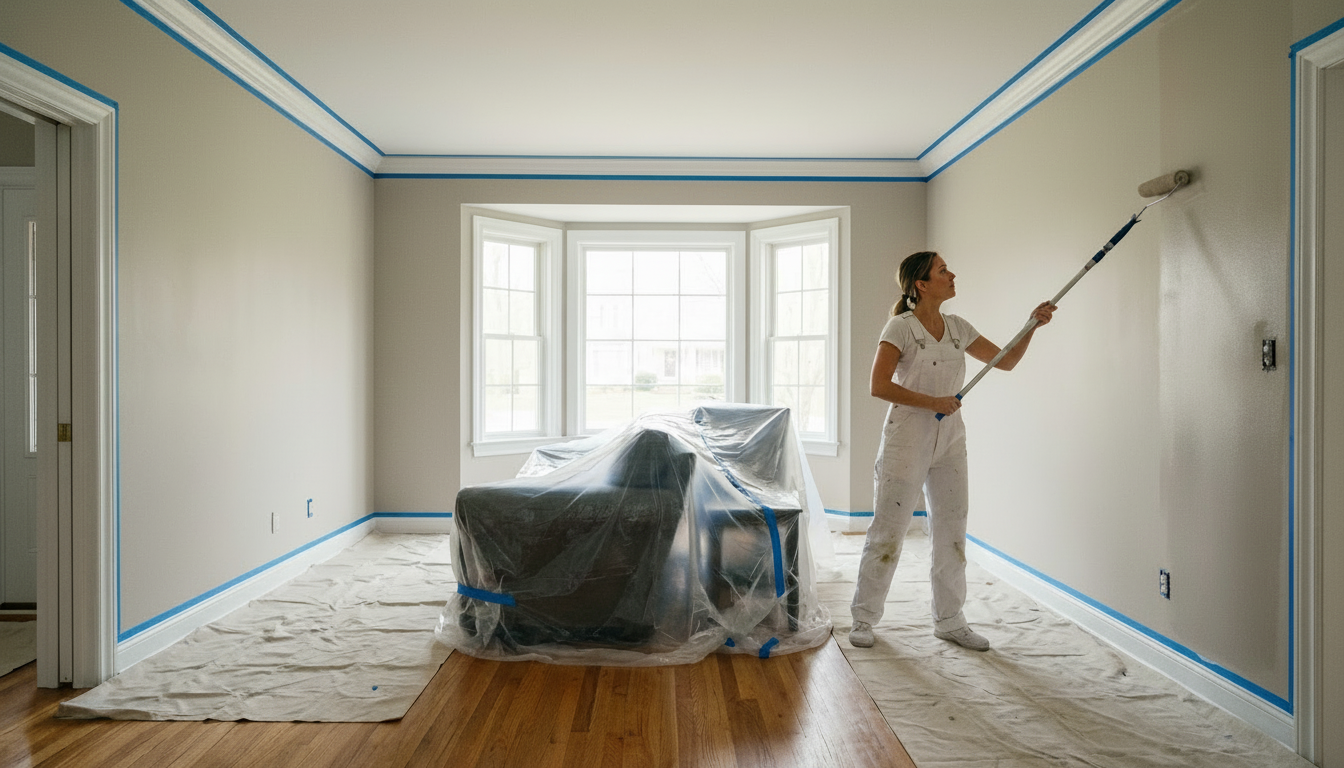
"content": "", "content": "What separates [professional painters](/guides/house-painters/wall-painting-guide-tips) from DIY attempts? They follow a consistent, meticulous process on every job, ensuring durability and a flawless finish.",
"content": "", "content": "Here's what licensed painters do, based on industry-leading standards and techniques, to achieve results that truly last.",
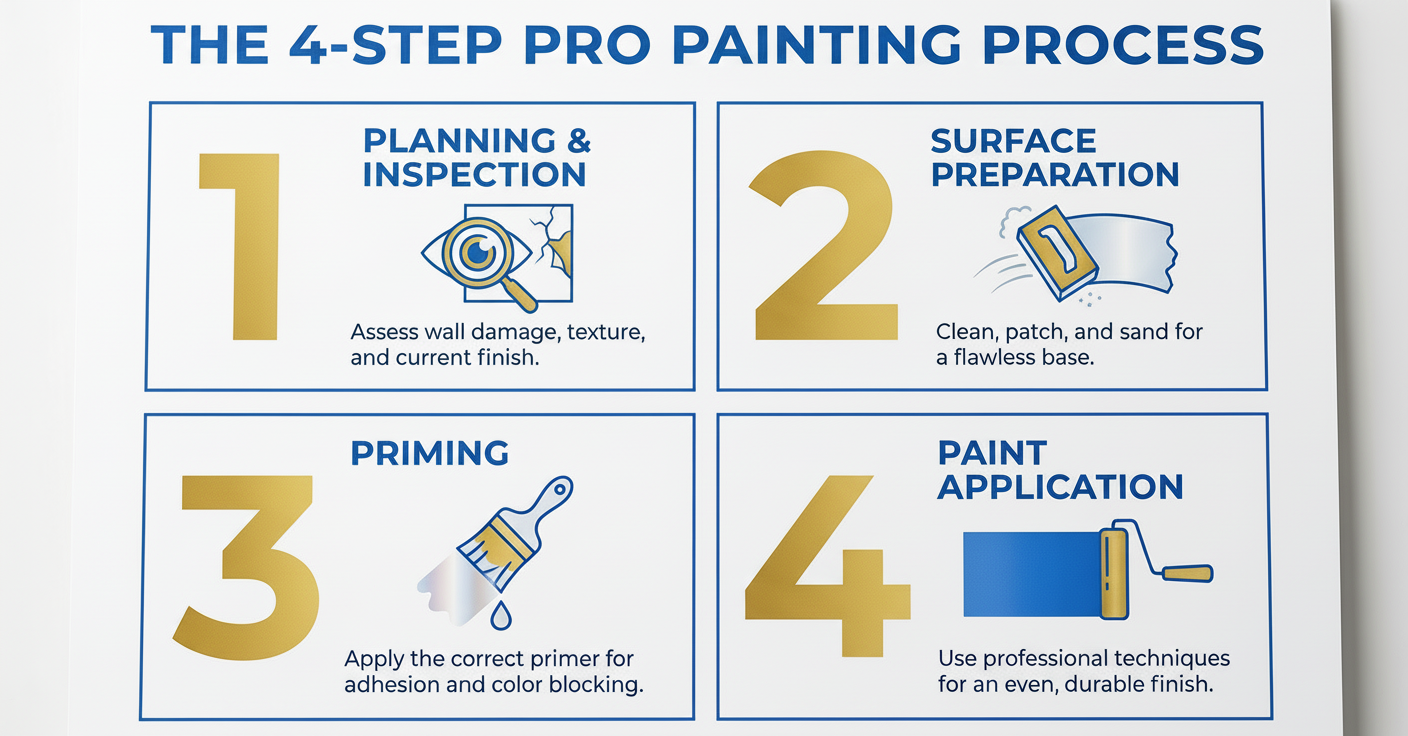
"content": "", "content": "## Step 1: Meticulous Planning & Wall Inspection", "content": "", "content": "[Professional painters](/guides/house-painters/wall-painting-guide-tips) know that a successful paint job begins long before the first brushstroke. They invest significant time in planning and thoroughly inspecting walls before touching any paint supplies.",
"content": "", "content": "### Comprehensive Wall Assessment", "content": "", "content": "A detailed examination of your walls is crucial. Experienced painters look for:",
"content": "<ul>", "content": "<li>**Damage necessitating repair:** Cracks, holes, dings, or loose plaster that require patching.</li>",
"content": "<li>**Existing wall finish type:** Identifying whether the current paint is flat, eggshell, semi-gloss, or high-gloss, as this impacts adhesion and prep.</li>",
"content": "<li>**Surface texture:** Smooth, lightly textured, or heavily textured surfaces dictate preparation methods and paint application techniques.</li>",
"content": "<li>**Problem areas needing attention:** Water stains, mold, mildew, or oil residue that require specific cleaning and priming.</li>",
"content": "</ul>", "content": "Consider the room's environment: amount of natural light, artificial lighting sources, and its primary function. These factors significantly influence the optimal paint color, sheen, and finish selection.",
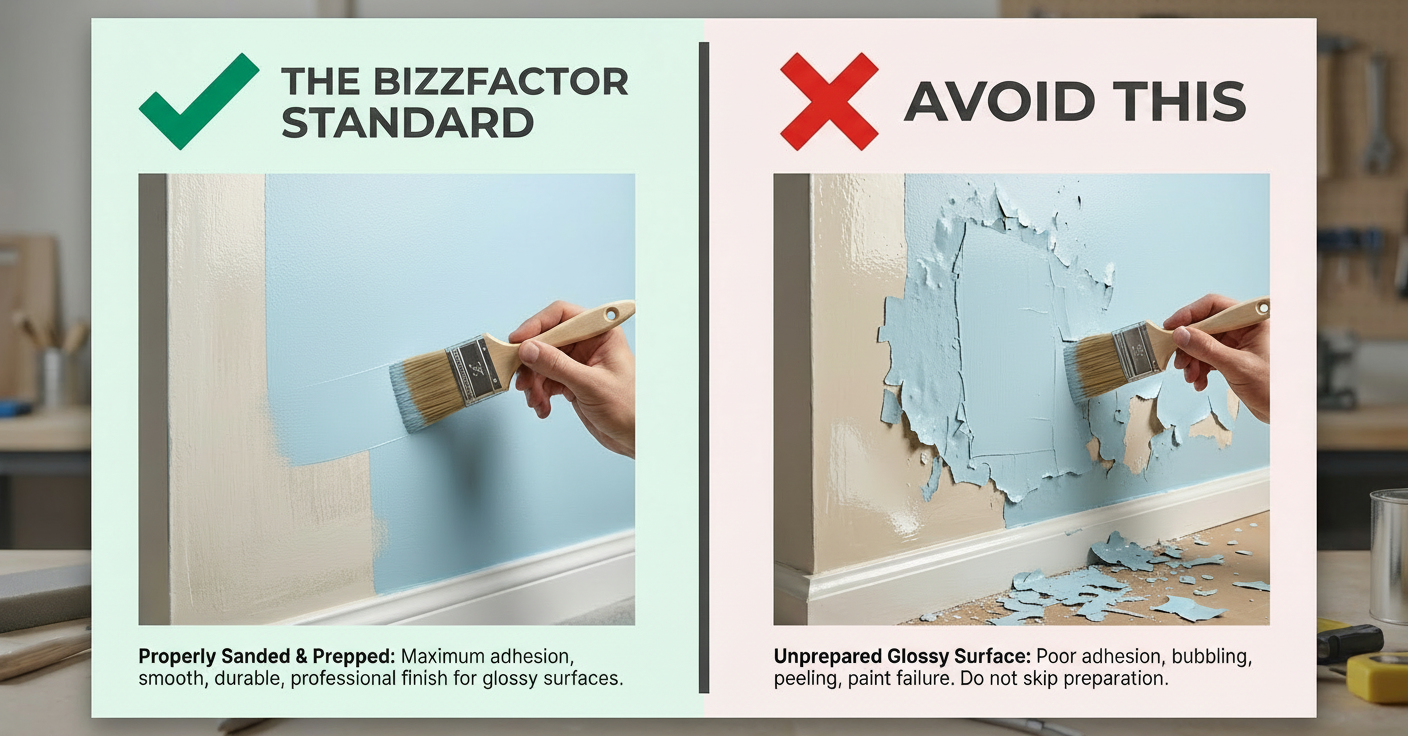
"content": "", "content": "### Common Planning Pitfalls to Avoid", "content": "", "content": "One of the most frequent errors in DIY painting is underestimating the importance of surface preparation, especially on glossy finishes. Walls with existing sheen or specialized finishes require specific prep to ensure new paint adheres correctly and prevents future peeling or uneven appearance.",
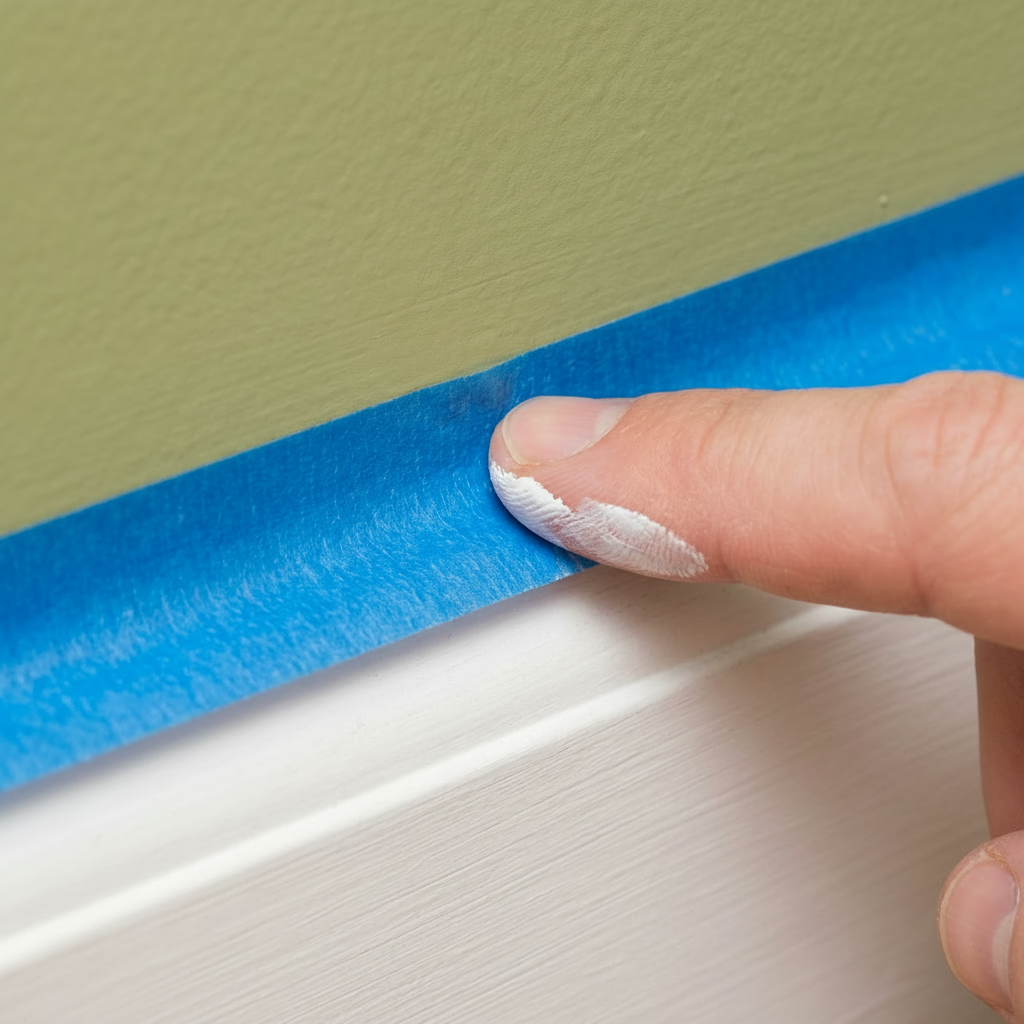
"content": "", "content": "### Strategic Material Selection", "content": "", "content": "Investing in quality materials is non-negotiable for a professional finish. This includes selecting premium painter's tape for crisp, clean lines. The quality of your preparation materials directly impacts the final aesthetic. When choosing [painter's tape](/guides/house-painters/painting-quotes-apartment-guide), consider different brands like FrogTape (recommended for precision) and 3M ScotchBlue (a reliable budget option). Your project requirements and budget should guide your choice.",
"content": "", "content": "### Guided Primer Selection", "content": "", "content": "Primers are not one-size-fits-all. Different types are formulated for specific situations. It's essential to match your primer type to your project's unique needs before purchasing. For instance, a bonding primer is crucial for glossy surfaces, while a stain-blocking primer is necessary for water or smoke damage.",
"content": "", "content": "If you're painting a similar light color over a clean, sound existing light color, you *might* be able to omit primer. Some modern premium paints claim to be 'paint and primer in one,' but these are often thicker paints, not true primers. Always assess your wall condition and project needs carefully.",
"content": "", "content": "### [Professional Approaches](/guides/house-painters/wall-painting-guide-tips)",
"content": "", "content": "Pros often debate whether to paint trim or walls first. The optimal sequence depends on factors like the complexity of the trim work, the wall texture, and the individual painter's technique. Experimenting with approaches in a small, inconspicuous area can help determine the best method for your specific project.",
"content": "", "content": "### Addressing Texture Discrepancies", "content": "", "content": "After patching holes and sanding, repaired areas can appear different from the surrounding wall due to variations in texture and porosity. **Proper surface preparation, especially uniform sanding and targeted priming of repairs, is critical** to creating a seamless, uniform appearance beneath the final paint coats. The patched area's different absorption rate can lead to an uneven finish if not properly primed.",
"content": "", "content": "### ⚠️ Common Mistake to Avoid: Misusing "Paint-and-Primer-in-One"",
"content": "", "content": "Relying on "paint-and-primer-in-one" products for challenging surfaces is a critical error. These are simply thicker paints, not dedicated primers. They will fail to effectively block dark colors, seal stubborn stains, or properly bond to glossy or problematic surfaces. Using them in place of a [specific primer](/guides/house-painters/painting-quotes-apartment-guide) (e.g., shellac-based for stains or a high-adhesion bonding primer for slick surfaces) inevitably leads to bleed-through, peeling paint, and the need for costly reworks. Always use a separate, task-specific primer for optimal results.",
"content": "", "content": "### Our Pro Recommendation: The Right Tape Makes All the Difference",
"content": "", "content": "When comparing painter's tape, the essential choice is between FrogTape Multi-Surface and 3M ScotchBlue Original. While ScotchBlue is a decent, cost-effective option, **we exclusively recommend FrogTape for any line that must be perfect.** FrogTape’s patented PaintBlock® Technology actively creates a micro-barrier upon contact with latex paint,
"content": "preventing paint bleed. In our extensive experience, it consistently delivers a noticeably crisper, cleaner line than 3M on everything from smooth drywall to lightly textured trim. The slightly higher investment in FrogTape pays dividends by eliminating tedious touch-ups and ensuring a professional edge.",
"content": "", "content": "### What Most Guides Won't Tell You: Ditch the Canvas",
"content": "", "content": "For superior floor protection, **replace canvas drop cloths with rolls of builder's paper or rosin paper.** Unlike bunched-up canvas, paper lays completely flat, can be securely taped down to prevent movement and tripping hazards, and instantly absorbs paint spills without letting them seep through. This prevents tracking paint and creates a much safer, cleaner work environment.",
"content": "", "content": "## Step 2: Uncompromised Surface Preparation – The Foundation of Quality",
"content": "", "content": "This critical stage is where many DIY projects falter. Proper surface preparation is the cornerstone of a professional paint job, preventing common issues like uneven finishes, poor adhesion, and stains bleeding through.",
"content": "", "content": "### Thorough Wall Repairs", "content": "", "content": "All cracks, holes, and imperfections must be meticulously repaired *before* priming. Use a quality spackle or joint compound appropriate for the size and type of damage. Allow all repairs ample time to fully cure and dry according to manufacturer specifications before sanding smooth.",
"content": "", "content": "### Effective Stain Treatment", "content": "", "content": "Any existing discoloration on walls requires specific action. Apply a high-quality stain-blocking primer to these areas. Crucially, ensure that the *source* of the stain (e.g., water leak, smoke) has been completely resolved before [painting over it](/guides/house-painters/painting-bad-work-guide); otherwise, the stain will reappear.",
"content": "", "content": "## Step 3: Strategic Priming for Optimal Results", "content": "", "content": "[Professional painters](/guides/house-painters/wall-painting-guide-tips) nearly always apply at least one coat of primer, sometimes two, to ensure proper coverage and maximize paint adhesion.",
"content": "", "content": "Primer serves multiple vital functions:", "content": "<ul>", "content": "<li>**Creates a Uniform Surface:** Helps new paint go on smoothly and evenly.</li>",
"content": "<li>**Improves Paint Adhesion:** Ensures the topcoats bond strongly to the wall, preventing peeling.</li>",
"content": "<li>**Blocks Stains:** Prevents underlying stains from bleeding through the final paint coats.</li>",
"content": "<li>**Reduces Paint Coats Needed:** Provides a consistent base color, often allowing fewer topcoats for full coverage.</li>",
"content": "</ul>", "content": "Always allow proper drying time for the primer before applying any paint coats. Rushing this step compromises the primer's effectiveness.",
"content": "", "content": "## Step 4: Expert Paint Application for Durability and Finish",
"content": "", "content": "[Professional painters](/guides/house-painters/wall-painting-guide-tips) consistently apply two coats of paint (or more if required by color or surface) to achieve the best coverage, color depth, and long-term durability.",
"content": "", "content": "### Precision Application Process", "content": "", "content": "The absolute key to a professional finish is allowing **proper drying time between coats.** Ignoring this step, or applying a second coat too soon, compromises the paint's ability to cure properly, leading to an inferior, less durable finish.",
"content": "", "content": "### The Benefits of Two Coats", "content": "", "content": "Applying two full coats of paint offers significant advantages:",
"content": "<ul>", "content": "<li>**Even Color Coverage:** Ensures consistent, rich color without streaks or patchiness.</li>",
"content": "<li>**Enhanced Durability:** Provides a thicker, more resilient film that resists wear and tear.</li>",
"content": "<li>**Professional Appearance:** Delivers the smooth, deep finish expected from expert work.</li>",
"content": "<li>**Longer-Lasting Finish:** Extends the life of your paint job, reducing the frequency of repainting.</li>",
"content": "</ul>", "content": "### [Professional Standards](/guides/house-painters/wall-painting-guide-tips)",
"content": "", "content": "Adhering to these professional standards—one coat of appropriate primer and two coats of quality paint, with strict adherence to drying times between each application—is the formula for a premium, long-lasting paint finish that will enhance your home for years to come. This meticulous approach is the hallmark of truly professional painting work.",
"faqs": [ { "question": "Why is surface preparation so critical in professional painting?", "answer": "Surface preparation is the most crucial step because it ensures proper paint adhesion, prevents common problems like peeling, cracking, or an uneven finish, and ensures the longevity of the paint job. Without proper cleaning, repairing, and sanding, even the best paint won't look professional or last."
}, { "question": "When should I use a dedicated primer versus a 'paint-and-primer-in-one' product?",
"answer": "Always use a dedicated, task-specific primer for challenging situations such as painting over dark colors, glossy surfaces, repaired areas, or walls with stains (water, smoke, grease). 'Paint-and-primer-in-one' products are generally thicker paints, suitable only for minor color changes on clean, previously painted, well-adhered surfaces. They lack the sealing and bonding capabilities of true primers."
}, { "question": "How many coats of paint do professional painters typically apply, and why?",
"answer": "Professional painters almost always apply a minimum of two coats of paint over a properly primed surface. The first coat provides initial coverage, but the second coat is crucial for achieving full, even color depth, enhancing durability, and ensuring a uniform, professional-grade finish that will last longer and look better."
}, { "question": "Is it important to wait for paint to dry between coats?", "answer": "Absolutely. Rushing the drying time between coats is a common mistake. Each coat needs to cure sufficiently to ensure proper adhesion, prevent bubbling or peeling, and allow the pigment to develop its true color and sheen. Always follow the manufacturer's recommended drying times, which can vary based on paint type and environmental conditions."
}, { "question": "Why do professionals recommend specific painter's tape like FrogTape?",
"answer": "Professionals recommend high-quality painter's tape like FrogTape for its patented PaintBlock® Technology, which actively prevents paint bleed under the tape's edge. This technology creates a microscopic barrier when it comes into contact with latex paint, resulting in crisp, clean lines that budget tapes often fail to deliver, saving significant time on touch-ups and ensuring a superior finish.
In-Depth Look
Detailed illustration of key concepts
Visual Guide
Infographic illustration for this topic
Side-by-Side Comparison
Visual comparison of options and alternatives
Sources & References
- A Pro Painter's Top House Painting Tips and Tricks | HGTV Home Tips
- The Secrets of Pro Painters: Mastering Interior Painting Techniques
- 12 Painting Tips To Boost Your Home's Curb Appeal
- Best Interior & Exterior Paint Buying Guide - Consumer Reports
- Best Paint for Commercial Buildings - Miko LLC
- Best Industrial Painting Brands: A 2025 Comparison Guide
- Building Codes, Standards, and Regulations: Frequently Asked ...
Frequently Asked Questions
Need Professional Help?
Find top-rated house painters experts in your area