Discover vital pre-paint repairs professional painters prioritize for lasting results. Learn about surface prep, proper fillers, and when specific expertise is essential.
Key Takeaways
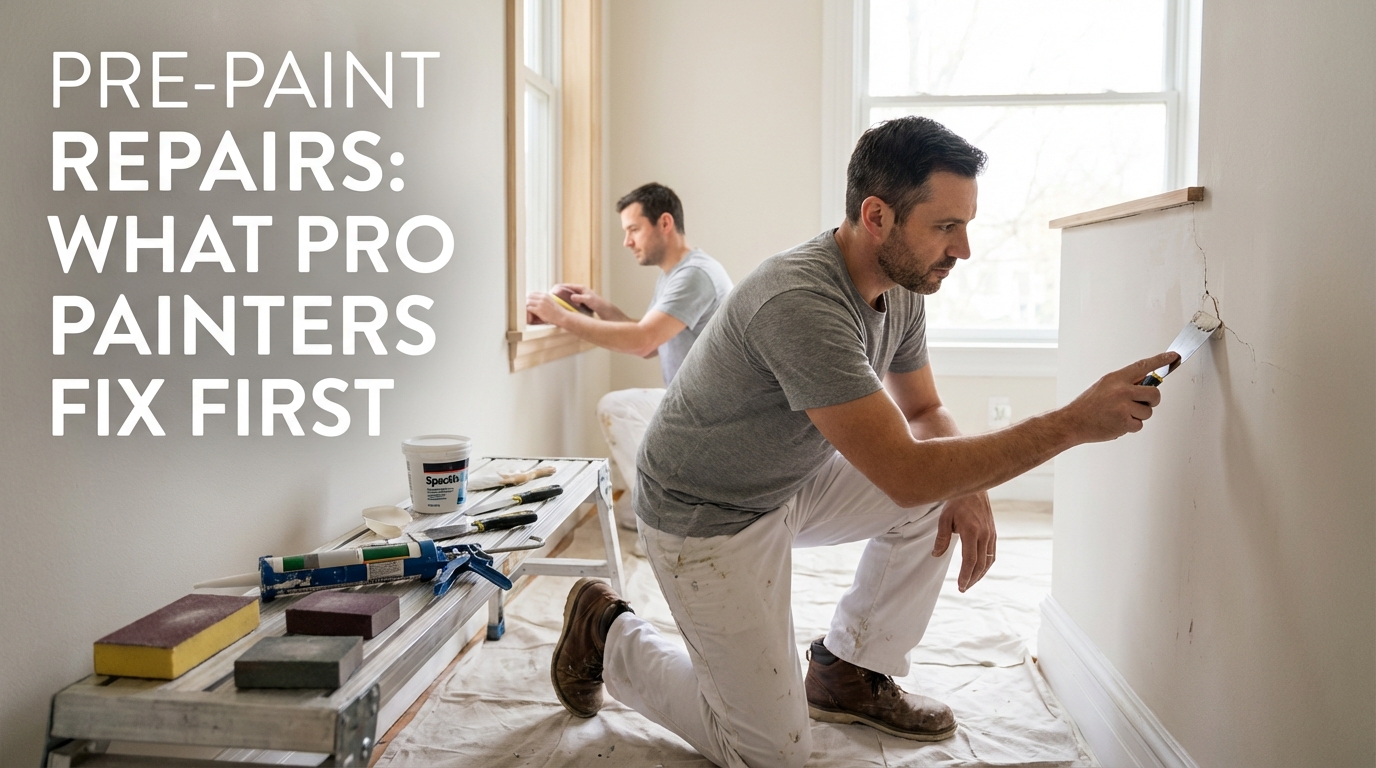
- # Pre-Paint Repairs: What Professional Painters Prioritize for Lasting Results – A BizzFactor Guide Most painters show up with a roller and a can
- They show up with a flashlight, a moisture meter, and a checklist of everything that needs fixing *before* paint touches anything
- That's the difference between a job that holds up and one that's already failing by next summer
- I've watched plenty of rushed jobs fail within months because someone skipped the boring stuff
Key Takeaways
Pre-Paint Repairs: What Professional Painters Prioritize for Lasting Results – A BizzFactor Guide
Most painters show up with a roller and a can. The good ones? They show up with a flashlight, a moisture meter, and a checklist of everything that needs fixing *before* paint touches anything. That's the difference between a job that holds up and one that's already failing by next summer.
I've watched plenty of rushed jobs fail within months because someone skipped the boring stuff. Here's what actually matters.
Why Meticulous Surface Preparation is Non-Negotiable for Quality Paint Jobs
The prep work? That's where jobs live or die.
My crew will spend three days just examining walls — checking for peeling spots, hairline cracks, moisture intrusion. One homeowner in Morningside dropped $4,800 on Benjamin Moore's top-shelf paint. Watched it bubble off his walls before Halloween. Why? Because what was *underneath* that paint was complete garbage. All that money, totally wasted.
The paint brand? Matters way less than people think. Whether you're using Sherwin-Williams Emerald or whatever the contractor had on sale, that investment gets flushed if the surface isn't right. It's like building a mansion on quicksand.
I've seen it everywhere — Brooklyn brownstones, suburban Atlanta split-levels, Charleston bungalows — where previous painters skipped repair work. The result? Paint that bubbles, peels, or shows imperfections within six to twelve months. Reputable companies like CertaPro Painters® or our BizzFactor partners built their reputations on one principle: **fix the underlying issues first, then paint.**
Take this Victorian in Charleston. Previous contractor painted directly over active moisture problems. Homeowner called us after brown stains bled through *two* coats of premium paint. Just months after the job was done. This happens constantly, it's preventable, and it's exactly why shortcuts cost more.
The 'One Spackle Fits All' Myth (And Why It'll Wreck Your Walls)
Even experienced painters do this: grab lightweight spackle for every repair.
Wrong.
Lightweight fillers shrink as they dry. They crack. They offer zero structural integrity. Using them for deep gouges or around door jambs? You'll be calling someone back in eight months. Ask me how I know.
So what do we actually use? Depends entirely on what we're fixing. Wood rot on exterior trim gets Abatron WoodEpox — chemical-curing stuff that won't crack or fall out later. Deep drywall damage? Setting-type joint compound (contractors call it 'hot mud'). You can get USG Sheetrock Easy Sand in 5-minute or 20-minute versions. Sets chemically instead of just drying, which means you get 2,800-3,500 psi compressive strength and can do multiple coats in a single day. [[Explore dedicated wood repair services on BizzFactor.](https://www.bizzfactor.com/wood-repair-services)]
For joints that actually move — window frames, door casings, that gap between baseboard and wall — you need flexible acrylic caulk. DAP Alex Plus or Sherwin-Williams SherMax. This stuff stretches up to 500% with temperature changes. Your house breathes, the caulk needs to breathe with it, otherwise you get cracks every winter.
Exterior wood rot that's really bad? Two-part epoxy like Abatron LiquidWood and WoodEpox. Expensive, yeah (around $80-120 for a kit), but it's often stronger than the original wood.
Proper filler selection impacts longevity more than your paint color choice. Trust me on this — we've cleaned up after the guys who didn't.
When General Painters Aren't Enough for Complex Repairs
Basic stuff? Fill some nail holes, sand down scuff marks, roll on primer? Yeah, most painting crews can handle that just fine. For a straightforward repaint where nothing's actively falling apart, you're probably good to go.
Look — but major wood rot? That's different. Plaster crumbling off in actual chunks. Drywall sagging because someone ignored a leak for half a year. You need a carpenter for that, or find yourself a real plaster specialist who knows the difference between lime and gypsum plaster (and trust me, there's a big difference).
Some contractors keep those specialists on staff. Arthur Cole Painting does this, and we've got similar folks in the BizzFactor network. Costs more upfront, sure. But one of their project managers told me, "I'd rather spend the extra day fixing it right than get the callback six months later." Makes sense when you think about warranty work eating into your margins.
Their pricing reflects that specialized knowledge. Think of it as paying for the repair you *won't* need later. [[Learn more about finding expert carpentry services on BizzFactor.](https://www.bizzfactor.com/carpentry-services)]
What Most Guides Miss: Old Plaster and Lead Paint Safety
So you've got old plaster walls and you think, "I'll just sand these smooth." Don't. Especially in pre-1978 homes — you could be releasing lead dust into your house while permanently damaging the plaster surface at the same time.
That's a health hazard nobody wants (and a lawsuit if you're a contractor). [[Understand lead-paint safety protocols on BizzFactor.](https://www.bizzfactor.com/lead-paint-removal-safety)]
So what actually works? Chemical bonding beats the hell out of sanding. I usually start with a TSP substitute — Krud Kutter Gloss-Off does the job — to strip away grime, oils, cooking residue, all the stuff that prevents paint from sticking. Skip this and your primer just sits there on top of contamination. Not bonding to anything.
After cleaning? Shellac-based bonding primer. Zinsser B-I-N or Kilz Original. These seal *everything* — nicotine stains, water damage, tannin bleed from wood knots — and they'll stick to chalky or compromised surfaces without requiring you to sand them down to bare substrate. Dries to touch in maybe 15-30 minutes, which is insanely fast.
Let it cure completely before topcoats, though. Usually 1-3 hours depending on humidity, but check your can. This isn't the time to rush — you need maximum bond strength.
I've watched homeowners ruin perfectly good plaster trying to sand it "smooth." Don't be that homeowner.
Case Study: The True Cost of Painting Shortcuts
Doing prep work right is expensive. Know what's more expensive? Fixing someone else's half-assed job.
Colonial home in Greenwich, CT. Previous contractor painted over active water damage in the dining room. Homeowner called us after brown stains bled through *two* coats of premium paint — six months after the "professional" job. She was fuming, and honestly, I don't blame her.
So we pulled off some of that failed paint to see what was going on. Turns out the original painter had just rolled primer over water-stained drywall without ever fixing the actual roof leak. Moisture kept coming through the ceiling. Paint kept failing. And there was potential mold growth starting behind the drywall. Total cost to fix what should've been caught the first time? $3,200 in repairs.
How'd we actually fix it? First thing — we had to stop the leak. Brought in a licensed roofer to permanently fix the roof penetration. You don't paint *anything* until the moisture source is eliminated. Period. (Shocking how many contractors skip this step and just paint over wet walls.) [[Find qualified roofers on BizzFactor.](https://www.bizzfactor.com/roofing-services)]
Then antimicrobial treatment on the affected drywall. Industrial-grade primer with Microban or Fiberlock IAQ 6100 to kill and prevent mold. Then moisture remediation following HUD guidelines — commercial dehumidifiers and air movers until we hit sub-15% moisture readings. Took four days of drying.
Finally, barrier coatings. Kilz Restoration or Zinsser B-I-N *before* final paint to create an impenetrable shield against bleed-through.
Result? Flawless finish. Zero callbacks. No warranty claims. Satisfied homeowner who finally had peace of mind.
Expert Approach to Peeling Paint Remediation
So paint's peeling off your walls. Most people grab a scraper and start going at it.
That fixes the symptom. What's causing it, though?
Maybe there's moisture coming from behind the wall. Maybe the last guy painted latex over oil-based paint without using a bonding primer. Surface contamination's another culprit — grease buildup, smoke residue, whatever's been sitting there for years. That's the real issue. Or the house is settling and creating enough mechanical stress to crack the paint film. You've gotta figure out *which* problem you're solving before you start scraping anything.
For older homes (anything pre-1978), there's the lead paint situation. We've got EPA RRP lead-safe certification, which isn't optional — it's federal law with fines that'll bankrupt a small contractor. If you're doing this yourself, you need to know the rules. Test first. Contain the work area. HEPA vacuum. Proper respirators. Don't mess around with this.
Our process:
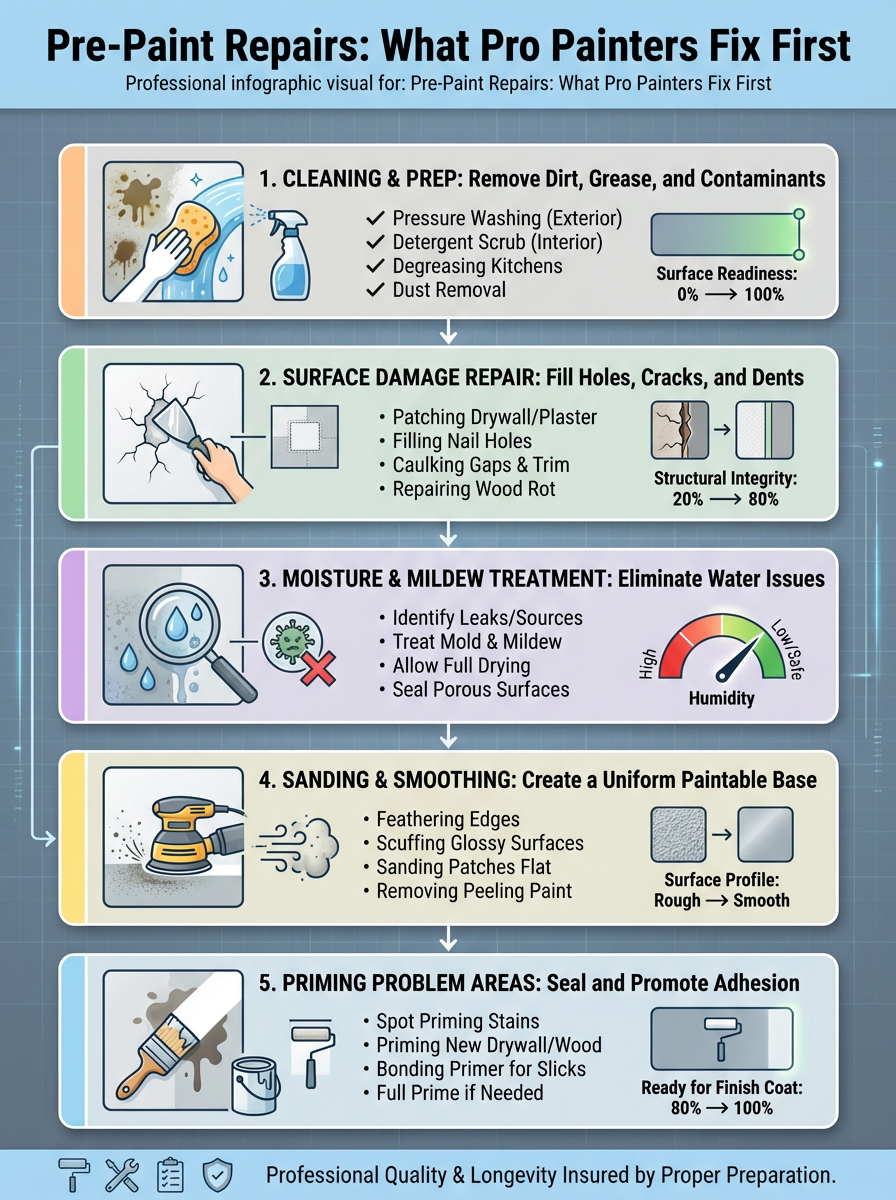
In-Depth Look
Detailed illustration of key concepts
Visual Guide
Infographic illustration for this topic
Sources & References
- A Field Guide for Painting, Home Maintenance, and ...
- Get Your Home Ready: Preparing for Exterior Painters
- Best Interior & Exterior Paint Buying Guide - Consumer Reports
- Best Paint for Commercial Buildings - Miko LLC
- Building Codes, Standards, and Regulations: Frequently Asked ...
- Choosing the Right Exterior Paint for Commercial Buildings
- Best Industrial Painting Brands: A 2025 Comparison Guide
Frequently Asked Questions
Need Professional Help?
Find top-rated house painters experts in your area