Transform bumpy walls into a glass-smooth Level 5 finish with expert wall smoothing techniques. Learn pro tips for flawless drywall repair and interior painting preparation.
Key Takeaways
- **Primer:** High-quality PVA drywall primer seals the newly smoothed surface. We prefer **Zinsser B-I-N Shellac-Base Primer** for its superior stain-blocking properties and quick drying time, especially in areas where residual water stains or smoke damage might be an issue. That's the real issue.
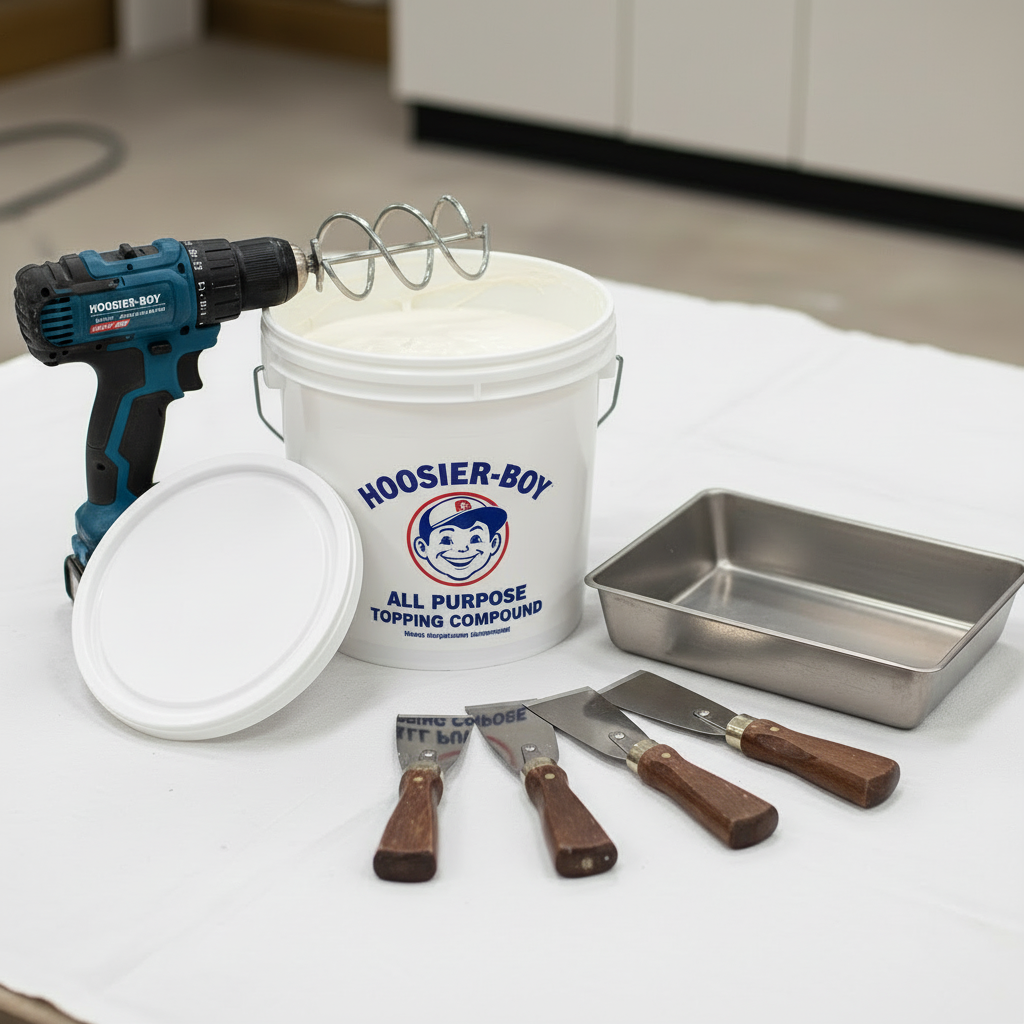
- **Joint Compound:** Hoosier-Boy Topping for the final coats, backed up by a reliable all-purpose compound for initial filling stages.
- **Tape:** FibaFuse or fiberglass mesh tape reinforces cracks and seams. Don't skip this.
- **Tools:** Premium set of stainless steel taping knives (6, 8, and 12-inch blades) plus a durable mud pan. Our knives are always flexible, high-carbon stainless steel (from brands like Hyde or LEVEL5 tools), meticulously cleaned after each use to prevent compound buildup, which creates drag lines.
Key Takeaways
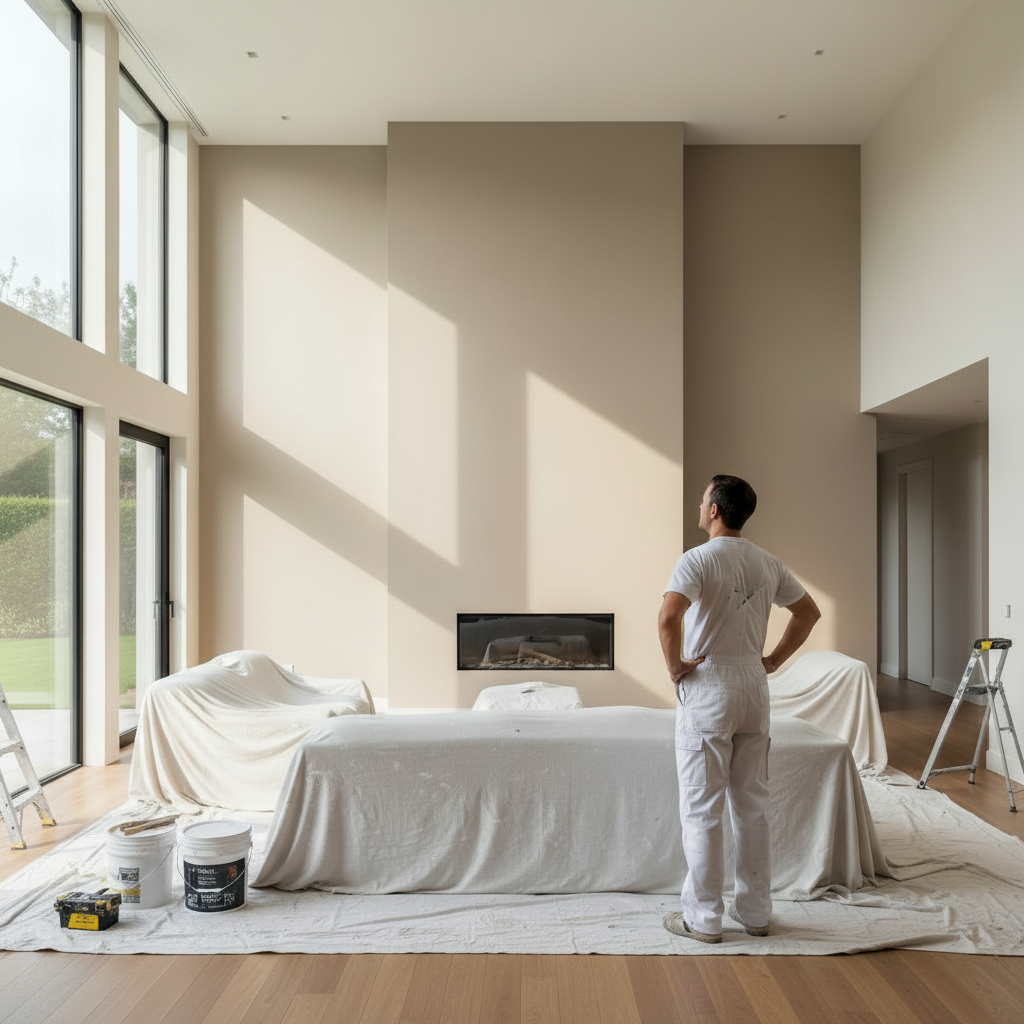
Pro Wall Smoothing: From Bumpy Walls to a Glass Finish
A guy in Buckhead just paid me $7,500 to fix walls in his brand-new house. Builder-grade drywall looked fine at closing, but two weeks later when the sun hit at 3pm? That's the real issue. Every seam, every screw dimple, every ripple — all of it screaming at him. That's wall smoothing. Not patching. Not touch-ups. Complete resurfacing.
What Makes Professional Wall Smoothing Different?
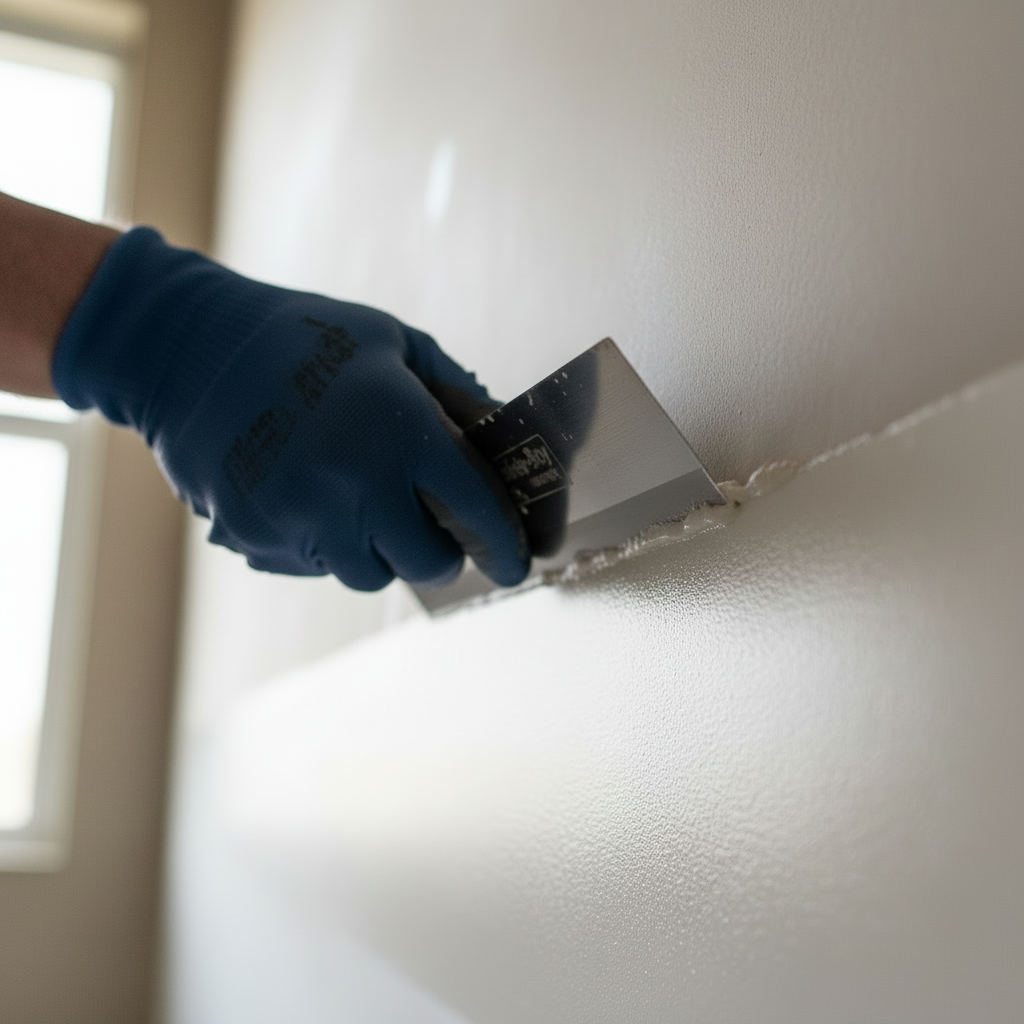
Look — look — professional wall smoothing is a total surface overhaul, miles beyond simple patch repairs. We're talking multiple layers of high-grade compound, precision trowel work, and what the industry calls a 'Level 5' finish — the kind of surface where you literally can't see a single flaw. Like turning your wall into glass. This isn't about slapping mud over nail holes. It's resurfacing the entire wall as one continuous plane.
Level 5 is the absolute top tier — basically means you skim-coat the entire surface so joints and fasteners disappear completely. Why does this matter? Because gloss paints, semi-gloss, even certain flat paints will highlight every little imperfection. You need that uniform plane. (ASTM C840 defines it officially, but on the job site, we just call it "the finish where you can't see jack.")
Anyone can spackle a nail hole, but what about old horsehair plaster, outdated textures from the 80s, or walls marred by extensive damage? This is where true expertise shines. Our team approaches each wall as a complete system, focusing on resurfacing rather than just filling. Creates a uniform, monolithic surface that looks and feels brand new.
So there's this newer home in an **Alpharetta, Georgia** subdivision — probably 2019 construction, nice neighborhood, $450K range. Homeowner calls us three months after moving in, completely frustrated. Says the walls looked fine during the walkthrough, but now? Afternoon sun comes through those big windows and every seam, screw pop, and ripple shows up like a neon sign. Builder's crew had clearly rushed the job. We came out, did a full skim coat on the main level. Took us four days, around $7,500 for materials and labor. The transformation? Night and day. That's what proper **drywall repair** gets you.
⚠️ The #1 Mistake Everyone Makes
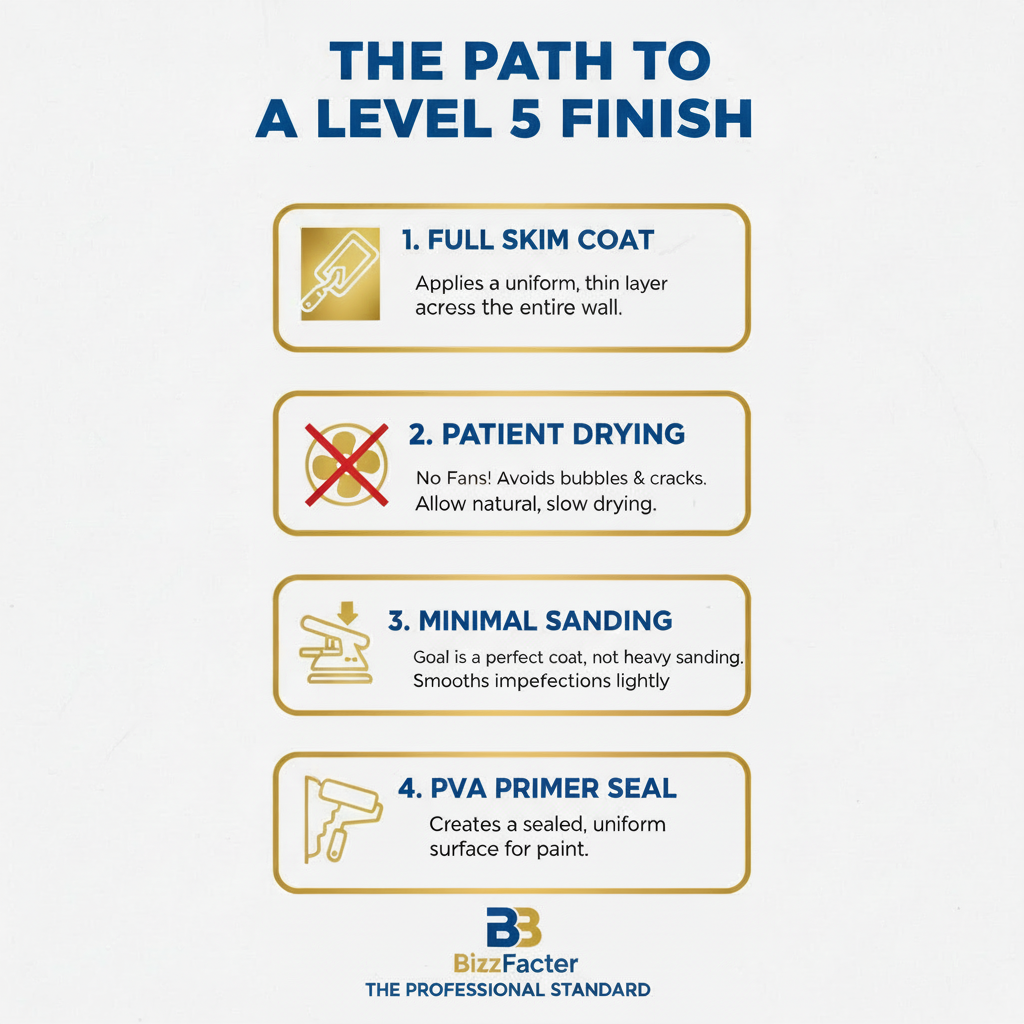
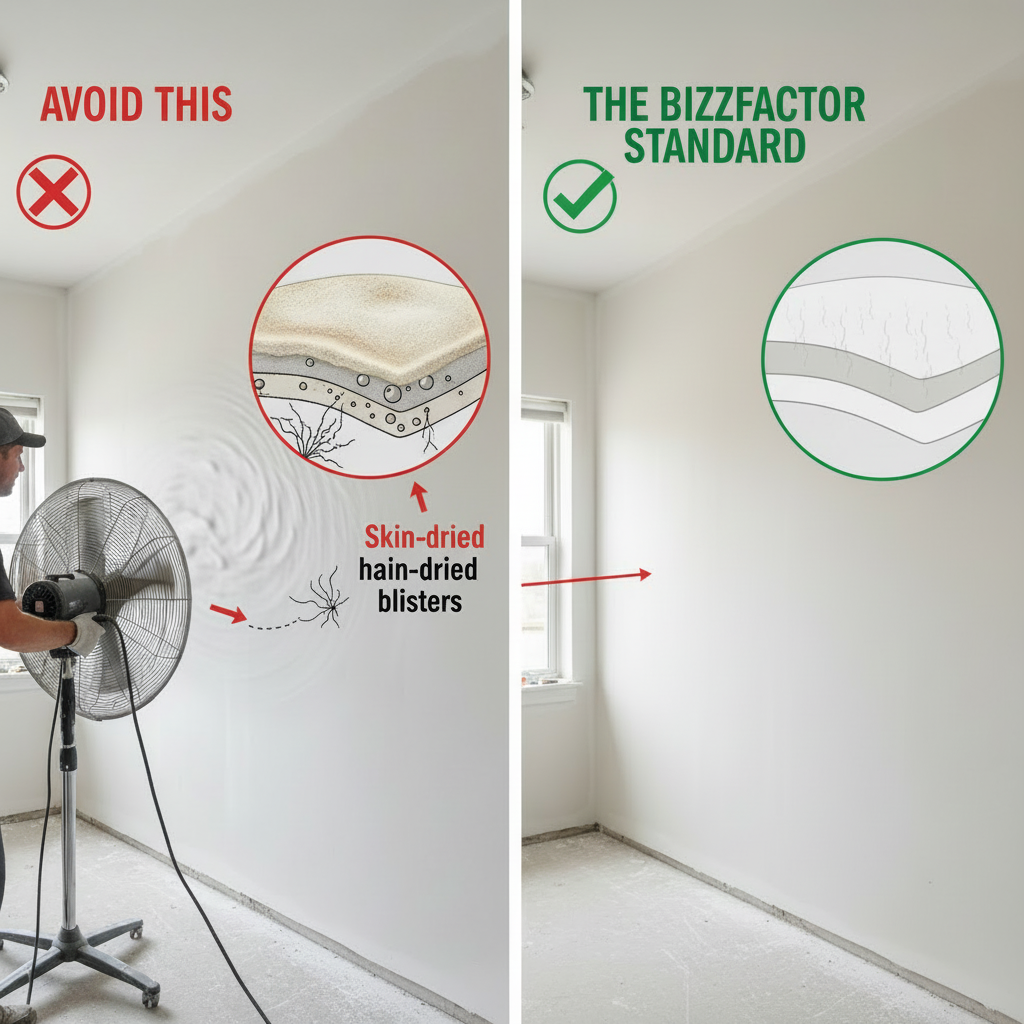
Here's what I see even experienced contractors screw up: they blast a fresh skim coat with box fans to speed things up. Don't do this. What happens is the surface dries fast and forms this hard skin, but underneath? Still wet. A few days later — sometimes a week — you'll get blisters, bubbles, tiny cracks spiderwebbing across your "finished" wall. The compound needs to cure from the inside out, not the outside in. Let it dry naturally with just normal air circulation. You'll thank me later.
What's actually happening is called "case hardening" — the outer layer sets up rock-hard while moisture's still trapped inside. When that moisture finally escapes, it creates shrinkage in weird places, and you get bonding failures. That's the real issue. Manufacturers usually say give it 24 hours per coat at around 70°F and 50% humidity. That's not arbitrary — it's chemistry. (ASTM C475 lays out the technical specs if you're into that kind of reading.)
Our Team's Go-To Compound
Here's the thing: here's the thing: many inquire, "Can't I just use DAP from the hardware store?" For minor patches, yes, it suffices. However, for a genuine Level 5 finish, the difference is profound. Our crew's been doing this for over 20 years combined, and we won't touch anything but **Hoosier-Boy All Purpose Topping Compound** for final coats. It's creamier — spreads like butter compared to the box-store stuff — and you can trowel it tight enough that you barely have to sand. That's the whole game right there. For flawless skim coats, it's our non-negotiable choice in **wall preparation**.
Why's it better? The aggregate's finer, there's more polymer in the mix. You get less shrinkage, easier sanding, smoother workability. It's formulated specifically as a topping compound under ASTM C475 standards, which basically means it's designed for this exact application — final finish coats where appearance is everything.
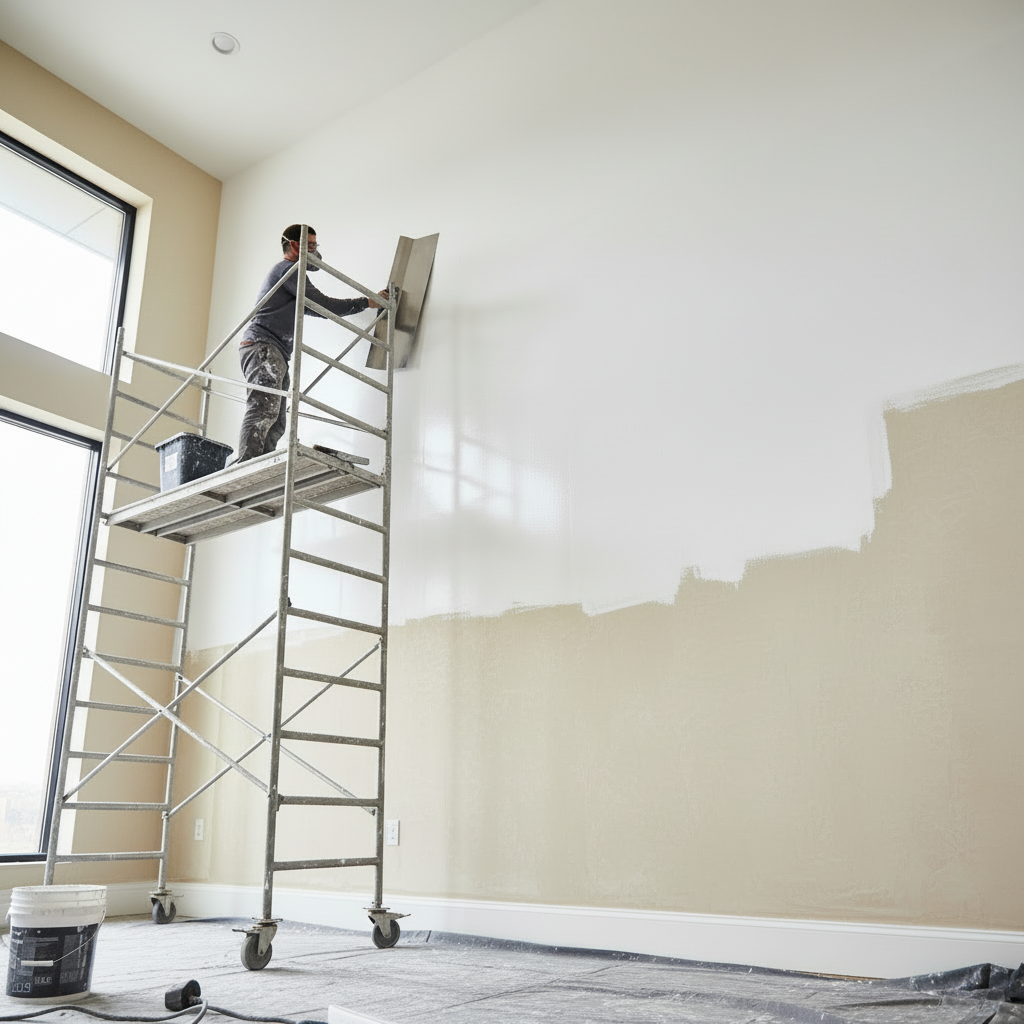
The Pro Secret Most Guides Won't Tell You
Want to know the real difference between a craftsman and someone who just watched YouTube videos? It's not how good you're at sanding. It's how little sanding you *need* to do. We apply what we call 'burn coats' — paper-thin layers, maybe five or six passes, using firm wrist pressure to trowel each one tight as hell against the wall. (Your forearm's gonna burn after an hour, trust me.) This builds up a smooth surface gradually instead of globbing on thick mud you'll spend all day sanding down. Less dust, less work, better result. This is **surface refinement** done right.
We call it "tight troweling" around here. What you're doing is using firm pressure to work the compound thin — the mechanical action temporarily makes it flow easier (that's the thixotropic thing), then it sets up uniform and flat. Builds up in controlled layers. No high spots. It's an art, really.
Essential Materials for a Flawless Finish
You absolutely can't get a perfect finish with cheap materials. I've seen DIYers try it with $8 buckets of pre-mixed mud, and within three months they're calling us to fix the cracks. You get what you pay for — every single time.
What's consistently in our van for every smoothing project:
- **Primer:** High-quality PVA drywall primer seals the newly smoothed surface. We prefer **Zinsser B-I-N Shellac-Base Primer** for its superior stain-blocking properties and quick drying time, especially in areas where residual water stains or smoke damage might be an issue. That's the real issue.
For most skim coat jobs, a good PVA primer works great — seals the surface, evens out porosity so your paint goes on consistently. MPI Standard MPI-50 covers the specs if you're wondering what "good" means technically. (See: [Benefits of Professional Priming](link-to-priming-article))
- **Joint Compound:** Hoosier-Boy Topping for the final coats, backed up by a reliable all-purpose compound for initial filling stages.
For heavy fills or first coats? Setting-type compound (like USG Easy Sand 90) that hardens chemically, not by drying. We use this when we need fast build-up. These compounds are rated by their setting time — 5, 20, 45, 90 minutes — and meet ASTM C475 requirements for setting-type compounds.
- **Tape:** FibaFuse or fiberglass mesh tape reinforces cracks and seams. Don't skip this.
Now here's where it gets interesting — paper tape's actually the standard for drywall joints per ASTM C475. Stronger for flat seams. But fiberglass mesh? We use that for patches, repairs, corners, or when we're working over old plaster where paper tape won't stick worth a damn. Mesh has better flexibility for renovation work. We follow IRC codes R702.3.6 and R702.3.7 for proper taping technique, but practically speaking, you use the right tape for the job at hand.
- **Tools:** Premium set of stainless steel taping knives (6, 8, and 12-inch blades) plus a durable mud pan. Our knives are always flexible, high-carbon stainless steel (from brands like Hyde or LEVEL5 tools), meticulously cleaned after each use to prevent compound buildup, which creates drag lines.
We also use specialized corner tools and an 18-inch mud pan for larger skimming areas — essential for maintaining a wet edge and working efficiently.
The Complete Wall Preparation Process
Real talk — most of the work happens before you ever open the first bucket. We've learned the hard way (so you don't have to) that skipping prep means you'll be back in six months fixing the same wall. Here's how we do it:
1. **Clear & Protect:** First thing? We pull all outlet covers, switch plates, wall hangings. Sounds basic, but it matters. We also de-energize electrical circuits at the breaker panel before touching any electrical device covers — NEC Article 110.16 and OSHA safety guidelines aren't optional around here.
Then we protect your floors and furniture with rosin paper and plastic sheeting. Clean workspace means safer, more efficient work. Our plastic sheeting's typically 0.7 mil or thicker, draped and taped securely with painter's tape to create dust barriers (meets generally accepted industry standards for dust containment).
2. **Clean the Surface:** I can't tell you how many walls we've seen where the previous guy just mudded right over kitchen grease or cigarette residue. Won't stick. Period. We wipe everything down with a TSP substitute — gets rid of oils, dust, anything that'll prevent adhesion. Five minutes here saves you hours later.
Last month in **Roswell, GA**, we tackled a smoke-damaged kitchen wall — previous owner was a heavy smoker, nicotine film on everything. We hit it with **TSP-PF** (that's phosphate-free trisodium phosphate substitute — same cleaning power, environmentally friendlier). For mold or mildew, we'll use a diluted bleach solution (1 part bleach to 10 parts water) or specialized fungicidal wash, followed by thorough rinsing and drying. Always follow manufacturer instructions and local environmental regs on this stuff. Ensures optimal adhesion and prevents biological growth from screwing up your new finish.
Now, 3. **Assess & Repair:** Then we identify and address any underlying issues. Hairline cracks need a different approach than major settlement cracks (which require mesh tape for robust reinforcement). Ignoring this? You'll get recurring cracks.
For static hairline cracks (less than 1/16"), a simple skim coat might work. For active cracks or cracks wider than 1/16", we'll V-groove the crack, fill it with a setting-type compound, then embed fiberglass mesh tape (usually 2" wide self-adhesive or FibaTape) over it, followed by subsequent coats of joint compound. This mechanical reinforcement prevents the crack from reappearing due to minor structural movement — standard best practices from various industry repair manuals.
4. **Scrape & Sand:** Finally, we scrape away any peeling paint and lightly sand high spots to establish a stable and uniform base for the first compound application. Proactive step that helps achieve a smoother result.
We use tungsten carbide scrapers for stubborn peeling paint or delaminated layers. For sanding, we start with 80-grit sandpaper to remove major imperfections and feather existing textures, moving to 120-grit for general smoothing of wall surfaces. Provides a tooth for optimal adhesion of the new skim coat material.
Sanding: The Final Polish
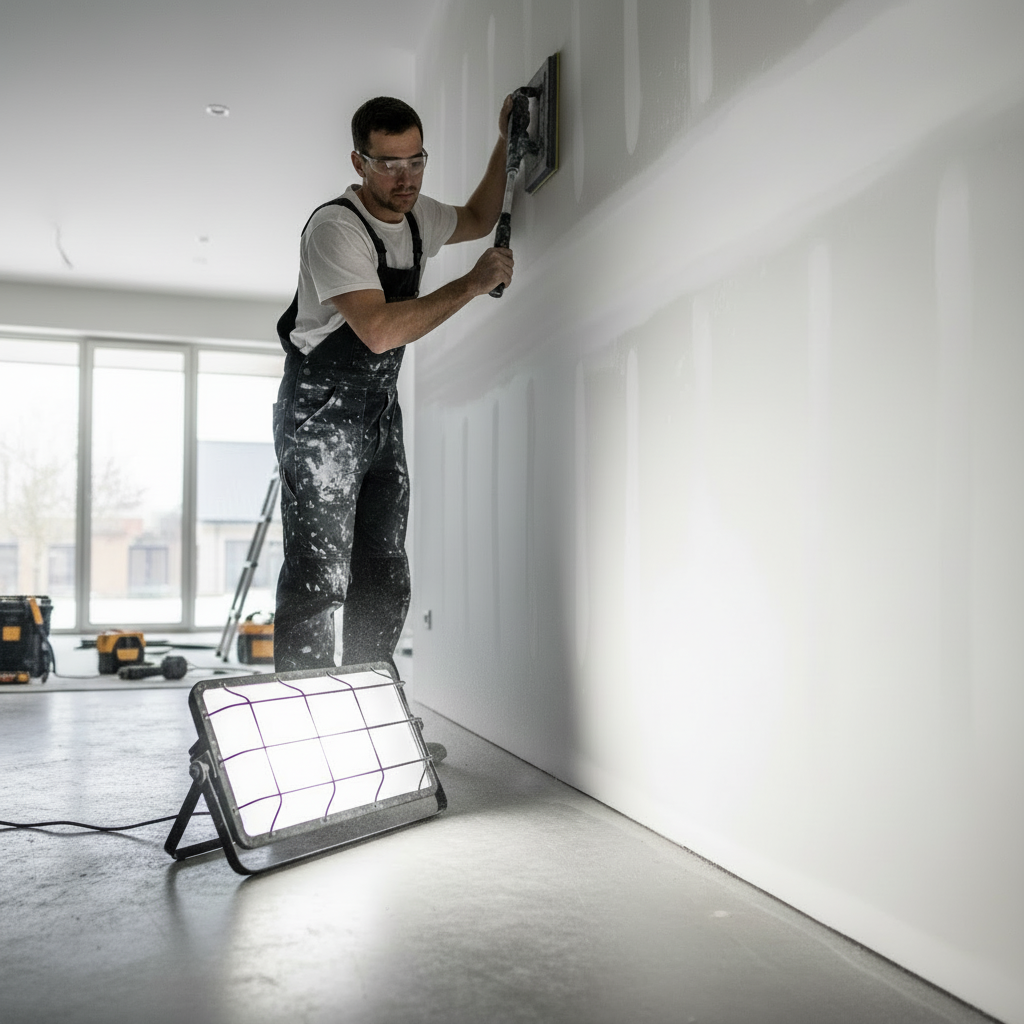
Sanding's where you refine everything — it's the difference between "pretty good" and "holy crap, that's perfect." You've gotta use progressive grits, starting around 120 to knock down any ridges, then finishing with 220 to polish it smooth. That's the real issue. Our guys run professional pole sanders with built-in dust collection, which keeps your house from looking like a snowstorm hit. This is what separates the pros from the weekend warriors doing **dustless sanding**.
**So, how do you sand without creating a dust apocalypse?** This is a common
In-Depth Look
Detailed illustration of key concepts
Visual Guide
Infographic illustration for this topic
Side-by-Side Comparison
Visual comparison of options and alternatives
Sources & References
- The Secrets of Pro Painters: Mastering Interior Painting Techniques
- All About Wall Repair: Spackling Guide | DAP Global
- Perfectly Smooth Walls: A Skim Coating Tutorial - Room for Tuesday
- How to Prepare Walls for a Smooth Paint Finish?
- DIY Wall Patching & Painting: Step-by-Step Guide for Beginners
- Navigating Painting Rules for Commercial Buildings Made Simple
- Best Interior & Exterior Paint Buying Guide - Consumer Reports
- Best Paint for Commercial Buildings - Miko LLC
- Best Industrial Painting Brands: A 2025 Comparison Guide
- Building Codes, Standards, Regulations: FAQs
Frequently Asked Questions
Need Professional Help?
Find top-rated house painters experts in your area