Learn pro whitewashing techniques from licensed refinishers. Get step-by-step guidance, material lists, and real project examples for stunning results.
Key Takeaways
Whitewash Old Furniture: Pro [Techniques](/guides/house-painters/wall-painting-guide-tips) That Work
Whitewashing is a timeless finishing technique that breathes new life into tired wood furniture, transforming it with a fresh, often vintage-inspired aesthetic. While seemingly simple, achieving a professional whitewashed look requires attention to detail and understanding of specific processes. This guide delves into the essential techniques, from preparation to application, ensuring successful results.
Understanding the Whitewashing Technique
At its core, whitewashing involves applying a diluted translucent white finish that allows the natural wood grain and texture to show through. Unlike opaque paint, it provides a soft, weathered, and often coastal or farmhouse-style appearance. The key is in balancing coverage with transparency.
Surface Preparation Considerations
Thorough surface preparation is non-negotiable for a successful whitewash. The longevity and appearance of your finish are directly tied to how well you prepare the wood.
1. **Cleaning:** Start by thoroughly cleaning the furniture. Use a degreaser or mild soap and water to remove dirt, grease, and grime. Rinse well and allow to dry completely.
2. **Sanding:** Lightly sand the entire piece. For raw wood, start with 150-grit sandpaper, then move to 220-grit for a smooth finish. For previously finished wood, sand enough to scuff the surface and provide "tooth" for the whitewash to adhere. Always sand in the direction of the wood grain.
3. **Dust Removal:** After sanding, use a tack cloth or a vacuum with a brush attachment to remove all sanding dust. Any remaining dust can lead to a bumpy or uneven finish.
4. **Repair:** Fill any gouges, cracks, or imperfections with wood filler. Allow it to dry, then sand smooth.
Selecting Materials for Whitewashing
Choosing the right materials is crucial for achieving your desired effect. Not all whitewash solutions behave the same way.
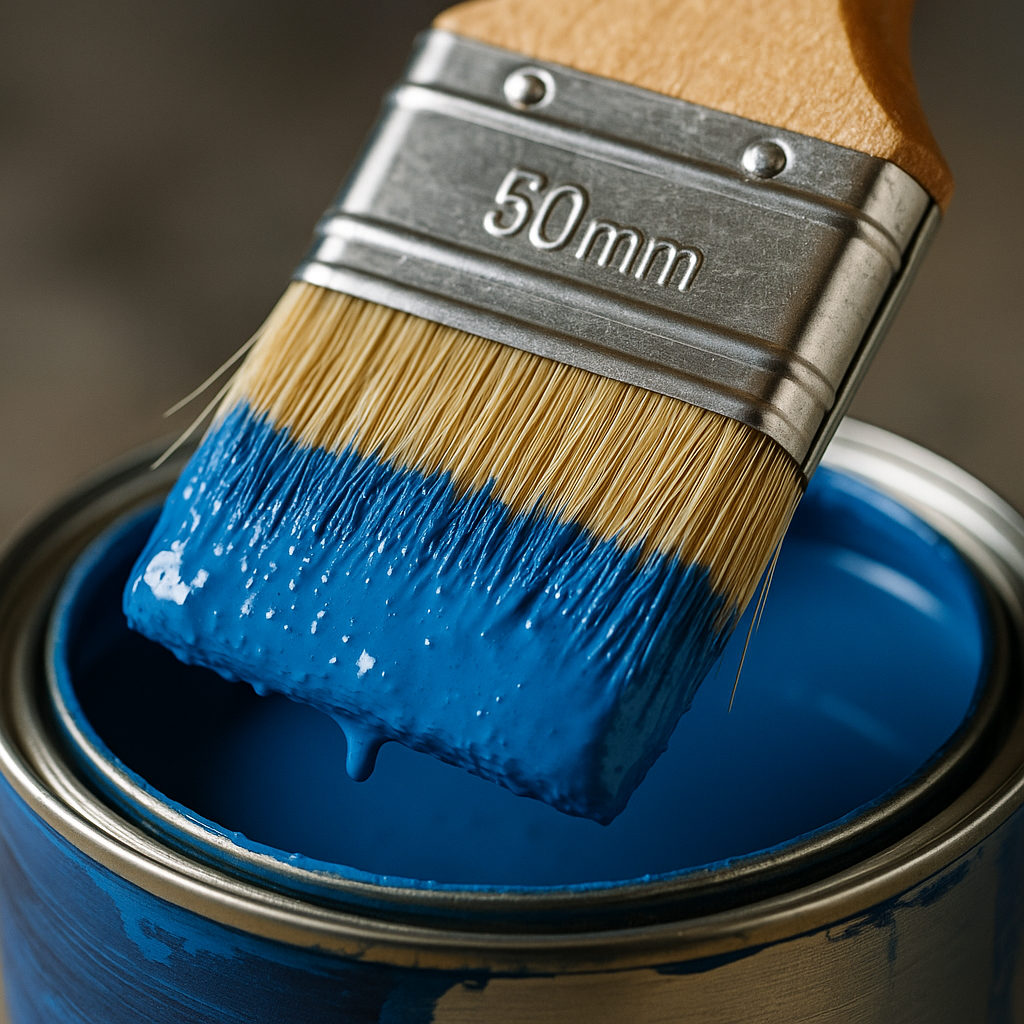
- **Diluted Paint:** This is the most common method. Use a good quality latex or acrylic paint (typically matte or eggshell finish) diluted with water. The ratio can vary from 1:1 to 1:4 (paint:water), depending on the desired opacity. Test your ratio on scrap wood.
- **Ready-Made Whitewash Products:** Several brands offer pre-mixed whitewash solutions. These are convenient and formulated for consistent results.
- **Pickling Stain:** While not technically whitewashing, pickling stains create a similar translucent white effect. They penetrate the wood fibers more deeply.
- **Liming Wax:** This wax-based product is rubbed into the grain, leaving a white residue that highlights the wood's texture, often used for a more rustic, antique look.
Working with Different Wood Surfaces
Different wood species react uniquely to whitewash. Understanding these differences will help you achieve consistent results.
- **Porous Woods (e.g., Pine, Poplar):** These woods absorb more whitewash, potentially leading to a more opaque finish if not worked quickly or diluted sufficiently.
- **Dense Woods (e.g., Oak, Maple):** These woods absorb less, making it easier to achieve a lighter, more translucent effect, but they may require more effort to wipe back.
- **Open-Grain Woods (e.g., Oak, Ash):** Whitewash tends to settle nicely into the pronounced grain, accentuating its texture.
**Pro Tip:** Always test your chosen whitewash material and application method on an inconspicuous area of the furniture or, even better, on a separate piece of the same type of wood. This step is invaluable for preventing unwanted surprises.
Protective Finishing
After whitewashing, applying a protective topcoat is essential, especially for high-traffic pieces. The type of topcoat depends on the furniture's intended use and desired durability.
- **Polyurethane (Water-Based):** Offers excellent durability and is ideal for tabletops, dressers, and high-use items. Water-based options are preferred as oil-based polyurethanes can yellow over time, altering the whitewash color.
- **Polycrylic:** A durable, clear topcoat similar to polyurethane but less prone to yellowing. Good for most furniture applications.
- **Wax:** Provides a soft, natural finish and light protection. Best for decorative pieces or those that won't see heavy use. Reapplication may be needed periodically.
Application [Techniques](/guides/house-painters/wall-painting-guide-tips)
The tools you use and your application method significantly impact the final look. Experiment beforehand to find your preferred technique.
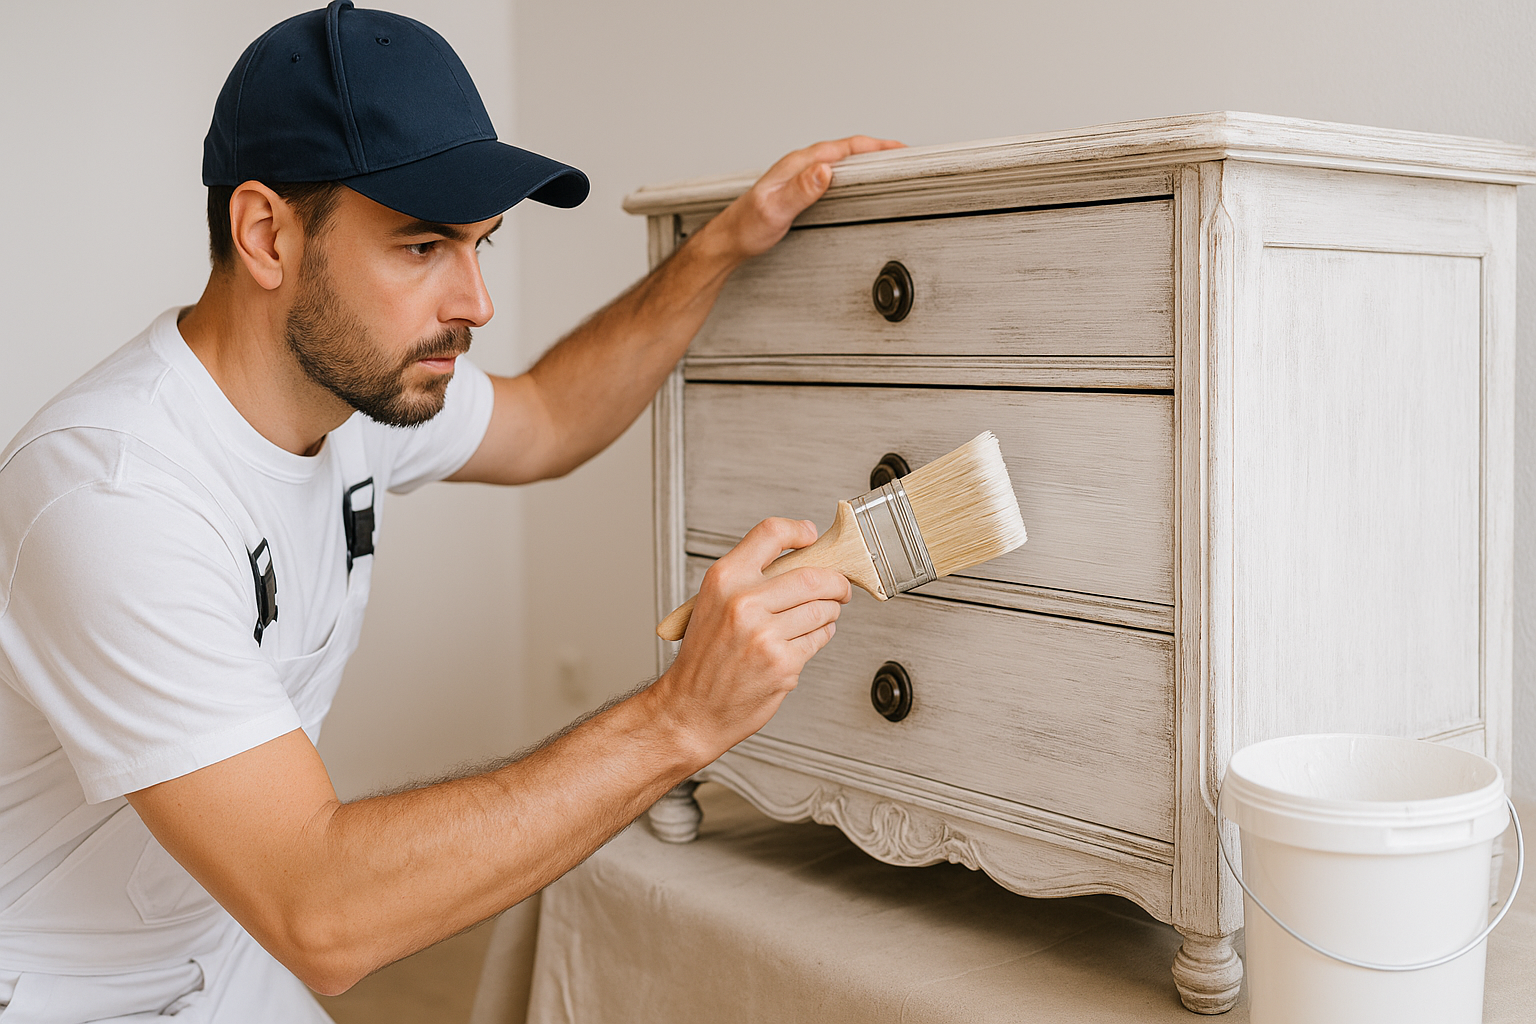
- **Brush Application:** Use a good quality synthetic brush for water-based whitewash. Apply in the direction of the grain, then wipe back immediately.
- **Rag Application:** For a softer, more subtle effect, apply whitewash with a lint-free rag, wiping it into the wood and then wiping off the excess.
- **Sponge Application:** A sponge can create a textured or mottled effect, often used for a more distressed look.
Application Tips
What works on one project might flop on another. Different tools create wildly different effects, so grab some scrap pieces and experiment before touching your furniture. Consider these points:
- **Work in Sections:** Break larger pieces into manageable sections to maintain control over the drying time and wiping process.
- **Even Application:** Apply whitewash evenly to avoid blotchiness. Work quickly, especially with diluted paint, as it begins to dry fast.
- **Wiping Back:** This is critical! Immediately after applying, use a clean, lint-free rag to wipe back the excess. The amount you wipe off determines the opacity and how much grain shows through. Wipe in the direction of the grain.
- **Layering:** For a more opaque look, allow the first coat to dry completely, then apply a second, lighter coat, wiping back as desired.
Working Method
Maintain control throughout the process. Apply whitewash to one area, execute your desired technique (e.g., apply and wipe back), then move to the next section. This systematic approach ensures consistency and prevents the whitewash from drying too much before you can manipulate it.
Common Considerations
Understanding wood's inherent variability is key to successful whitewashing. Some wood species, like pine, are highly absorbent, soaking up whitewash quickly. Others, like maple, are denser and absorb less. Always perform a test on an inconspicuous area or scrap wood to predict how your specific wood will react. This foresight can save you from unexpected results like blotchiness or excessive opaqueness.
Application Approaches
Mixing your own whitewash offers immense flexibility. By adjusting the paint-to-water ratio, you can fine-tune the opacity to perfectly match your vision. A higher paint concentration will yield a more opaque, paint-like finish, while more water will result in a sheer, translucent wash that highlights the wood grain more effectively. Refer to our [guide on choosing white paint](/guides/house-painters/white-paint-choosing-guide) for color selection tips.
Advanced [Techniques](/guides/house-painters/wall-painting-guide-tips)
Experimenting with application methods can dramatically alter the final look. For instance:
- **Dry Brushing:** Using a nearly dry brush with minimal whitewash can create a textured, subtle effect, particularly nice over existing paint or stain.
- **Distressing:** After whitewashing and sealing, you can gently sand edges and high-traffic areas to reveal the underlying wood or previous finish, enhancing the aged appearance.
Application Considerations
Be mindful of how different parts of your furniture absorb whitewash. End grain, for example, is much more porous than face grain and will absorb significantly more product. To achieve a uniform look across your piece:
- **Feathering:** Apply less whitewash to end grain or areas you know are highly absorbent. You can "feather" out the application as you approach these spots.
- **Pre-conditioning:** For very dry or unevenly absorbent wood, a very light, diluted coat of wood conditioner can help create a more even absorption, though this is less common for whitewashing than for staining. Our article on [wall painting techniques](/guides/house-painters/wall-painting-guide-tips) offers transferable brush control advice.
By understanding these professional techniques and paying close attention to detail, you can confidently whitewash old furniture, transforming it into beautiful, refreshed pieces that complement your home's aesthetic.
In-Depth Look
Detailed illustration of key concepts
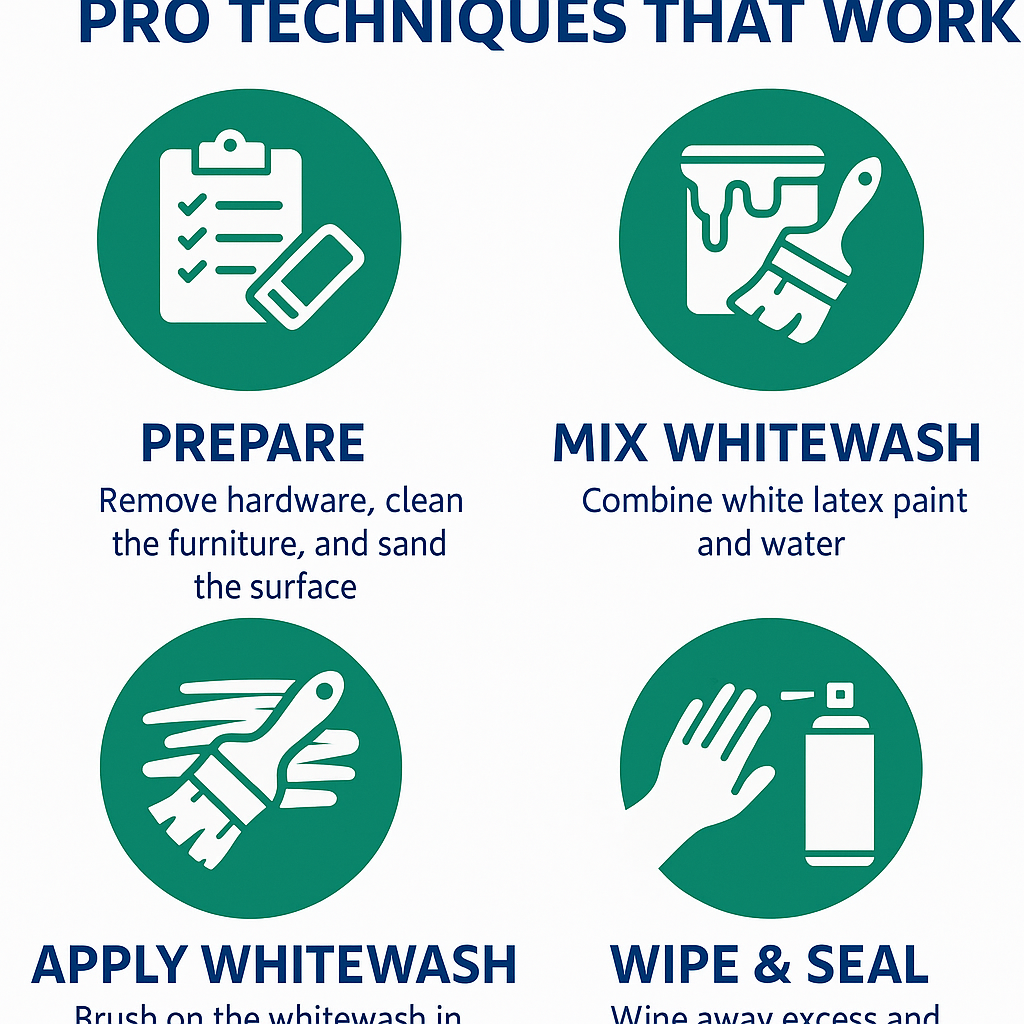
Visual Guide
Infographic illustration for this topic
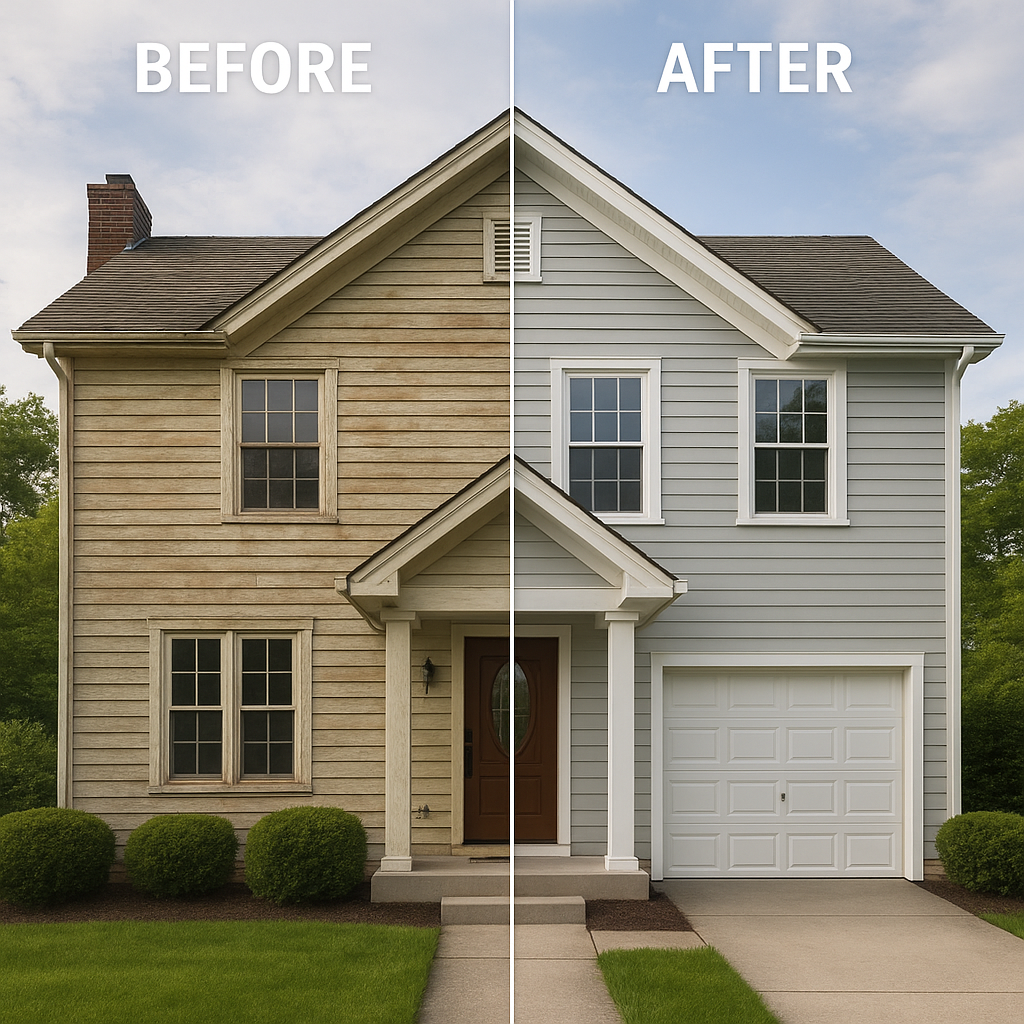
Side-by-Side Comparison
Visual comparison of options and alternatives
Sources & References
Frequently Asked Questions
Need Professional Help?
Find top-rated house painters experts in your area