
Moving your wardrobe? Learn when it's economical to relocate vs. buy new. Expert tips on assessing wardrobe condition, disassembly, and costs.
Key Takeaways
- **Particle board:** Hand-tight, then maybe a quarter turn more. That's it. Any more and you're crushing the compressed wood fibers, creating a bigger hole that'll never hold again.
- **Solid wood:** Firm, sure, but if you feel serious resistance? Back off. Wood can crack.
- **Metal brackets:** Whatever the manufacturer says — we actually read those specs (which puts us ahead of 90% of DIYers right there).
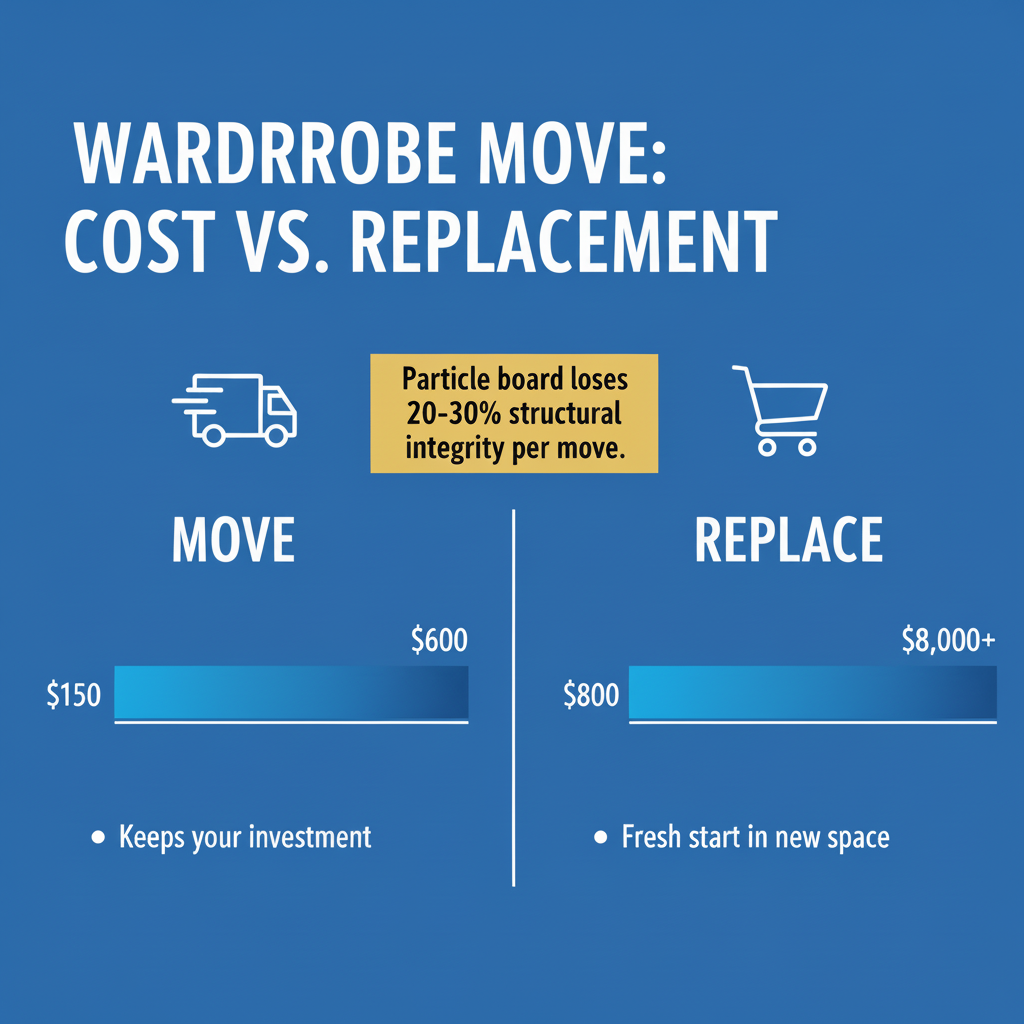
- Professional fees (typically $150-$600 depending on complexity)
- Risk of damage (even pros occasionally scratch something)
Key Takeaways
Move Your Wardrobe or Buy New? A Pro Moving Guide for 2024
Should you schlep your wardrobe to the new place or just buy something fresh?
I get this question probably three times a week. At BizzFactor, we've helped enough families work through this exact choice that I can tell you — it basically comes down to three things: what your wardrobe's worth now, what it'll cost to move, and whether it'll even fit through the doorways at your new place.
When Moving Your Wardrobe Makes Financial Sense

Look — if your wardrobe's under five years old, still looks decent, and moving it costs less than half of buying new? Keep it.
Here's what I mean by the math: Those **IKEA PAX systems** run anywhere from $800 to $1,500. Custom jobs like **California Closets**? You're looking at $3,500 to $8,000, sometimes way more. Our licensed crews typically charge $150-$400 to break it down and put it back together.
So if your wardrobe originally cost $2,000 and it's still solid, spending $400 to move it beats dropping another two grand.
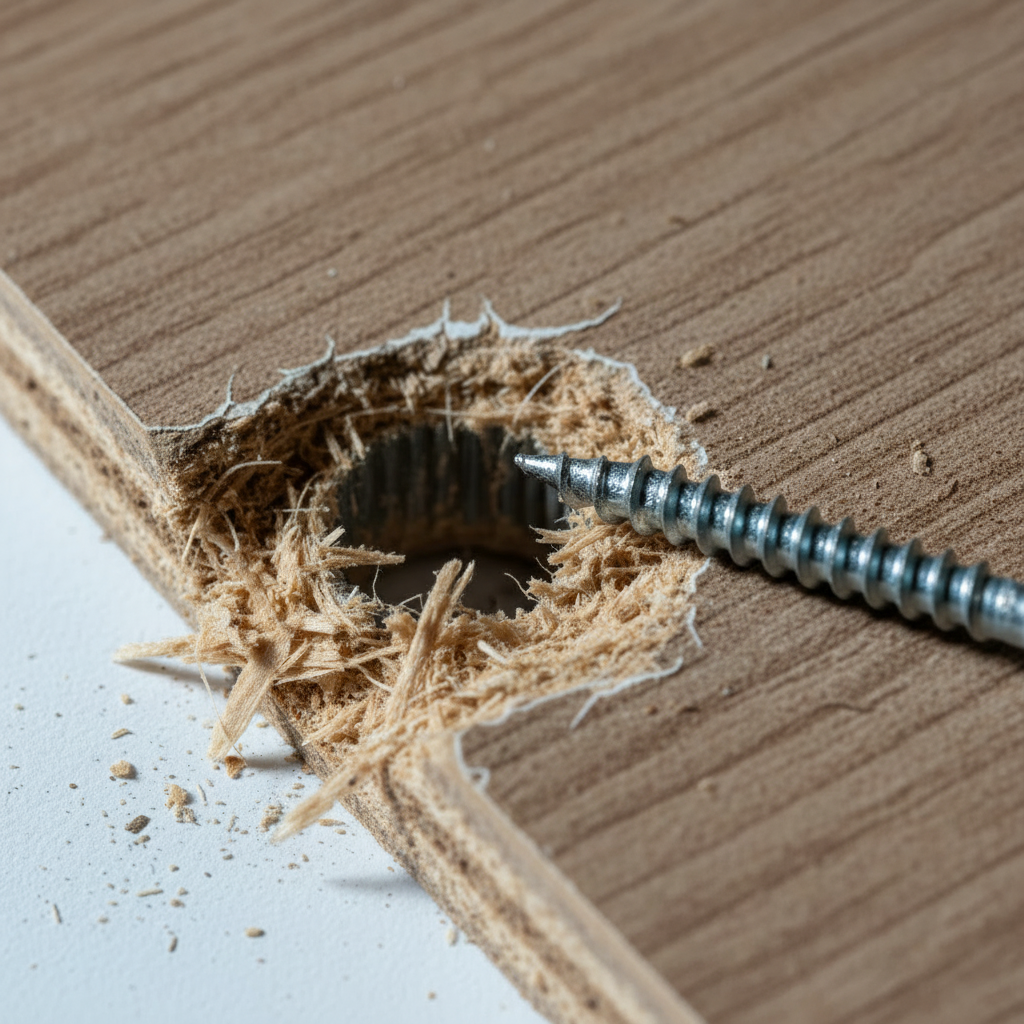
Now, here's where it gets tricky — cheap particle board wardrobes don't age well. A particle board wardrobe that's been through a couple moves already? It's probably not surviving another one. Last month we showed up to move an IKEA unit where the screw holes were so chewed up there was literally nothing left to grip. Customer ended up buying new anyway, but paid us $180 for the diagnosis.
**What happens to particle board furniture after multiple moves?** Each time you take it apart and put it back together, the screw holes get a little bigger. The wood composite gets weaker. And eventually — usually on move number two or three — the whole thing just won't hold together anymore. I've seen solid-looking wardrobes crumble during disassembly because they'd been moved twice before and nobody realized the internal damage.
How to Assess Your Wardrobe's Readiness for Another Move:
1. **Check All Joints:** Look for any signs of looseness or instability.
2. **Inspect Screw Holes:** Examine for stripped threads or enlarged openings.
3. **Test Door Alignment:** Ensure doors hang evenly and close properly.
4. **Examine the Back Panel:** Check for bowing, detachment, or excessive flexibility.
If these issues are present, your wardrobe might be signaling its readiness for retirement.
BizzFactor Pro Tip: Avoid Full Disassembly When Possible
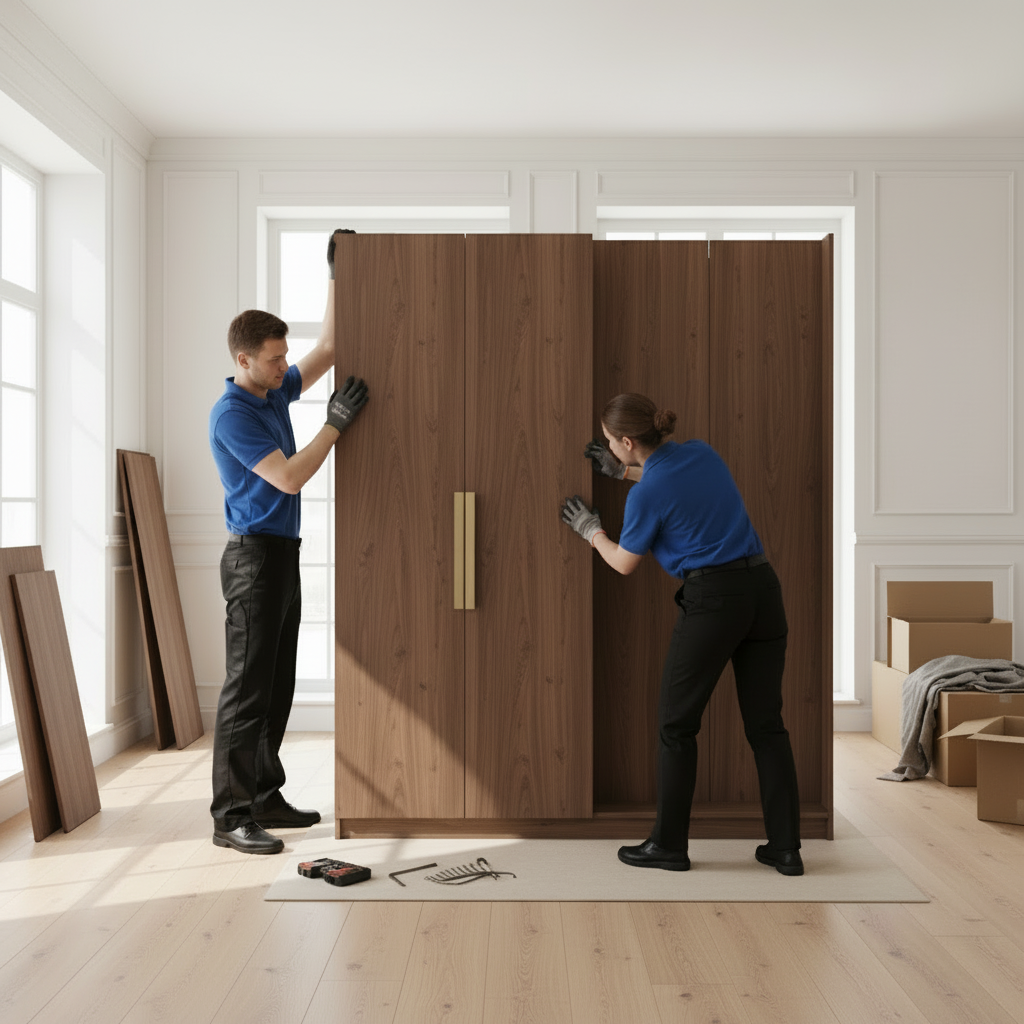
After moving furniture for 20+ years, I'll tell you the single best trick we know: don't take the whole thing apart if you don't have to. Remove doors, shelves, and that flimsy back panel — sure. But that main frame? If your doorways and hallways can handle it, move it intact. Those factory joints were assembled by machines with perfect torque specs. You're not recreating that in your bedroom with a Phillips head screwdriver (neither are we, honestly). We've moved hundreds of wardrobes this way, and they stay rock-solid because we never disturbed the core structure.
Professional Wardrobe Disassembly: The Technical Process
So here's what actually happens when pros break down your wardrobe.
First? Photos. Lots of them.
I'm talking every angle, every connection, shelf positions, how the cam locks line up — everything. Because trust me, three weeks later when you're staring at 47 identical-looking screws in your new bedroom, you'll be glad someone took pictures.
Then comes hardware organization. Labeled bags for each section. Cam locks in one, screws in another, dowels separated out. Sounds obsessive, maybe, but I've seen too many DIY jobs turn into expensive disasters because somebody dumped all the hardware into one grocery bag and hoped for the best.
The Correct Disassembly Order (Working Backwards from Assembly):
1. Remove the back panel first.
2. Take out all shelves and drawers.
3. Disconnect side panels carefully.
4. Handle doors, ideally with a minimum of two people for safety and protection.
Real talk — we recently handled a custom built-in system valued at $4,200. The homeowner had attempted a DIY disassembly, resulting in missing brackets, mixed hardware, and damaged panels. That's where things get expensive. Our specialized team invested two full days documenting, sourcing replacement parts, and meticulously reassembling the unit. The final cost to the client was $1,400 – a significant saving compared to full replacement. Learn more about [packing services for fragile items](https://bizzfactor.com/articles/packing-fragile-items).
Why Meticulous Documentation is Essential
You know those little IKEA instruction booklets? Gone. Always. I don't know where they disappear to, but they're never around when you need them. That's exactly why our guys photograph the whole breakdown on their tablets — every single step gets documented. Those photos turn into your reassembly blueprint, and you'll thank yourself for having them when you're in your new place trying to figure out which identical white panel goes where.
Reassembly Challenges and Expert Solutions
Here's the deal: putting a wardrobe back together isn't just disassembly played in reverse.
You need three things done right — level placement, proper wall anchoring (especially for tall units), and correct hardware torque. Get any of those wrong and you're looking at a wobbly mess that might tip over, or worse, pull chunks out of your new drywall.
Look — every house is different. That floor in your new bedroom that looks perfectly flat? Probably slopes a quarter-inch from one side to the other (we check with precision levels on every job). Walls rarely run truly plumb either. Had a place in Buckhead last fall where the bedroom floor sloped so badly the client's kids used it as a marble racetrack.
Look — so yeah — our techs show up with precision levels and shims. Every unit gets checked for square before final tightening. And if it's over 30 inches tall? **We're anchoring that thing to the wall.** Not optional. The FMCSA actually requires it for safety, and we've seen enough tipped furniture in our careers to take it seriously. We find the studs (not just drywall), use proper brackets, secure everything.
How Tight Should Hardware Be? The DIY Pitfall
Overtightening wrecks more furniture than anything else I've seen — especially particle board, which strips faster than you'd think.
But loose joints? Those fail within weeks.
There's a sweet spot. And honestly, it varies by material.
**Here's what we actually do:**
- **Particle board:** Hand-tight, then maybe a quarter turn more. That's it. Any more and you're crushing the compressed wood fibers, creating a bigger hole that'll never hold again.
- **Solid wood:** Firm, sure, but if you feel serious resistance? Back off. Wood can crack.
- **Metal brackets:** Whatever the manufacturer says — we actually read those specs (which puts us ahead of 90% of DIYers right there).
Real-World Case Study: Overcoming Reassembly Obstacles
We moved a Pottery Barn wardrobe system last April — beautiful piece, probably $2,800 new. Client's new bedroom in Vinings? Disaster.
Floor sloped almost half an inch across eight feet. Walls weren't even close to plumb.
We spent about four hours on that job. Custom shims under the base. Wall-mounted support brackets (hitting actual studs, not just drywall anchors). Constantly checking with our laser level, adjusting, rechecking. The client actually said it was more stable than it had been in the old house — which I believe, because we don't just slap things together and hope.
When Professional Moving Services Justify Their Cost
Look — if your wardrobe cost over $1,500, or it's a built-in with electrical, or you just don't have time for a weekend DIY disaster, hiring pros probably makes sense.
Here's the thing: some wardrobes basically need specialists, period. Custom systems with integrated lighting? That's electrical work (most moving companies partner with licensed electricians for that part). Built-ins with complex mounting hardware? You want someone who's reassembled fifty of these things and knows exactly what they're doing.
Now, let's talk insurance — because this matters more than people think. Our crews carry full liability coverage through verified providers. Meaning if we drop your $4,000 armoire down the stairs? You're covered.
DIY that same job and accidentally punch a door through drywall? That's on you. Your homeowner's insurance probably won't touch it. Explore more about [moving insurance options](https://bizzfactor.com/articles/moving-insurance-options).
Time Investment: DIY vs. Professional Service
So I actually tracked this across dozens of jobs:
**Simple wardrobe, DIY approach:** You're looking at 6-8 hours, probably more if it's your first time.
**Same wardrobe, professional crew:** 2-3 hours max.
**Complex system, DIY:** 12-15 hours (and that's if everything goes right).
**Complex system, pros:** 4-6 hours.
Think about what your Saturday's worth to you. If you bill $50/hour at work, that DIY wardrobe job just cost you $400 in lost time (plus the pizza and beer you promised your buddies who helped).
Choosing the Right Moving Company
Not every moving company knows furniture.
Big difference between guys who haul boxes and specialists who understand modular systems. I mean, we've seen "professional movers" show up with a pickup truck and two guys who'd never touched an IKEA cam lock in their lives.
Here's what to look for: companies that document everything — photos, organized hardware, labeled bags, the whole process. National Storage Management works with crews like this, and there's a reason why.
Ask them straight up: "What's your furniture handling process?"
Now, if they can't give you specifics? If they're vague or just say "oh, we've moved lots of furniture"? Pass. You want someone who's reassembled 50 of these things and knows exactly which cam lock goes where.
Cost Analysis: Move vs. Replace
Let's break down what you're actually spending.
Moving costs you're looking at:
- Professional fees (typically $150-$600 depending on complexity)
- Risk of damage (even pros occasionally scratch something)
- Your time coordinating everything
Replacement costs vary wildly:
- Budget particle board? $200-$500
- Decent solid wood or quality laminate? $1,000-$2,500
- Custom installation? $3,000-$8,000+ (and yeah, people actually pay this)
We quoted $450 to move a California Closets system that originally cost $5,500. Client didn't even hesitate.
Hidden Costs Often Overlooked
Here's the thing: now, don't forget to factor in these less obvious expenses:
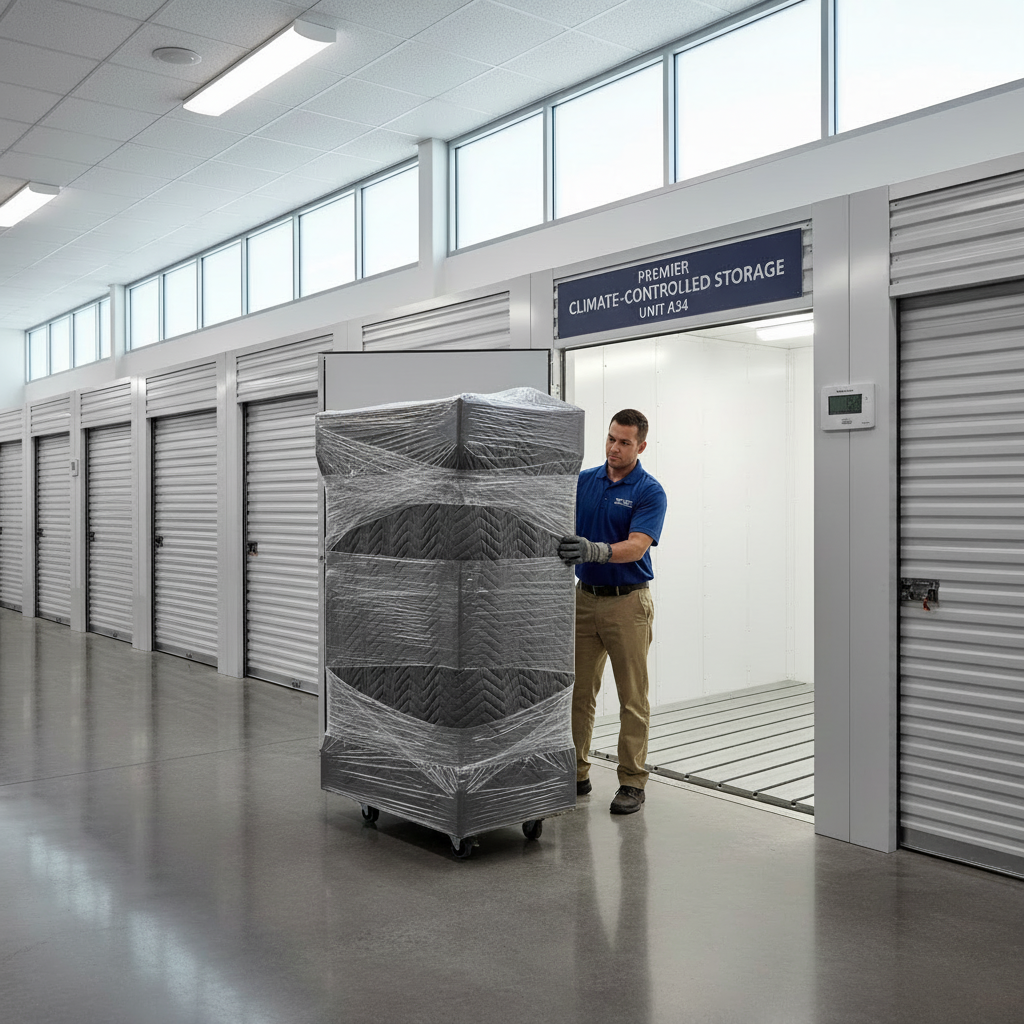
- **Temporary storage during renovation:** $75-$150 per month, depending on size and location.
- **Replacement hardware:** $25-$100 (if parts are lost or damaged).
- **Touch-up materials:** $50-$200 (for minor repairs or aesthetic improvements).
- **Your time off work:** Calculate your hourly rate and apply it to DIY efforts.
Quality Indicators for Professional Moving Companies
Now, the good movers stand out pretty quickly if you know what to look for. **FMCSA licensing** (that's the federal registration), real insurance (not just claims of insurance), documented handling processes, and specialized equipment designed for furniture work.
How to Identify a High-Quality Mover:
- **Valid FMCSA Registration Number:** Verify their legitimacy.
- **State Licensing Verification:** Confirm compliance with local regulations.
- **Minimum $1 Million Liability Coverage:** Essential for protection against significant damages.
- **Declared Value Protection Options:** Understand your coverage choices.
Their equipment also speaks volumes. Professional crews utilize specialized furniture dollies, high-quality moving blankets, ample shrink wrap, and a full suite of proper tools. Budget operators often lack this specialized gear, increasing risk. To find reputable movers, visit our [local moving companies directory](https://bizzfactor.com/local-moving-companies/).
We advise obtaining quotes from at least three licensed companies. Compare their detailed processes, not just the prices. The cheapest quote can often lead to greater costs in the long run.
Red Flags to Avoid When Selecting a Mover:
- Inability to provide FMCSA numbers or state license.
- Offers quotes over the phone without a proper in-home or virtual assessment.
- Demands unusually large deposits upfront.
- Lacks clear and comprehensive insurance documentation.
- Is unwilling to thoroughly explain their disassembly and reassembly process.
Alternative Storag
In-Depth Look
Detailed illustration of key concepts
Visual Guide
Infographic illustration for this topic
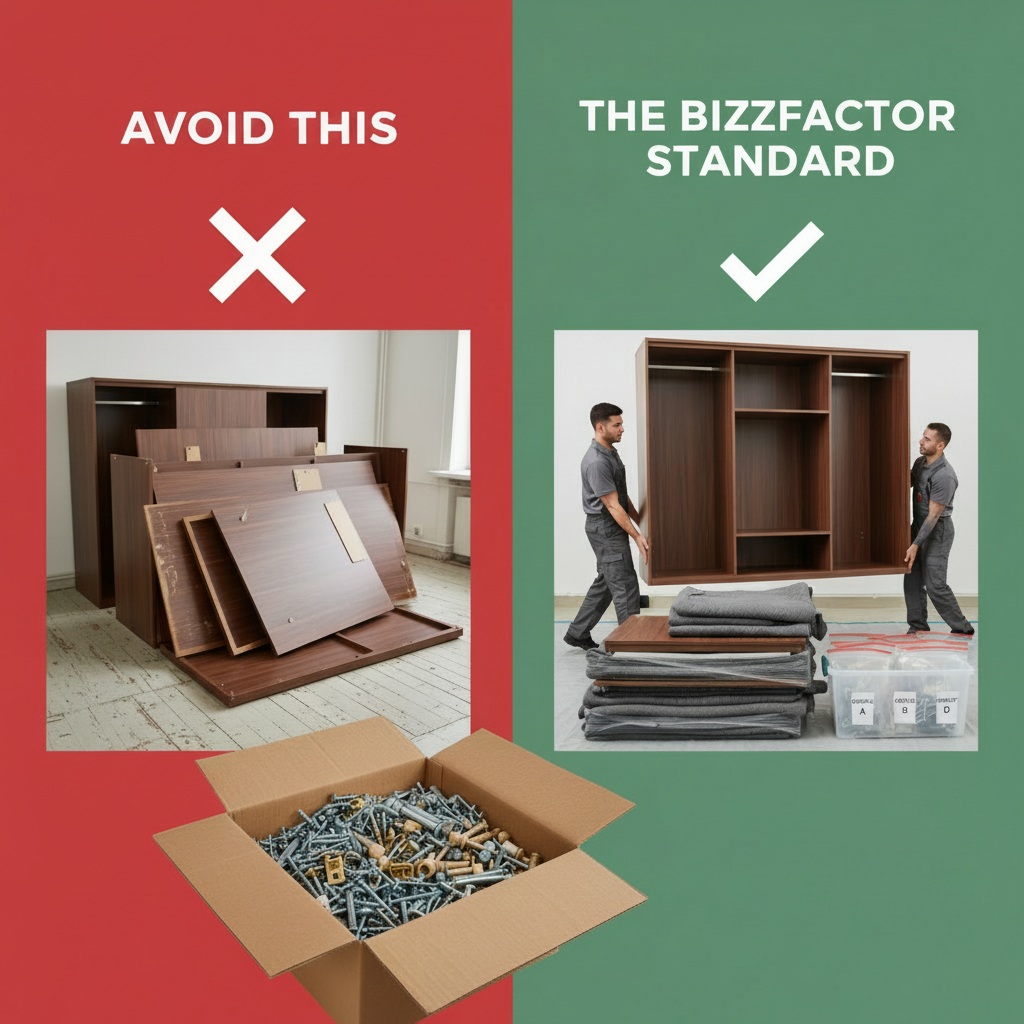
Side-by-Side Comparison
Visual comparison of options and alternatives
Sources & References
- Your 2025 Moving Guide: Tips by Your Hometown Mover.
- 20 Packing and Moving Tips and Tricks to Simplify Your Move
- How to Prep Your Home for Professional Packers
- 23 Key Things to Know for Your Move with Professional Movers.com
- Best Moving Companies in Louisiana (2025) - This Old House
- Best Moving Companies of 2025 | U.S. News - Real Estate
- Best Moving Companies in Louisiana Of 2025 - Forbes
- Types of Moving Companies & Services | Freightwaves Checkpoint
- How to Choose a Reliable Moving Company - Consumer Reports
Frequently Asked Questions
Need Professional Help?
Find top-rated moving companies experts in your area