Quick Answer
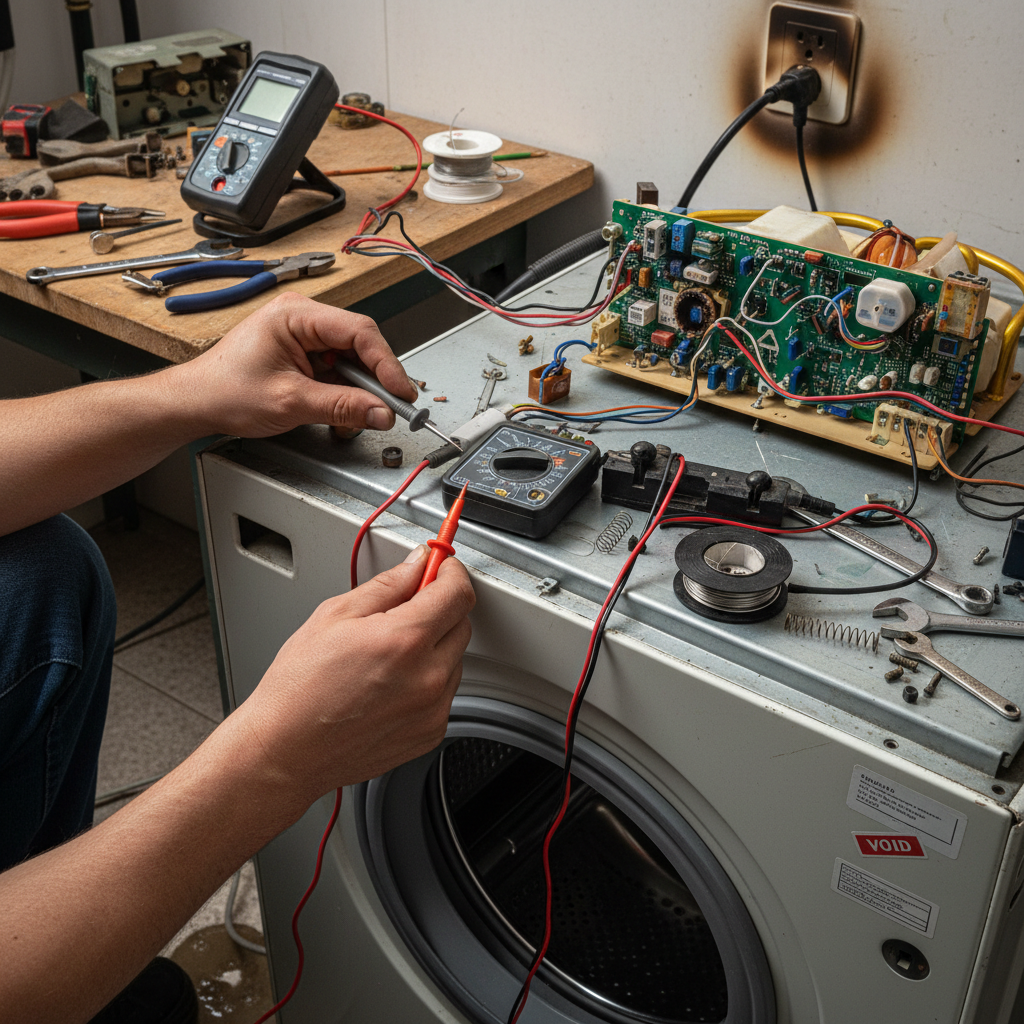
Okay, so here's the quick version. You tried to fix it yourself, and now it's worse. Stop. Don't touch anything else. The biggest mistake is trying to 'fix your fix.' You're just digging a deeper, more dangerous hole. Nine times out of ten, the problem is you missed a key safety step, like killing the power or discharging a capacitor. A pro diagnostic call will run you maybe $75 to $150 to figure out the damage. It's a small price to pay to not get shocked, start a fire, or completely wreck your appliance. Don't be a hero.
Common Symptoms
Possible Causes
Step-by-Step Diagnosis
Step 1
Stop and assess for immediate danger. If you have been injured, smell gas, or see smoke/fire, call for emergency services immediately. Your safety is the priority.
Step 2
Ensure all power and gas is off. Go to the main breaker panel and turn off the breaker for that specific appliance. Find the gas shutoff valve behind the appliance and turn it to the 'off' position.
Step 3
Perform a visual inspection from a safe distance. Look for burn marks, melted wires, water on the floor, or broken parts. Take a photo of the damage if you can; it helps the technician.
Step 4
Mentally retrace your steps. What was the last thing you touched before the problem occurred? Did you hear a sound? Did you have parts left over? This information helps diagnose what went wrong.
Step 5
Do not attempt to 'fix' the new problem. You are likely frustrated and may lack the specific knowledge for the new issue. This is the point where you call a professional technician.
Step 6
Consult the user manual. Look for the safety section. Sometimes it contains specific warnings you might have overlooked, like the need to discharge a capacitor or use a specific tool.
Step 7
Accept the situation and call for help. Be honest with the technician about what you attempted. It saves diagnostic time and helps them pinpoint the issue faster.

DIY vs Professional Costs
| Repair Type | DIY Cost | Professional Cost | Time Required |
|---|---|---|---|
Appliance repair diagnosis (post-DIY attempt) | N/A | $75 - $150 | 30-60 mins |
Repair due to DIY damage (minor components) | N/A | $150 - $500 | 1-2 hours |
Repair due to DIY damage (major components/safety hazards) | N/A | $500 - $1500+ | 2-4 hours |
Emergency service call (hazardous conditions) | N/A | $200 - $400 (plus parts & labor) | Until safe |
When to Call a Professional Appliance
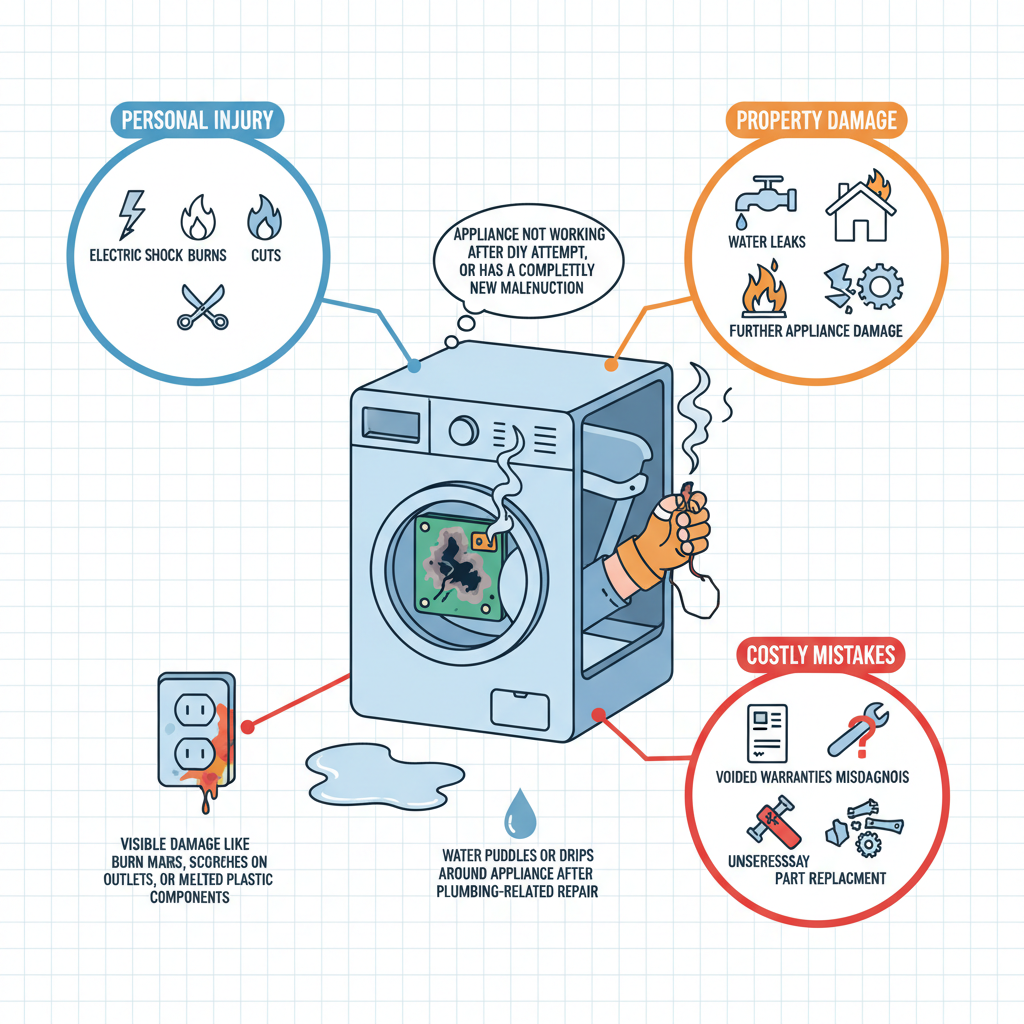
- Immediately if the appliance is sparking, smoking, leaking gas, or has a strong electrical burning smell.
- Anytime you are working with high-voltage electricity (like electric dryers and ranges), natural gas lines, or pressurized water connections.
- If you open up the appliance and feel overwhelmed or unsure of what you're looking at. There's no shame in knowing your limits.
- If the appliance is still under warranty. A DIY attempt will void it, turning a free repair into an expensive one.
- When specialized tools are required, such as refrigerant gauges, combustion analyzers, or diagnostic tools to read error codes from a control board.
- After any failed DIY attempt that results in more damage or new problems. Don't try to fix your fix.
- If personal injury, no matter how minor, occurs during your attempt. Your safety is worth more than any repair bill.
Prevention Tips
- Always turn off the power at the circuit breaker, not just by unplugging the unit. For gas appliances, turn off the dedicated gas shutoff valve.
- Before starting, research the specific dangers of the appliance you're working on, especially things like high-voltage capacitors in microwaves.
- Wear proper personal protective equipment (PPE). At a minimum, this includes insulated gloves for electrical work and safety glasses.
- Use the right tools. A cheap, all-in-one toolkit from the bargain bin is not a substitute for proper wrenches, nut drivers, and multimeters.
- Know your limits. If a repair involves the sealed system of a refrigerator, a major gas component, or a complex printed circuit board, it's a job for a pro.
- Read the user manual first. It often contains valuable safety warnings and basic troubleshooting that can prevent you from needing to open the appliance at all.
- Check your warranty. If the appliance is less than a year old (or older if you have an extended warranty), call for service. It's usually free, and DIY work will void it.
Frequently Asked Questions
Related Guides
DIY Appliance Repair vs. Hiring a Pro: A Technician's Honest Take (Troubleshooting & Fixes)
A veteran tech's guide on when to DIY appliance repair and when to call a pro. Learn the real risks, costs, and what YouTube won't tell you about fixing your stuff.
High utility bills due to inefficient appliance use and lack of energy-saving practices. Troubleshooting & Fixes
Preventing Appliance-Related Fires and Electrical Hazards in the Home Troubleshooting & Fixes (2024 Guide)
A veteran tech's guide to preventing appliance fires. Learn the warning signs, what causes them, and when to call a pro before it's a disaster.
Moving Appliances Without Breaking Them (Or Your Back)
A veteran tech's guide to moving appliances. Learn to disconnect, prep, and move your fridge, washer, or stove safely to avoid costly damage and leaks.
Eco-Friendly Appliance Disposal: What to Do with Your Old Appliances (Beyond Just Trashing Them)
A veteran tech's guide on how to get rid of old appliances. Learn about eco-friendly recycling, junk removal, and free disposal options for your old stuff.
Microwave Runs But Won't Heat (Troubleshooting & Fixes)
Microwave running but not heating your food? A veteran tech explains the common causes, from bad door switches to a failed magnetron, and how to fix it.
Need Professional Help?
Find top-rated appliance experts in your area