Quick Answer
To replace a damaged dryer vent hose, first, unplug the dryer and pull it out. Disconnect the old hose from both the dryer and the wall, cleaning away any lint. Install a new semi-rigid aluminum or foil duct, securing both ends with metal clamps. Ensure the hose is as short and straight as possible to optimize airflow and prevent kinks, then push the dryer back into place and test. Regularly clean your lint trap and vent for upkeep.

Common Symptoms
Possible Causes
Step-by-Step Diagnosis
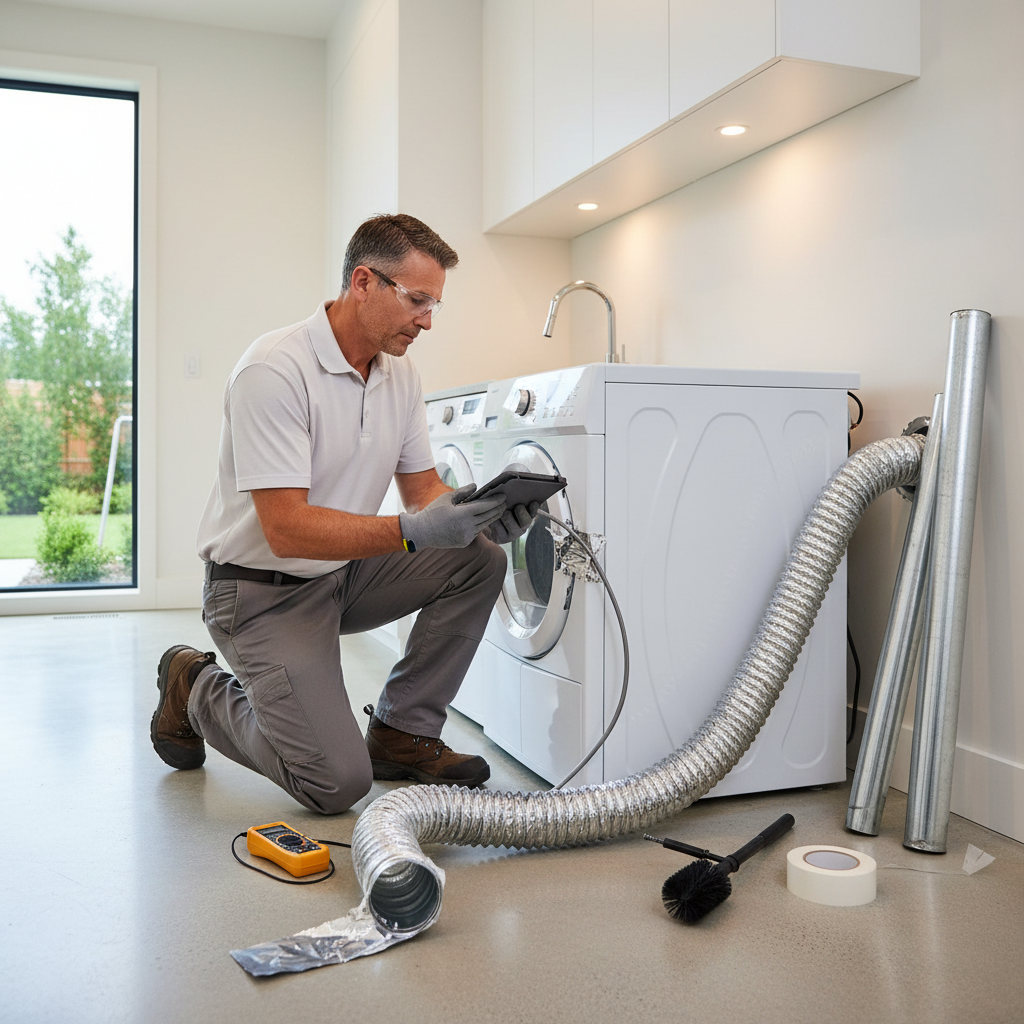
Step 1
Unplug the dryer and pull it away from the wall.
Step 2
Visually inspect the entire length of the dryer vent hose/ductwork for kinks, crushes, tears, holes, and loose connections. Check both the connection at the dryer and at the wall/exterior vent hood.
Step 3
Feel the vent material for areas that are unusually hot during operation (if safely accessible and the dryer has been recently run), indicating a blockage or restricted airflow.
Step 4
Check the exterior vent hood for blockages (lint, bird nests, debris) and ensure the flap opens freely.
Step 5
Disconnect the vent hose from the dryer and the wall to check for significant lint buildup inside the hose and wall duct.
DIY vs Professional Costs
| Repair Type | DIY Cost | Professional Cost | Time Required |
|---|---|---|---|
Replace Flexible Transition Hose | $20 - $40 | $125 - $250 | < 1 hour |
Replace Rigid Duct (in accessible attic/crawlspace) | $50 - $150 | $300 - $600 | 2-4 hours |
Replace Exterior Vent Hood | $15 - $50 | $150 - $300 | 1-2 hours |
When to Call a Professional Dryer Vent
- If the damage is in rigid ductwork inside walls or ceilings that requires cutting into drywall for access.
- If you suspect a vent blockage within the permanent ductwork that DIY methods cannot reach.
- If you need to re-route or install a new vent run, especially through structural components or masonry.
- If your dryer vent is excessively long (over 25 feet) or has many bends, which can be complex to maintain or replace efficiently.
- If you are uncomfortable working with appliances or in confined spaces like attics and crawlspaces.
Prevention Tips
- Clean the lint trap before every load of laundry.
- Inspect and clean the dryer vent hose and exterior vent hood at least once a year, or more frequently if you do a lot of laundry or have pets.
- Use rigid metal or semi-rigid aluminum ducting for the permanent vent run, as it resists crushing and lint buildup better than flexible foil or plastic.
- Ensure the flexible transition duct (from dryer to wall) is made of metal (foil or semi-rigid aluminum), as plastic/vinyl is a fire hazard.
- Keep the vent path as short and straight as possible, minimizing bends and turns.
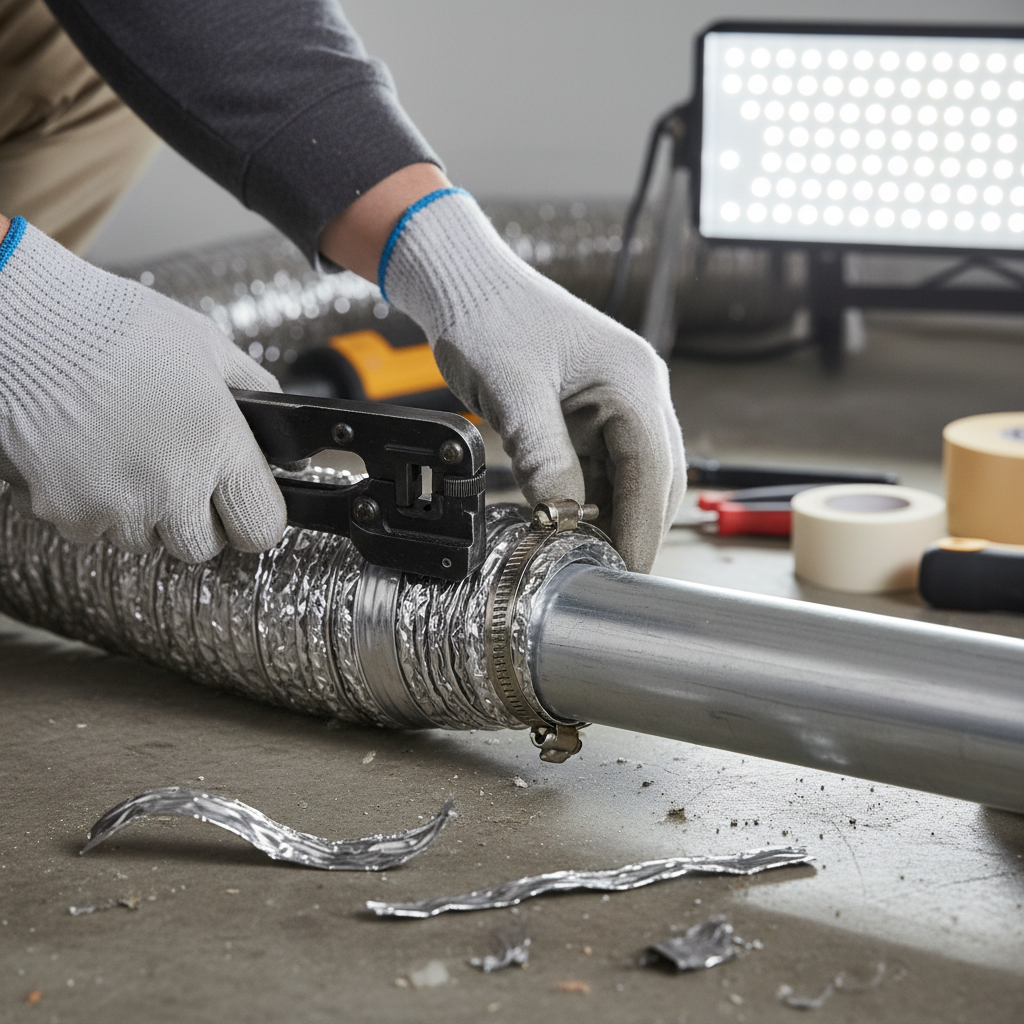
- Ensure connections are secure with metal clamps, not duct tape or screws that can snag lint.
Frequently Asked Questions
Related Guides
Clogged Dryer Vent? Signs, Fixes & Fire Prevention (2024 Homeowner's Guide)
Is your dryer taking too long or getting too hot? Learn to identify a clogged dryer vent, diagnose common issues, and implement DIY fixes or know when to call a pro to prevent fire hazards and save energy. Your ultimate guide to a safe and efficient dryer.
Dryer Vent Blockage: Troubleshooting, Cleaning, and Fire Prevention Guide
Is your dryer taking too long or getting too hot? Learn how to identify, diagnose, and fix dryer vent blockages to improve efficiency, save energy, and crucially, prevent house fires. This comprehensive guide covers symptoms, causes, cleaning tips, and when to call a pro for home dryer vent maintenance.
Dryer Vent Troubleshooting: Fix Slow Drying, Overheating, & Fire Hazards
Troubleshoot common dryer vent problems like slow drying times and overheating. This expert guide offers DIY fixes for clogged vents, tips for preventing lint buildup, and advice on when to call a professional for dryer vent cleaning and repairs to ensure home safety and appliance efficiency.
Dryer Vent Making Unusual Noises (Thumping, Rumbling, Squealing, Grinding) Troubleshooting & Fixes (2024 Guide)
A veteran tech explains why your dryer vent is thumping, rumbling, or squealing. Learn the causes, how to fix it, and when to call a pro before it gets worse.
Troubleshooting & Fixing a Damaged Dryer Vent Hose & Ducting
Comprehensive guide to troubleshooting, repairing, and replacing a damaged dryer vent hose or ducting. Learn how to diagnose symptoms, identify causes, perform DIY repairs using the right materials, and implement critical prevention tips to enhance dryer efficiency, reduce energy costs, and prevent dangerous fire and carbon monoxide hazards.
Dryer Vent Nightmares: A Veteran Tech's Guide to Troubleshooting & Fixes (2024)
Are your clothes still damp after an hour? A clogged dryer vent is a serious fire hazard. Here's a veteran tech's no-nonsense guide to finding and fixing the problem.
Need Professional Help?
Find top-rated dryer vent experts in your area