Kitchen Countertop Installation Prep Checklist: Avoid Delays & Extra Costs (2024 Guide)
Prevent costly delays and ensure a flawless new countertop installation. This 2024 guide provides homeowners with an essential prep checklist, covering everything from clearing the kitchen and safely disconnecting utilities to leveling cabinets and protecting your home. Get ready for a smooth, stress-free countertop upgrade.
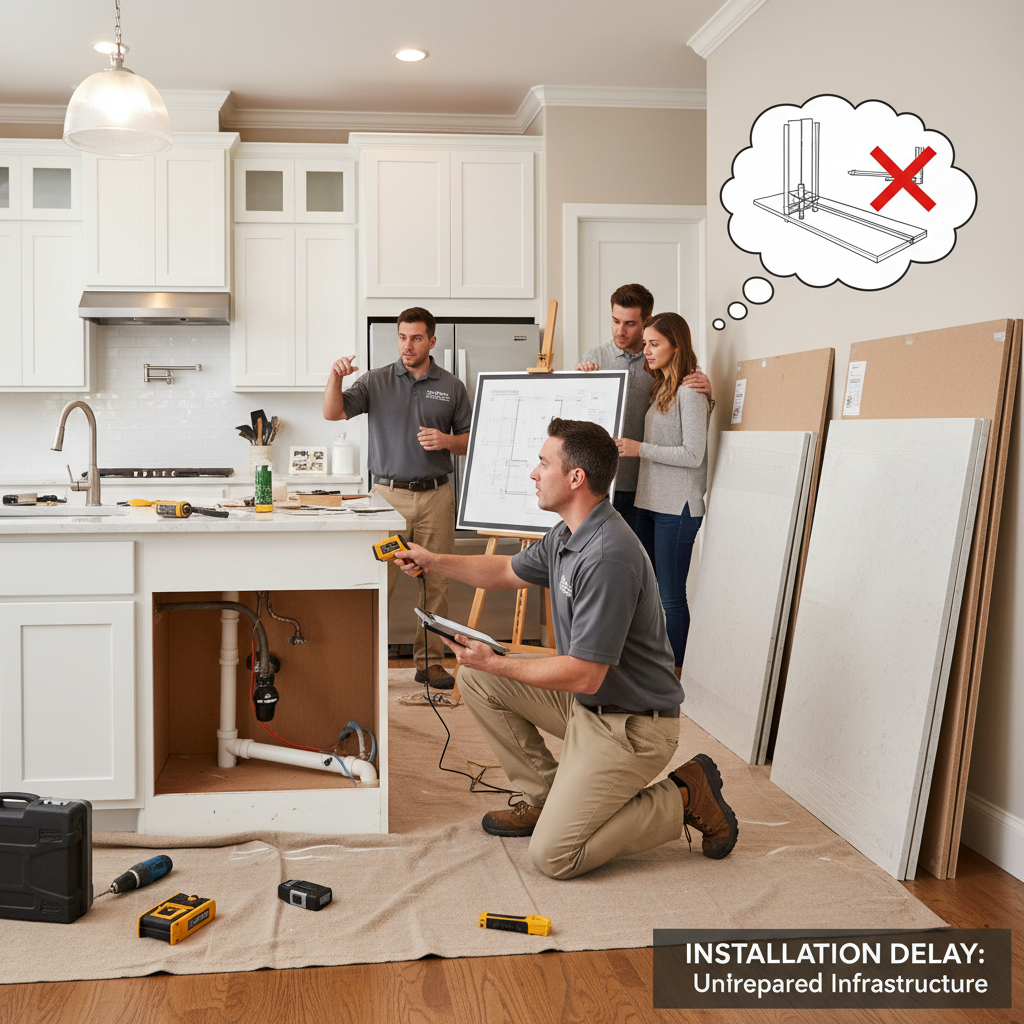
Quick Answer
To prepare your kitchen for new countertop installation, you must first completely clear all items from cabinets and counters, remove old countertops, and ensure all plumbing and electrical lines to the sink and cooktop are safely disconnected and capped. Verify your base cabinets are perfectly level and securely fastened. Finally, protect your floors and clear a wide, unobstructed path from your home's entrance to the kitchen for the installation crew. An adult decision-maker must also be present during the installation.
Common Symptoms
- Installers arrive and immediately inform you they cannot proceed due to unprepared site conditions.
- Project delays and rescheduling occur because critical prep tasks were not completed.
- Unexpected additional charges appear on your invoice for site preparation, demolition, or utility disconnection services performed by the installers.
- Your floors, walls, and surrounding cabinets suffer damage (scratches, dents, chips) because they were unprotected during the installation of heavy stone slabs.
- New countertops appear uneven, have prominent seams, or show signs of poor fit due to unlevel or unsecured base cabinets.
- Inability to immediately reconnect plumbing (sink, dishwasher) or electrical/gas (cooktop) after installation because utilities were not properly managed.
- Installers struggle to maneuver heavy countertop slabs through your home due to cluttered or obstructed pathways.
- You are called by installers asking for direction on simple decisions (faucet holes, seam placement) because no adult decision-maker is present.
Possible Causes
- Homeowner did not thoroughly read and understand the pre-installation checklist provided by the countertop supplier.
- Assuming the countertop installers would handle all demolition, disconnection of utilities, and site cleanup.
- Procrastination in clearing personal items, appliances, and contents from cabinets before the scheduled installation date.
- Failure to safely disconnect water lines, drainpipes, gas lines, and electrical connections for the sink, dishwasher, and cooktop.
- Not verifying that base cabinets are level, properly secured to the wall, and structurally sound enough to support new, heavier countertops.
- Leaving the path from the home's entry point to the kitchen obstructed with furniture, decor, or personal items.
- Neglecting to protect floors, walls, and adjacent cabinets with appropriate coverings (drop cloths, Ram Board, plastic sheeting).
- Lack of a responsible adult available on-site during the entire installation window to answer questions and make decisions.
Step-by-Step Diagnosis
- <strong>Step 1: Obtain and Review Pre-Installation Instructions.</strong> Your countertop provider should supply a detailed checklist. Read it thoroughly, highlighting any unfamiliar terms or tasks.
- <strong>Step 2: Remove All Personal Items.</strong> Walk through your kitchen and systematically empty all cabinets and drawers. Clear countertops of appliances, decor, food, and anything else. Stow these items safely away from the work area.
- <strong>Step 3: Verify Utility Disconnection.</strong> For the sink, locate and turn off hot and cold water supply valves and disconnect faucet lines and drain connections. For the cooktop, turn off the specific circuit breaker (electric) or gas shut-off valve (gas) and disconnect the appliance. Ensure all lines are safely capped.
- <strong>Step 4: Check Base Cabinet Levelness and Stability.</strong> Using a 4-foot or longer level, check the top edges of all base cabinets for levelness across front-to-back and side-to-side. Confirm cabinets are securely fastened to the wall and to each other. Address any significant unleveling or instability with shims or reinforcement.
- <strong>Step 5: Inspect and Clear the Access Path.</strong> Walk the exact route the installers will take from their entry point to the kitchen. Ensure it is wide, completely clear of obstructions, and free of tripping hazards. Move furniture and fragile items.
- <strong>Step 6: Plan and Implement Home Protection.</strong> Decide on and acquire necessary protection materials (heavy-duty drop cloths, Ram Board, plastic sheeting, painter's tape). Cover floors extensively, seal off adjacent rooms to contain dust, and drape plastic over nearby appliances or furniture.
- <strong>Step 7: Confirm Adult Presence.</strong> Designate an adult (yourself or a trusted representative) who will be physically present and reachable in the home for the entire duration of the installation, ready to answer questions or make on-the-spot decisions.
DIY vs Professional Costs
| Repair | DIY cost | Pro cost | Time |
|---|---|---|---|
| Clearing the work area & path | $0 | $50-200 (by installers) | 1-2 hours |
| Removing old laminate counters | $50-200 | $150-500 | 2-4 hours |
| Disconnecting sink/disposal | $20-50 | $150-300 (Plumber) | 1-2 hours |
| Disconnecting electric cooktop | $10-30 | $150-300 (Electrician) | 1 hour |
| Disconnecting gas cooktop | N/A - Don't do it. | $150-350 (Plumber/Gasfitter) | 1 hour |
| Leveling base cabinets | $10 (shims) | $100-300 | 1-3 hours |
When to Call a Pro
- If your existing countertops are made of heavy stone, concrete, or tile, making DIY removal unsafe.
- If you have any hesitation or lack the experience to safely disconnect plumbing, gas, or electrical lines.
- When your base cabinets are visibly unlevel, wobbly, or need significant structural repair before installation.
- If you are physically unable to clear the work area, protect the floors, or move furniture to create a clear path.
- If you suspect your very old countertops or the adhesive used could contain hazardous materials like asbestos.
Prevention Tips
- Thoroughly review and understand every item on the pre-installation checklist from your countertop company.
- Call your installation team a week ahead of time to confirm the plan and ask any questions you have.
- Schedule any necessary plumbing, electrical, or demolition work well in advance of the installation day.
- Completely clear the kitchen of all items and protect the floors, walls, and surrounding furniture.
- Make sure your base cabinets are level, secured to the wall, and ready to support the weight of the new tops.
- Designate a clear, wide path for installers to carry materials from their truck to the kitchen.
- Ensure an adult decision-maker is present during the entire installation to address any issues that come up.
FAQs
If I only want a professional to disconnect and reconnect my plumbing and electrical, who should I call?
For plumbing, you'll need a licensed plumber. For electrical and gas, you'll need a licensed electrician or an HVAC professional for gas lines. Coordinate their schedule to disconnect before the countertop installers arrive and reconnect after they leave and the adhesives have cured. Always prioritize safety and professional expertise for these critical tasks.
Can I leave my old sink and cooktop in place for the installers to remove?
Typically, no. Most countertop installation contracts state that the old countertops, sink, and cooktop must be removed, and all utilities disconnected, prior to their arrival. Installers are generally not licensed or insured for plumbing, electrical, or extensive demolition work. Always confirm your specific contract details with your provider to avoid surprises.
What if my cabinets are old and don't seem strong enough for new stone countertops?
If your cabinets are visibly wobbly, deteriorating, or significantly out of level, they may not be able to support the substantial weight of new stone countertops. This is a critical issue. You should consult a cabinetmaker or carpenter to reinforce, repair, or replace them before the countertop installation date. Failure to do so could lead to structural failure, cracking of your new countertops, or even injury, potentially voiding warranties.
How do I protect my floors from the heavy countertop slabs?
Use heavy-duty floor protection such as Ram Board, thick moving blankets, or layered cardboard secured with painter's tape along the entire path from your home's entry point to the kitchen. Pay extra attention to corners and stairways, as these are high-impact areas.
Should I be present during the entire installation?
Yes, it is highly recommended that an adult decision-maker is present for the entire duration of the installation. Installers often have questions about seam placement, faucet hole drilling, appliance fit, or final adjustments that require your immediate input to ensure satisfaction and avoid delays.
What's the best way to deal with dust during countertop installation?
Before installation, clear all items from cabinets and surrounding areas. Use plastic sheeting to seal off doorways and openings to other rooms and drape it over any immovable furniture or appliances. Running an air purifier with a HEPA filter in an adjacent room can also help capture airborne dust. After installation, thorough cleaning will still be necessary.
Related guides
- Troubleshooting & Fixing Deteriorated Countertop Caulk and Grout: A Comprehensive Guide
- Granite Countertop Sealing: Your Guide to Preventing Stains and Water Damage (2024)
- Troubleshooting & Fixing Porous Concrete Countertops (Sealing Guide)
- Kitchen Countertop Installation Prep Checklist: Avoid Delays & Extra Costs (2024 Guide)