Quick Answer
null
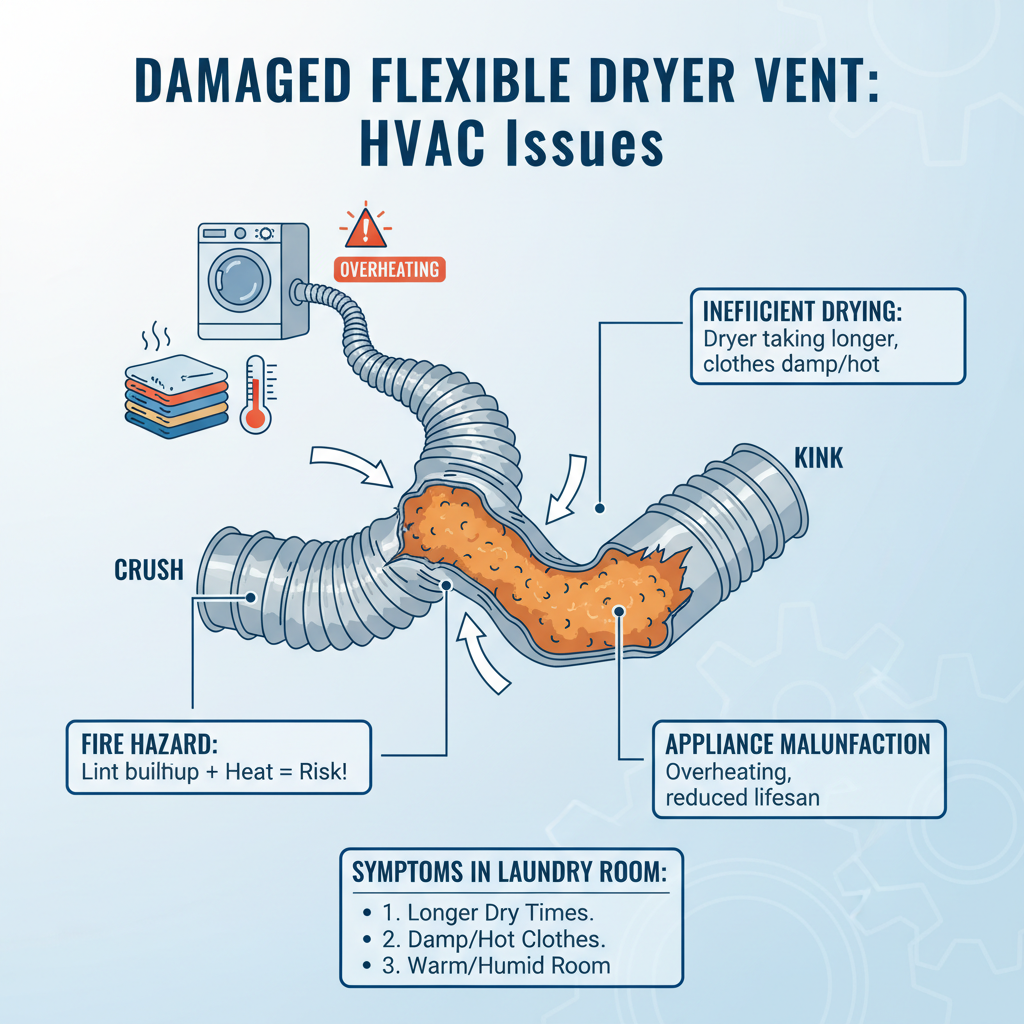
Common Symptoms
Possible Causes
Step-by-Step Diagnosis
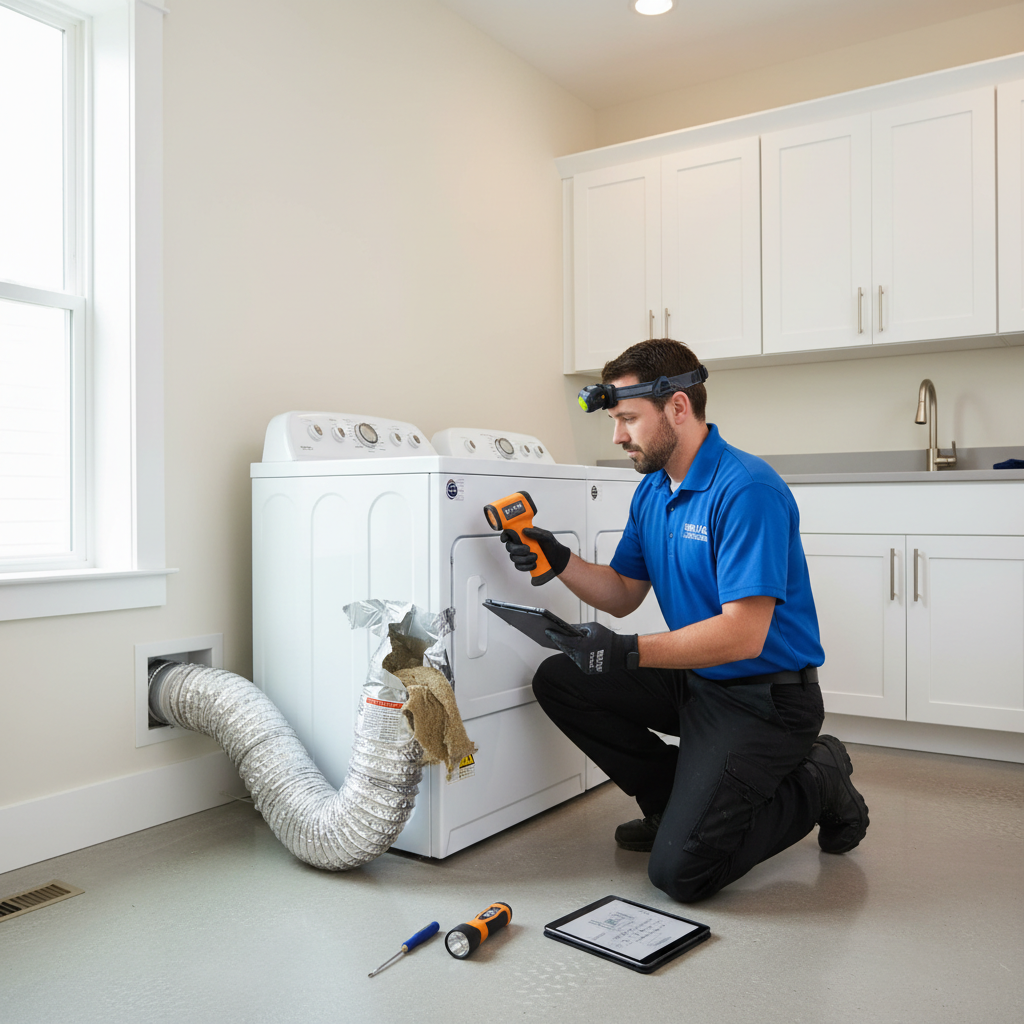
Step 1
Unplug the dryer from the electrical outlet and disconnect the gas line if it's a gas dryer (turn off gas supply first).
Step 2
Carefully pull the dryer away from the wall to access the back.
Step 3
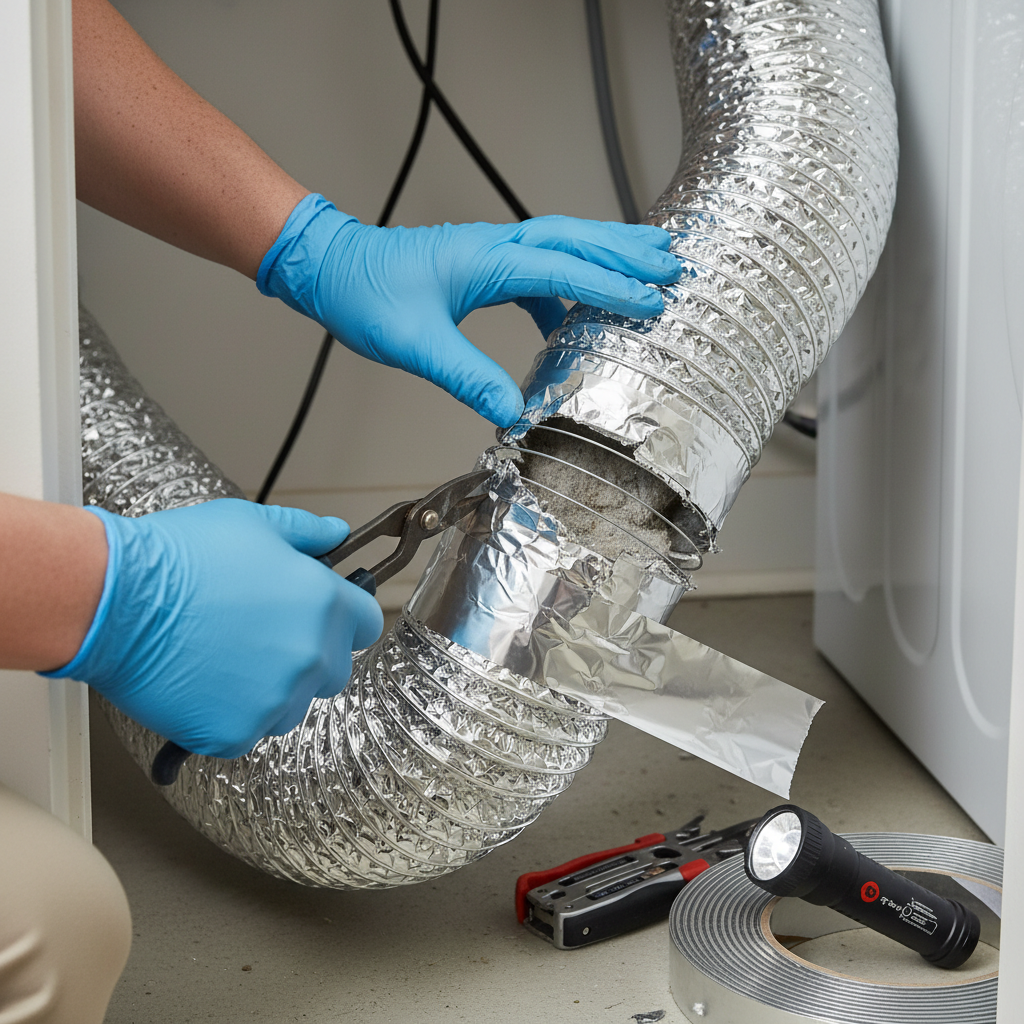
Visually inspect the entire flexible vent hose for obvious damage like tears, kinks, or crushing. Check for disconnections at both ends.
Step 4
Feel along the hose for any blockages or stiff areas that might indicate substantial lint build-up by gently squeezing it.
Step 5
Disconnect the flexible hose from the dryer and the wall vent. Shine a flashlight through it to look for internal obstructions.
Step 6
Inspect the dryer's exhaust port and the wall vent opening for lint accumulation.
DIY vs Professional Costs
| Repair Type | DIY Cost | Professional Cost | Time Required |
|---|---|---|---|
Replacing a Torn/Kinked Hose | $25-50 | $150-350 | 1 hour |
Cleaning Out a Lint Clog (with brush) | $20-40 | $125-250 | 1-2 hours |
Re-attaching a Loose Hose | $5-15 (for new clamps) | $100-175 | 30 minutes |
When to Call a Professional Hvac
- If you smell gas (leave the house and call your gas company, then a tech).
- If the blockage is not in the flexible hose but further down the line inside the wall or ceiling.
- If you are uncomfortable working in tight spaces or are unsure how to safely handle the appliance, especially with gas lines.
- If the problem persists after you've replaced the hose and cleaned the vents; it might be an issue with the dryer itself.
Prevention Tips
- Clean the lint trap before every load. No exceptions.
- Use a semi-rigid aluminum duct for the connection, not vinyl or flimsy foil.
- Ensure there's at least 4-6 inches of clearance behind the dryer to prevent crushing the hose.
- Keep the flexible hose as short and straight as possible.
- Inspect the hose and clean it out at least once or twice a year.
- Check the external vent hood periodically to ensure the flap isn't blocked by nests, leaves, or snow.
Frequently Asked Questions
Related Guides
Frozen AC Evaporator Coil (Troubleshooting & Fixes)
Seeing ice on your AC unit? Your AC probably isn't cooling right. A veteran tech explains why your evaporator coil is frozen and how to fix it fast.
Furnace Making Various Strange Noises? Troubleshooting & Fixes from a 25-Year Vet
Furnace making strange noises? A veteran HVAC tech explains what banging, whistling, or rattling means and how to fix it. DIY tips and when to call a pro.
Furnace Ignitor Not Glowing? Troubleshooting & Fixes from a 25-Year Pro
Furnace ignitor not glowing? An old pro with 25+ years in the field shows you why it's happening and how to fix it, from DIY replacement to a pro call.
Programmable thermostat fails to retain programmed temperature schedules or settings, resulting in improper HVAC system operation and inconsistent indoor temperatures. Troubleshooting & Fixes
Clogged HVAC condensate drain line, leading to water backup and potential system shutdown or water damage. Troubleshooting & Fixes
How to replace an HVAC air filter, including why it's important, signs it needs changing, and proper replacement procedures. Troubleshooting & Fixes
Need Professional Help?
Find top-rated hvac experts in your area