Quick Answer
null
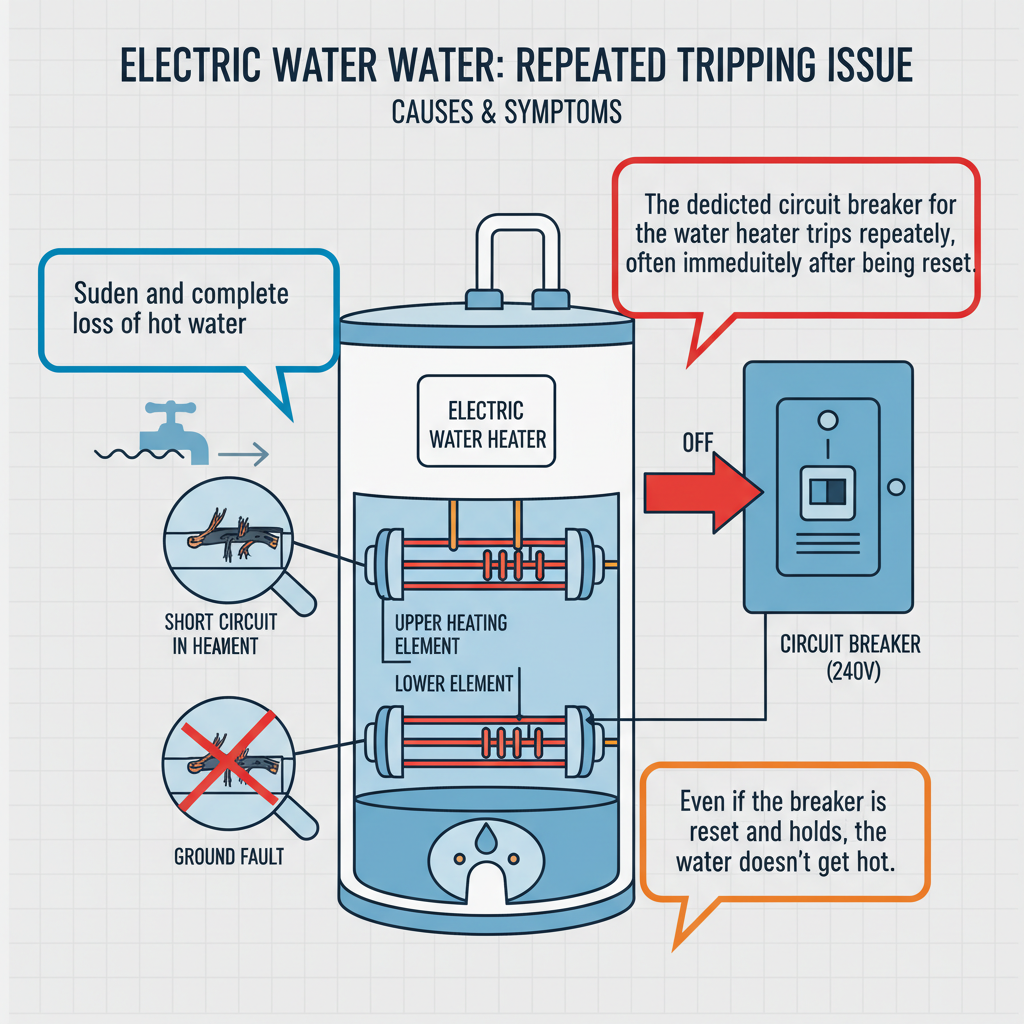
Common Symptoms
Possible Causes
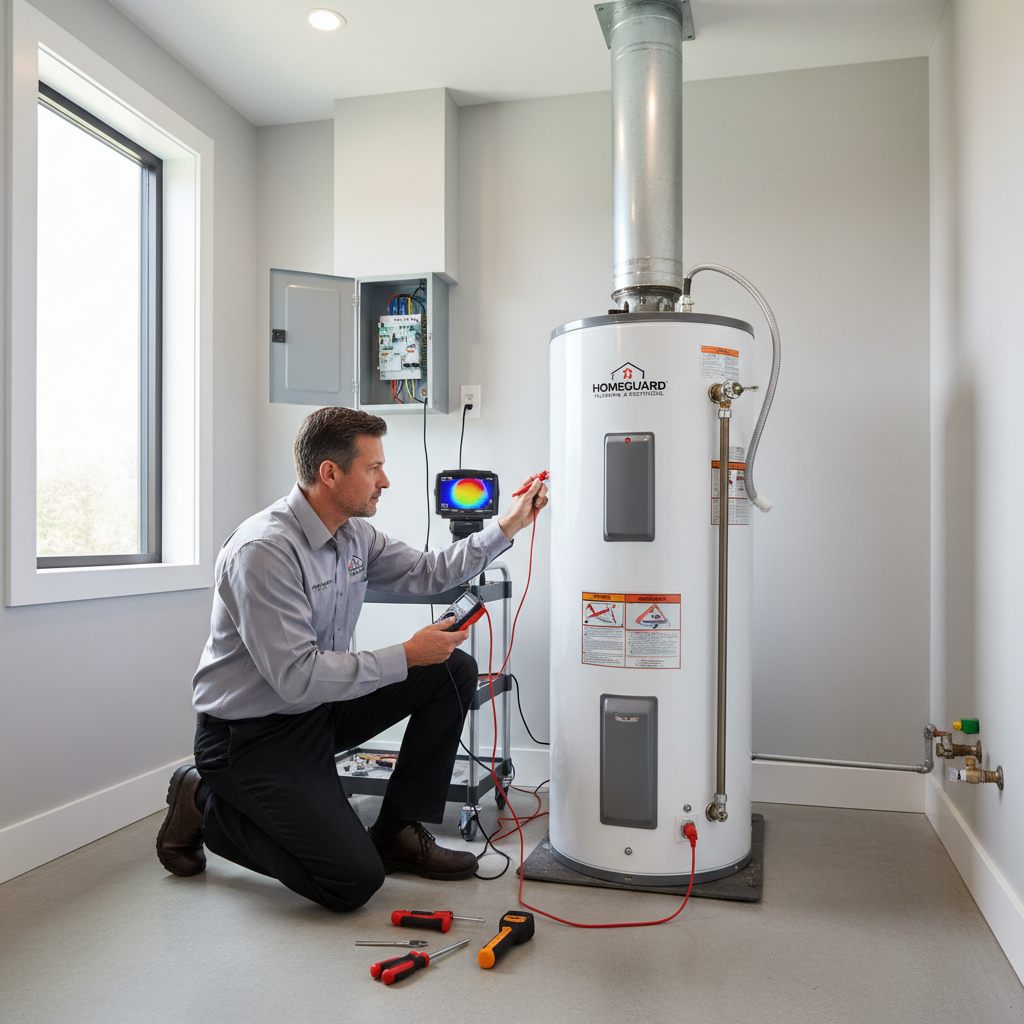
Step-by-Step Diagnosis
Step 1
SAFETY FIRST. Turn the double-pole breaker for the water heater completely OFF in your main electrical panel.
Step 2
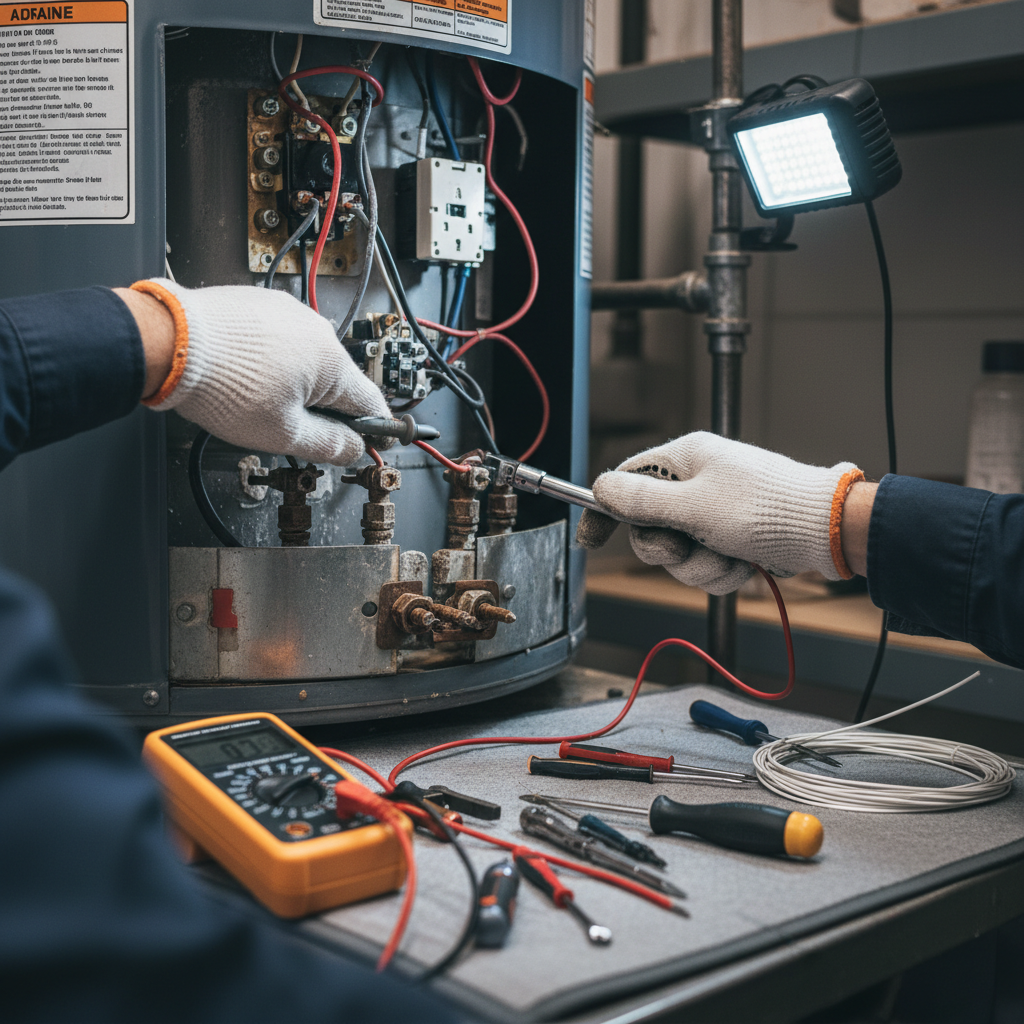
Remove the upper and lower metal access panels on the side of the water heater tank.
Step 3
Perform a visual inspection. Look for black soot, melted wire insulation, signs of water leakage, or corrosion around the elements and thermostats.
Step 4
Use a multimeter to test each heating element. First, disconnect the wires from the element. Test resistance between the two screw terminals; a good 4500W element reads ~12-16 ohms. 'OL' or '0' means it's bad.
Step 5
Test each heating element for a short to ground. Set the multimeter to continuity (the setting that beeps). Place one probe on an element terminal and the other on the bare metal tank. If the meter beeps, the element is shorted and must be replaced.
Step 6
If elements test good, inspect the thermostat wiring for tightness and signs of overheating. You can test the thermostat for continuity, but it's less likely to be the direct cause of a breaker trip.
DIY vs Professional Costs
| Repair Type | DIY Cost | Professional Cost | Time Required |
|---|---|---|---|
Checking/Tightening Connections | $0 | $100-$175 | 30 minutes |
Heating Element Replacement | $20-$50 | $175-$350 | 1-2 hours |
Thermostat Replacement | $15-$40 | $150-$300 | 1 hour |
When to Call a Professional Water Heater
- If you are uncomfortable or inexperienced working with high-voltage electricity.
- If you see burned, melted, or charred wires inside the access panels.
- If the circuit breaker itself is hot to the touch or looks discolored—this is an emergency for an electrician.
- If you've replaced the faulty element and the breaker still trips.
- If your water heater is over 10-12 years old and showing signs of rust or leakage; it's often better to replace the whole unit.
Prevention Tips
- Flush several gallons of water from the tank's bottom drain valve every 6-12 months to remove sediment that can damage the lower element.
- Inspect and replace the sacrificial anode rod every 3-5 years to prevent tank corrosion, which can lead to element failure.
- Ensure the water heater is on a correctly sized, dedicated 30-amp circuit with 10-gauge wire, free from any other electrical loads.
- If you feel comfortable, periodically (with the power OFF) inspect the electrical connections at the thermostats and elements for tightness and signs of wear.
Frequently Asked Questions
Related Guides
Lack of hot water heater maintenance leading to decreased efficiency, premature failure, and reduced lifespan Troubleshooting & Fixes
Inefficient water heater operation due to insufficient insulation, leading to higher energy consumption and increased utility bills. Troubleshooting & Fixes (2024 Guide)
Is your water heater bleeding heat and money? Our veteran tech's guide shows you how to troubleshoot and fix poor insulation for lower utility bills. Easy fixes inside.
Safely and effectively shutting down a water heater during an emergency or for maintenance to prevent further damage or hazards. Troubleshooting & Fixes
Water Heater TPR Valve Leaking: Troubleshooting & Fixes (2024 Guide)
Your water heater's TPR valve leaking? A veteran tech explains why it's happening, how to fix it, and when to call a pro. Learn the real causes and costs.
Noisy Water Heater (Popping, rumbling, hissing, whining, banging sounds) Troubleshooting & Fixes
Going Tankless: DIY Dream or Professional Necessity? Troubleshooting & Fixes (2024 Guide)
Thinking of swapping to a tankless water heater? A veteran tech breaks down the real costs and dangers of DIY vs. hiring a pro. Don't touch that gas line yet.
Need Professional Help?
Find top-rated water heater experts in your area