Quick Answer
Okay so here's the quick version. Your brick wall is looking like it's seen better days, right? Mortar's crumbling, maybe a brick is loose. Nine times out of ten, it's water. Water gets in, freezes, expands, and just blows the mortar apart. For very small, non-structural cracks, you can use a tube of mortar caulk for a temporary cosmetic fix. But if you're seeing big cracks, or a whole section is turning to dust, you're looking at a professional job called tuck-pointing. That'll run you anywhere from a few hundred bucks to a few thousand, depending on how bad it is.
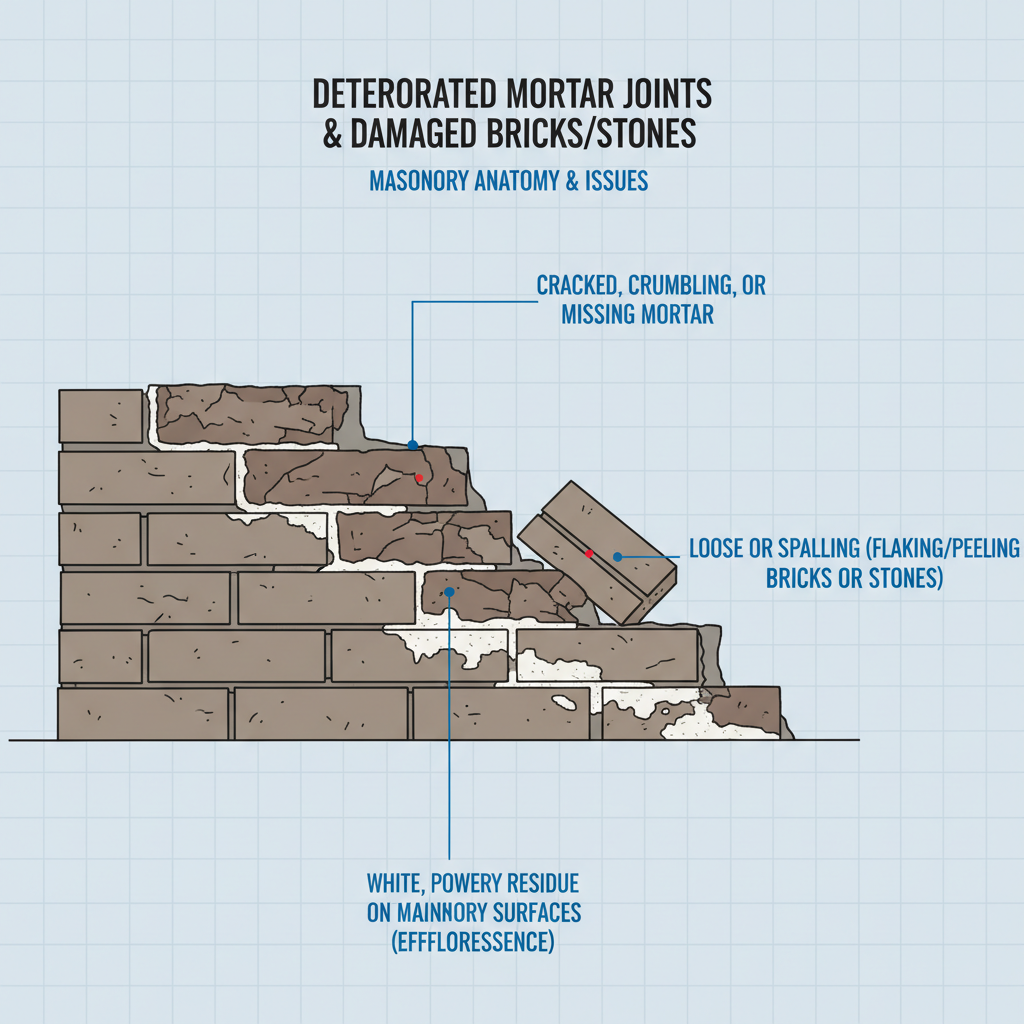
Common Symptoms
Possible Causes
Step-by-Step Diagnosis
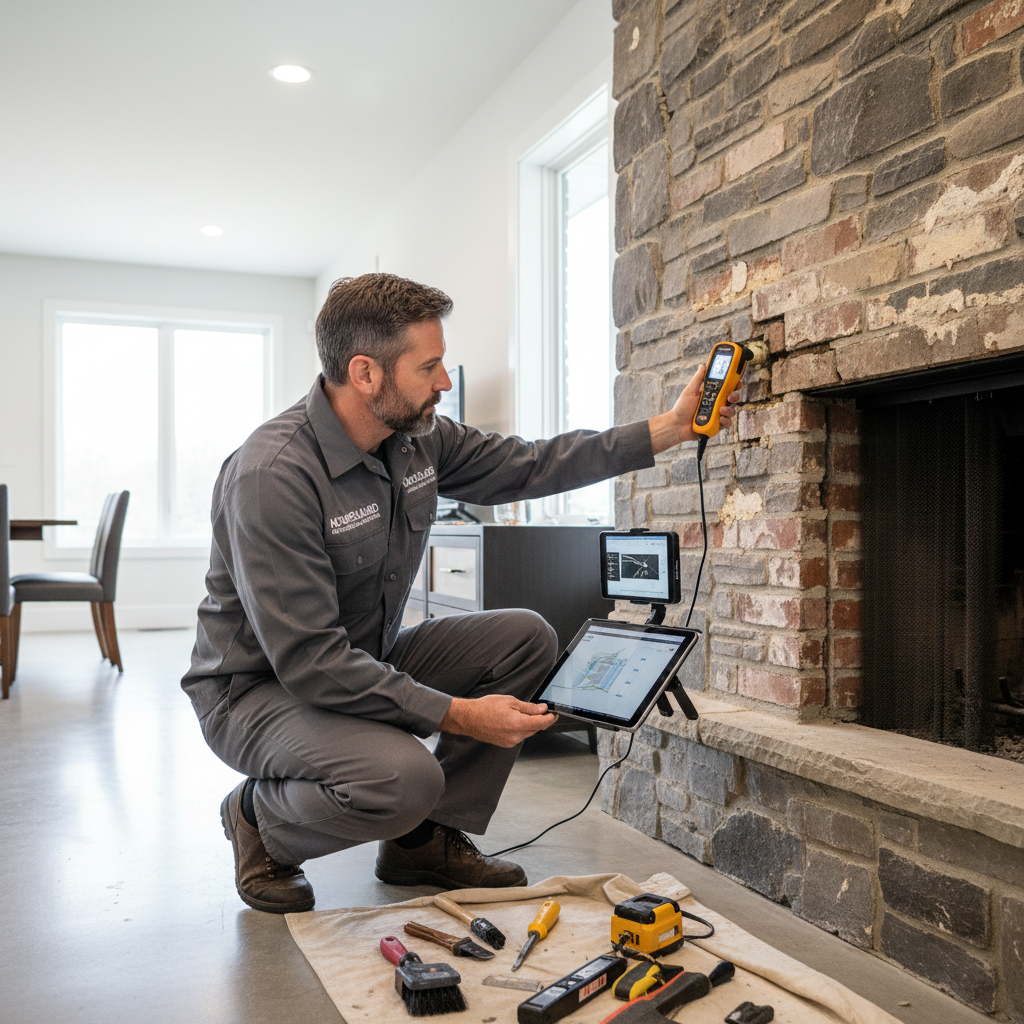
Step 1
Visual Inspection: Walk around the entire property, looking closely at all masonry surfaces for cracks, crumbling mortar, loose bricks, or white powder, paying special attention to areas under windows and rooflines.
Step 2
Tap Test: Gently tap bricks with the handle of a screwdriver or a rubber mallet. A hollow sound indicates a loose brick or a void behind it.
Step 3
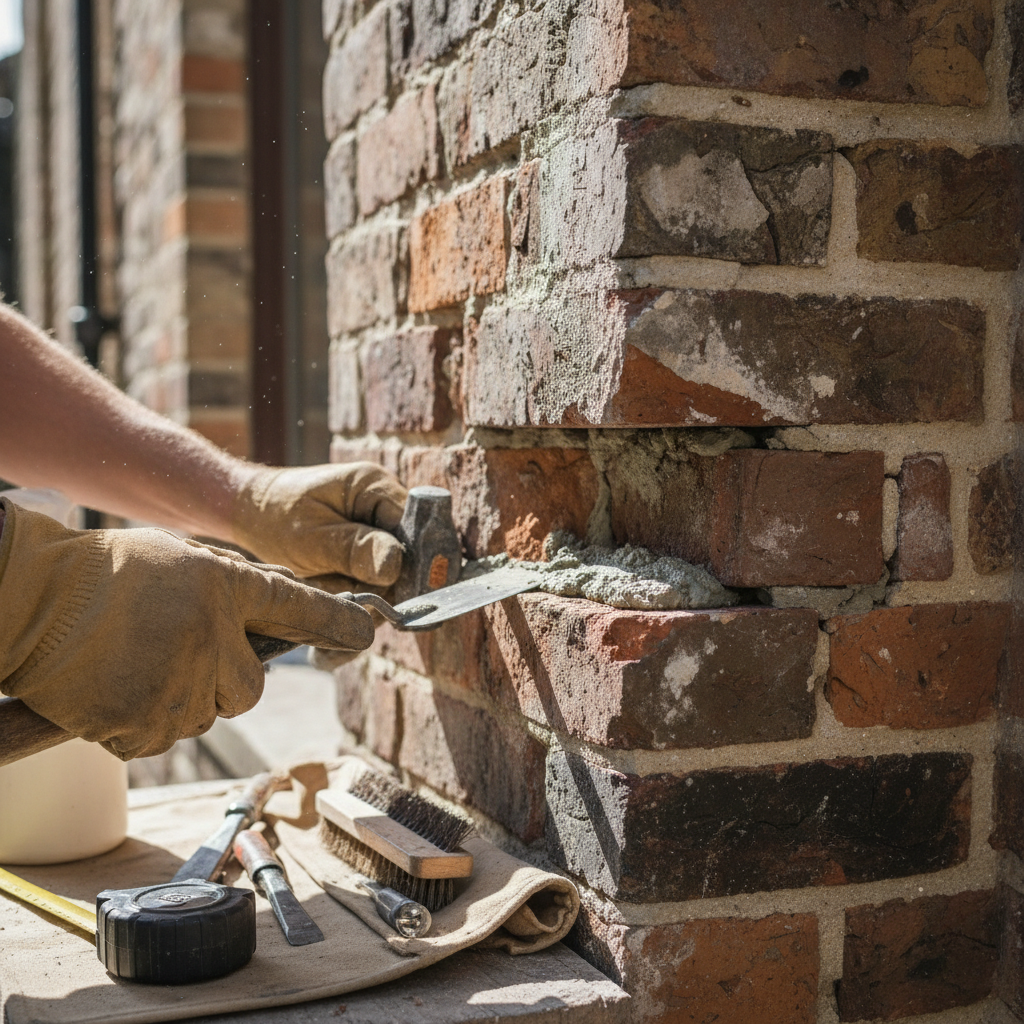
Mortar Probe Test: Use a small, sturdy tool like a pick or a key to gently probe the mortar joints. If it crumbles into dust easily, it's deteriorated and needs replacement.
Step 4
Water Run-off Assessment: Check gutters and downspouts for clogs and make sure they discharge water far away from the foundation. Check the soil grading around the house.
Step 5
Interior Inspection: Look at interior walls that back up to exterior masonry for any signs of water stains, peeling paint, or dampness.
DIY vs Professional Costs
| Repair Type | DIY Cost | Professional Cost | Time Required |
|---|---|---|---|
Minor Crack Filling (using caulk) | $15-50 | $250-500 | 1-2 hours |
Efflorescence Cleaning | $20-40 | $200-600 | 2-4 hours |
Full Tuck-pointing (per 100 sq. ft.) | $200-400 (if you have tools) | $800-2,500 | A full weekend (or more) |
Single Loose Brick Replacement | $30-75 | $150-350 | 2-3 hours |
When to Call a Professional Masonry
- If more than 25% of the mortar on a wall is deteriorated.
- If you see any 'step cracks' or cracks wider than 1/4 inch, which indicate a potential foundation issue.
- For any repairs on a chimney due to safety risks and the need for specialized knowledge.
- If you have persistent water leakage into your home through the masonry.
- When you lack the proper tools (angle grinder, tuck-pointing trowels, hawk) or experience to perform the repair correctly.
Prevention Tips
- Perform a visual inspection of your masonry twice a year, especially in spring and fall.
- Keep gutters and downspouts clean and ensure they direct water at least 5-10 feet away from the foundation.
- Make sure the soil and landscaping grade slopes away from your house, not towards it.
- Address small cracks as soon as you see them with a quality mortar repair caulk to prevent water from getting in.
- Use low pressure and a wide-angle tip if you must power wash your brick to avoid damaging the mortar.
Frequently Asked Questions
Related Guides
Efflorescence on Brick Troubleshooting & Fixes (2024 Guide)
Got that ugly white powder on your brick? Here's a veteran mason's guide to what efflorescence is, how to get rid of it, and how to stop it for good.
Masonry Problems on Your House? (Troubleshooting & Fixes)
Seeing cracked bricks or crumbling mortar? A veteran tech shares 25+ years of experience on how to fix masonry issues and when to call a pro.
Masonry Repair (General) Troubleshooting & Fixes (2024 Guide)
Seeing cracked mortar or crumbling bricks? A 25-year vet explains the common causes of masonry fails and how to fix them before it gets expensive.
Masonry Repair for Crumbling Walls & Mortar Troubleshooting & Fixes (2024 Guide)
Seeing crumbling mortar or cracked bricks? A veteran tech of 25+ years shows you how to spot the real problem and when you can fix it yourself.
Masonry Damage: This refers to various forms of deterioration or structural compromises in building elements constructed from materials like brick, stone, or concrete blocks. This can include issues with the mortar, the individual units (bricks, stones), or the structural integrity of the masonry assembly. Troubleshooting & Fixes (2024 Guide)
Got crumbling brick or cracked mortar? A 25-year vet shows you how to spot serious masonry damage, what you can fix yourself, and when to call in a pro.
General Masonry Repair Troubleshooting & Fixes
Need Professional Help?
Find top-rated masonry experts in your area