Quick Answer
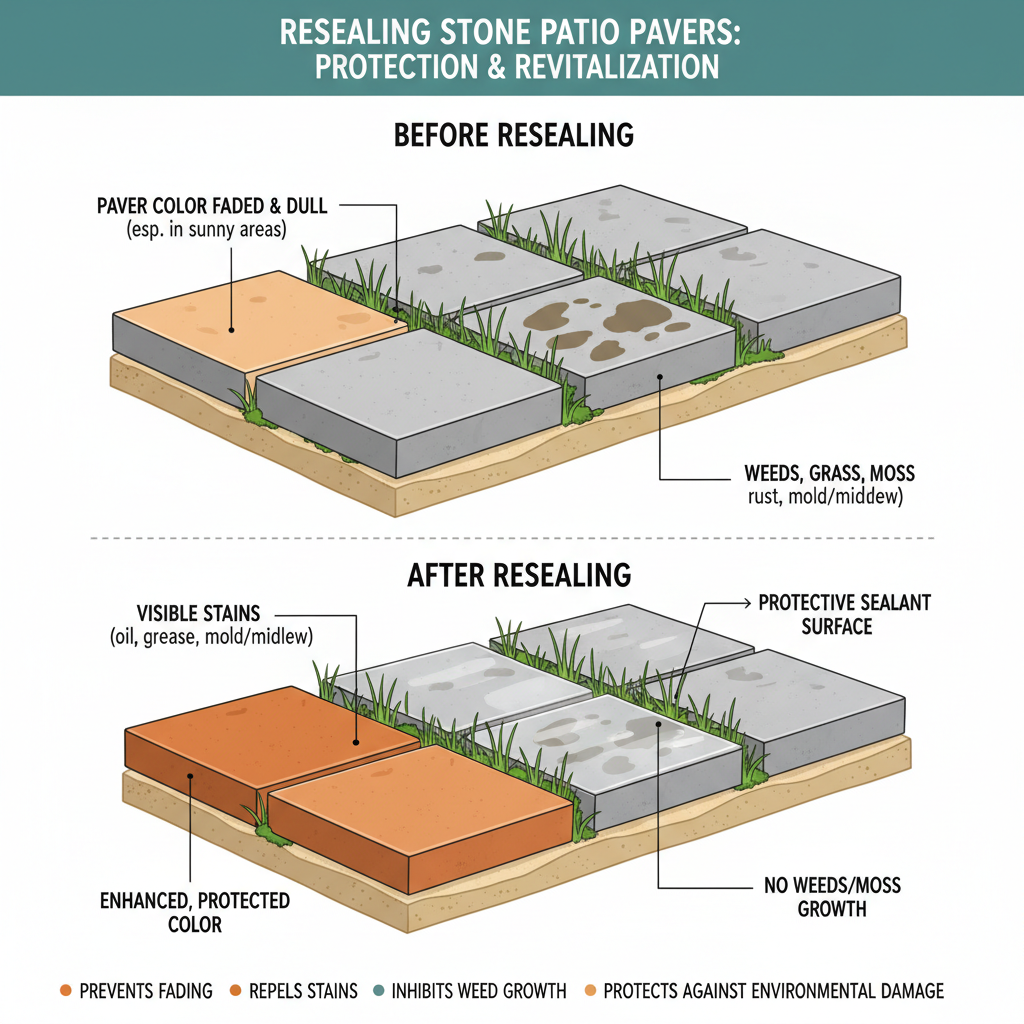
Okay, so here's the quick version. Your stone patio looks aged because the protective sealant has degraded. Worn away by sun, rain, and foot traffic, it's left susceptible to fading, stains, and organic growth like weeds. The fix is a three-step process: a thorough cleaning (often with a pressure washer), replenishing the jointing sand, and then applying a new, high-quality sealer. You can probably do it yourself for $200-700 in materials over a weekend. Calling a pro will typically cost $2.00 to $5.50 a square foot for cleaning, re-sanding, and sealing, depending on the condition and size of the area, with additional costs for severe stain removal.
Common Symptoms
Possible Causes
Step-by-Step Diagnosis
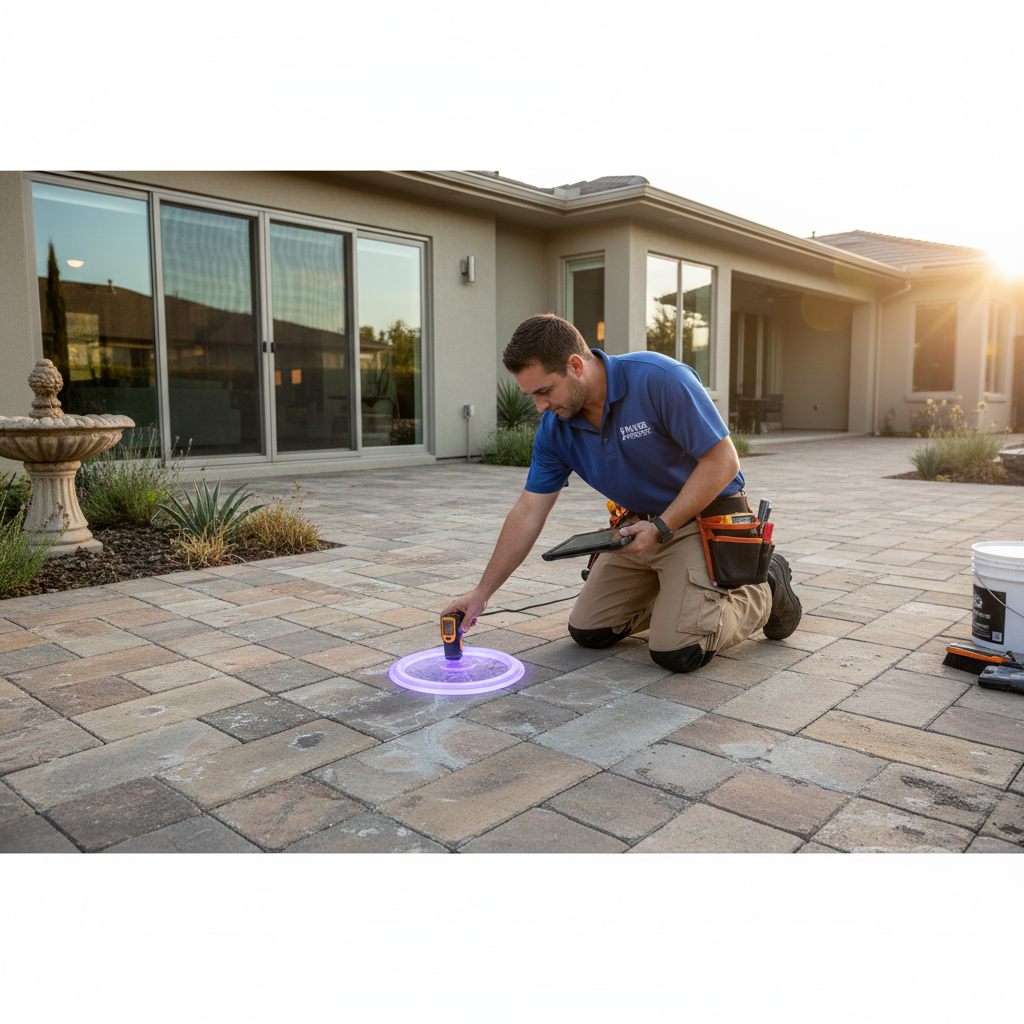
Step 1
Perform a visual inspection on a dry day, looking for faded color, blotchiness, and obvious stains.
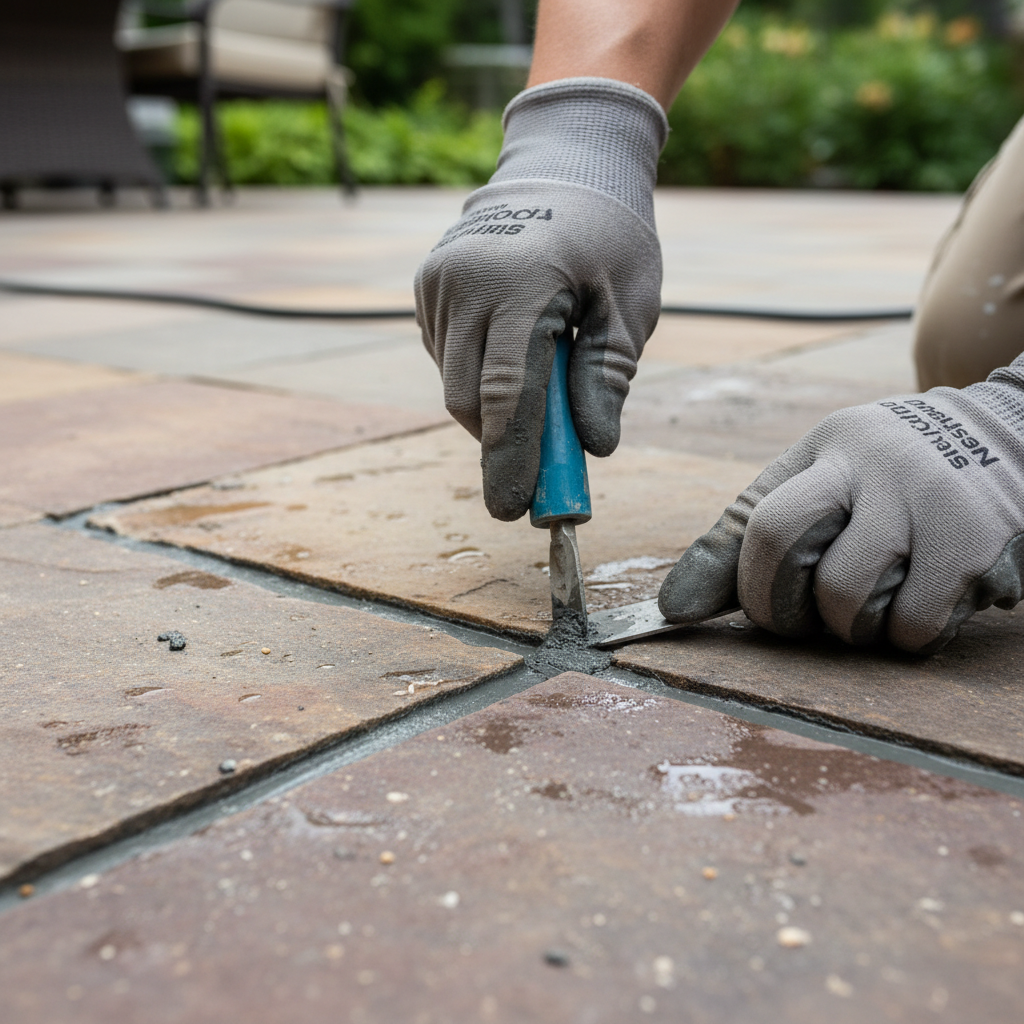
Step 2
Examine the joints between the pavers to see if the sand is missing, filled with dirt, or has weeds growing in it.
Step 3
Do a 'water bead test' by pouring a small amount of water on a paver. If it soaks in immediately and darkens the paver, the sealant is gone. If it beads up, the sealant is still working.
Step 4
Physically touch the pavers to assess their texture. A rough or gritty feel indicates surface degradation and porosity.
DIY vs Professional Costs
| Repair Type | DIY Cost | Professional Cost | Time Required |
|---|---|---|---|
Cleaning & Re-sanding | $75 - $250 | $0.50 - $1.50 per sq ft | 4-6 hours |
Applying New Sealer | $150 - $600 | $1.50 - $4.00 per sq ft | 3-5 hours |
Heavy Stain Removal (Oil/Rust) | $50 - $150 | $100 - $500 | Varies |
When to Call a Professional Concrete
- You have deep, set-in stains from oil, rust, or other chemicals that don't come up with basic cleaners.
- A previous sealing job has failed, leaving the patio with a white, hazy, or peeling look. This requires chemical stripping, which is a difficult and hazardous job.
- You are unsure of the specific type of stone or paver you have and don't want to risk using the wrong cleaner or sealer, which can cause permanent damage.
- The patio area is very large (over 500-600 sq. ft.), making the DIY process of cleaning, sanding, and sealing consistently a massive and overwhelming undertaking.
- The pavers themselves are loose, rocking, or the base has failed, requiring more than just a surface treatment.
Prevention Tips
- Regularly sweep the patio to remove leaves, dirt, and seeds that can promote organic growth and staining.
- Clean up any spills like food, grease, or drinks immediately before they have a chance to soak into the paver surface.
- Ensure gutter downspouts and landscape grading direct water away from the patio to prevent standing water.
- Perform a water test yearly and plan to re-seal the patio every 3-5 years, depending on sun exposure and wear.
- Always use a high-quality polymeric sand in the joints after cleaning and before sealing to lock out weeds and moisture.
Frequently Asked Questions
Related Guides
Resealing Stone Patio Pavers to Protect Against Fading, Stains, and Environmental Damage: Troubleshooting & Fixes (2024 Guide)
Patio pavers looking faded, stained, or weedy? A veteran tech explains how to diagnose sealant failure and the steps to clean, re-sand, and reseal it yourself.
Cracked brick chimneys, including various types of cracks (horizontal, vertical, hairline, stair-step) and their causes. Troubleshooting & Fixes (2024 Guide)
Got cracked chimney bricks? A veteran tech with 25+ years on the job shows you what causes those cracks (horizontal, vertical, stair-step) and what it'll cost to fix.
Planning and executing a new concrete driveway project, including understanding material durability, design considerations, and cost implications. Troubleshooting & Fixes
Oil Stains on Your Concrete? (Troubleshooting & Fixes)
A veteran tech's guide to removing oil stains from concrete. Learn what actually works for fresh spills and old stains on your driveway or garage floor.
DIY Concrete Patching vs. Professional Repair: A Field Guide (2024)
A veteran tech explains when to DIY your concrete cracks and when to call a pro. Learn the real costs and fixes for your patio, driveway, or sidewalk.
Repairing cracks in concrete patios and driveways, differentiating between DIY and professional approaches based on crack type, severity, and location. Troubleshooting & Fixes (2024 Guide)
A veteran tech's guide to fixing a cracked concrete patio or driveway. Learn when you can DIY a fix and when you absolutely need to call a pro.
Need Professional Help?
Find top-rated concrete experts in your area