Quick Answer
The direct answer could benefit from a slight refinement regarding the 'pink' discoloration, aligning with the symptom correction. Instead of 'Nine times out of ten, it’s just surface mildew...', it could say 'Often, it’s just surface mold or bacterial growth...' to be more inclusive of common shower issues. Also, 'killing the root' is a bit informal; 'eliminating the growth and preventing recurrence' would be more precise.
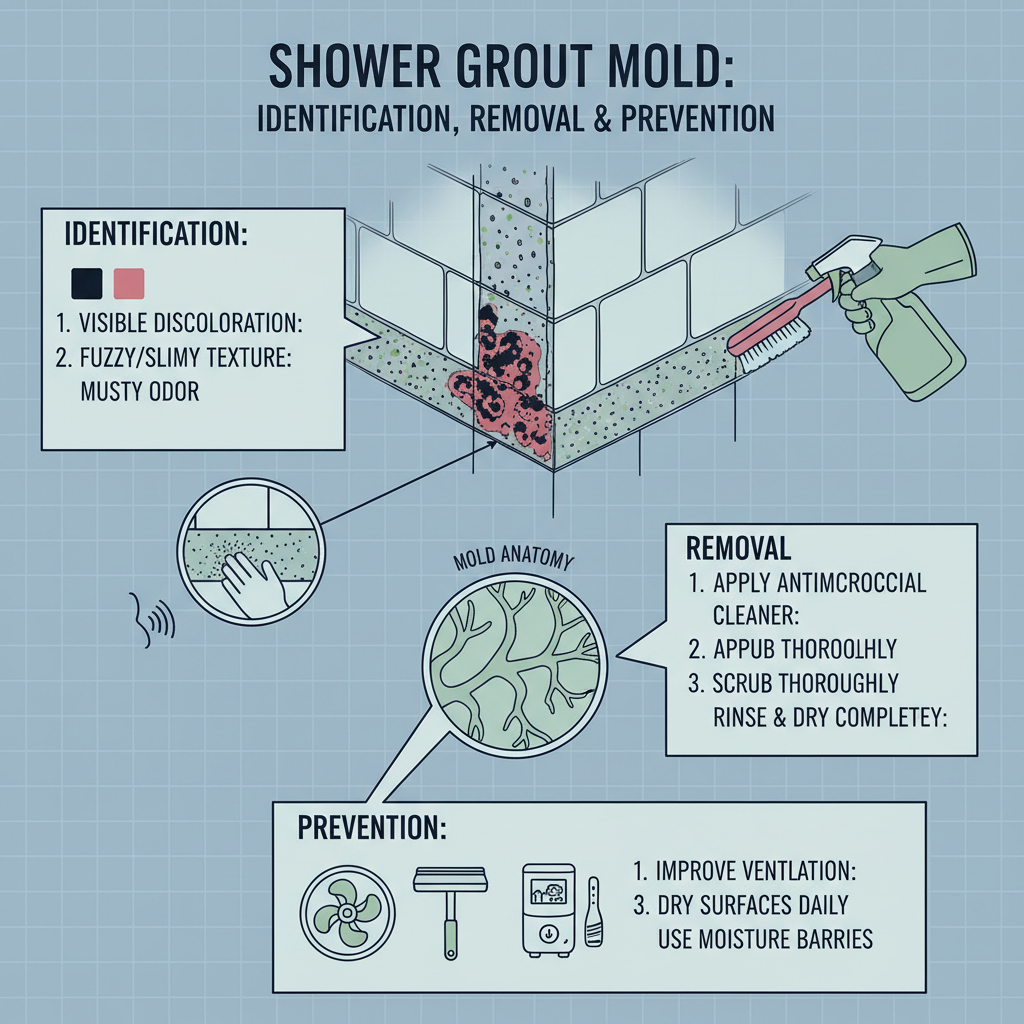
Common Symptoms
Possible Causes
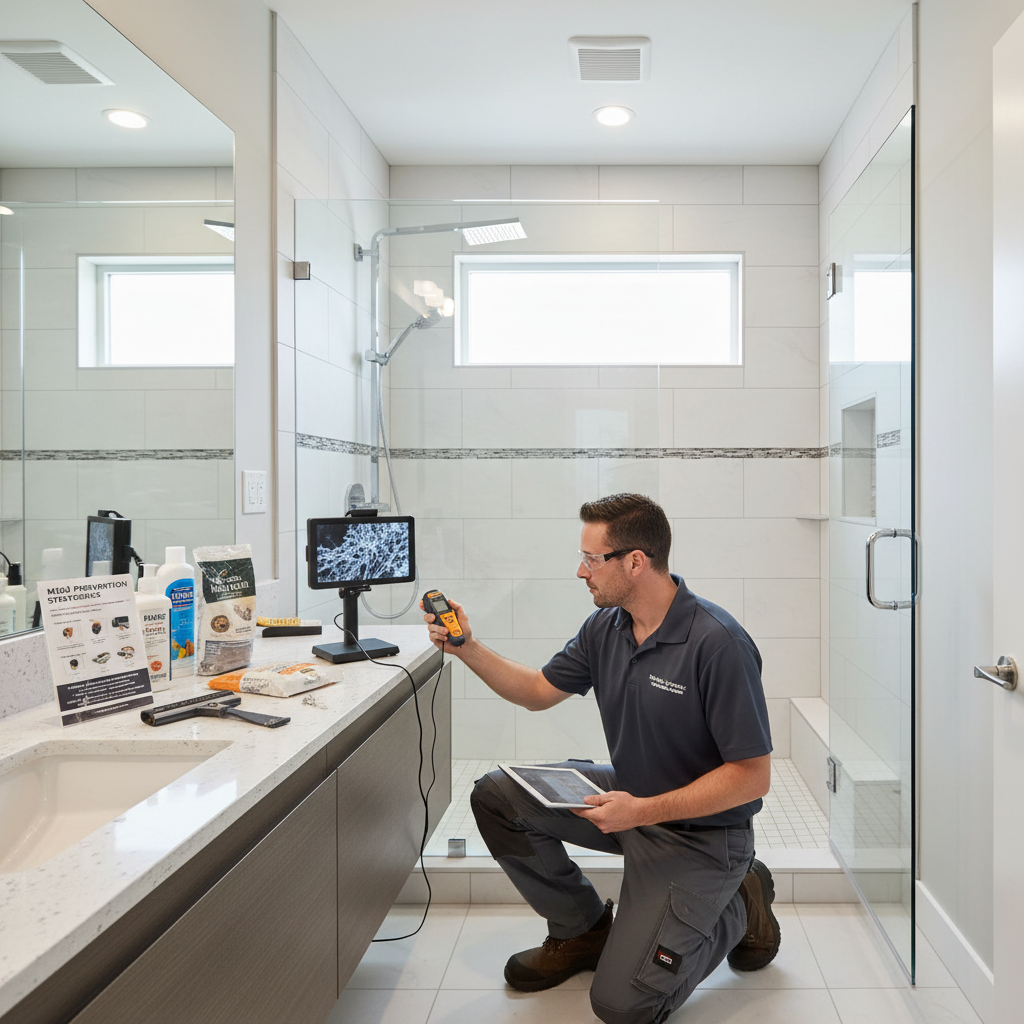
Step-by-Step Diagnosis
Step 1
Visually inspect all grout lines in the shower for discoloration (black, pink, green) or fuzzy growth.
Step 2
Check for any musty smells, especially after showering.
Step 3
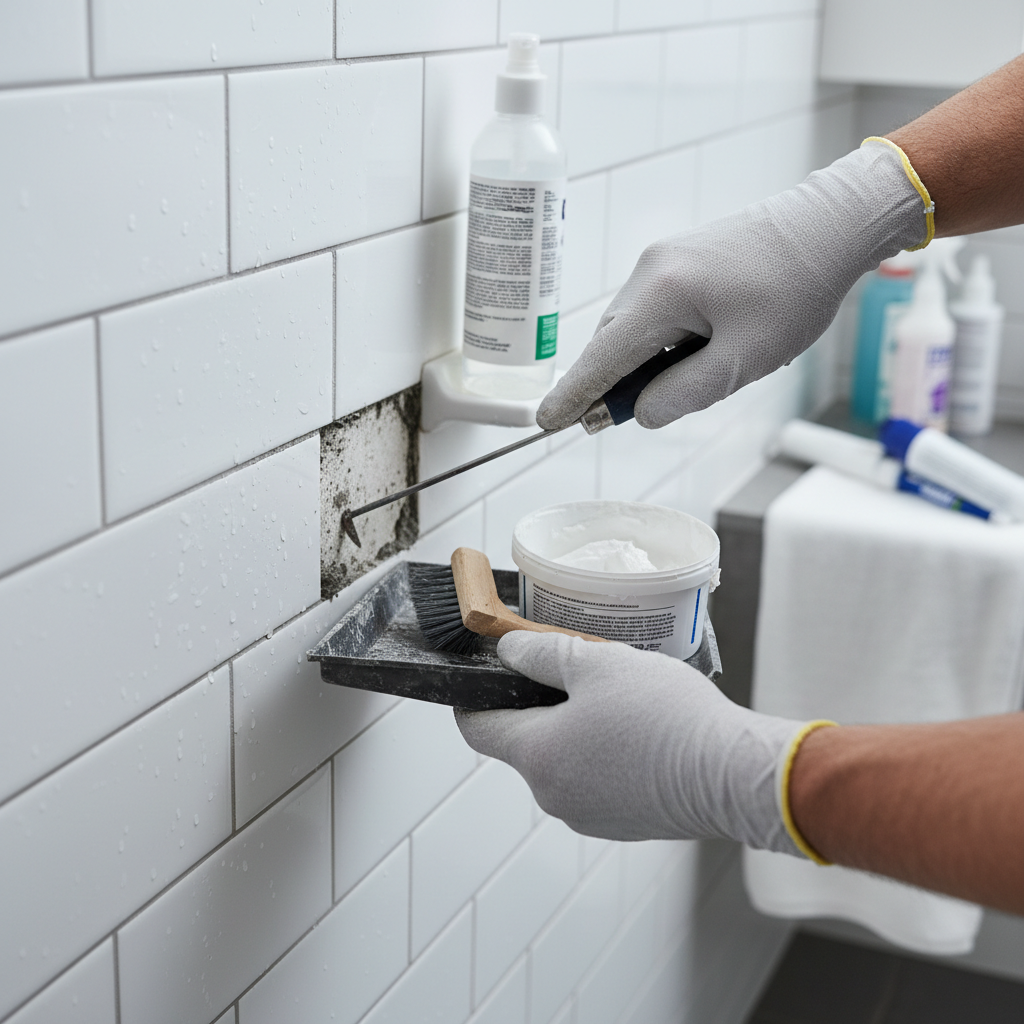
Determine if the discoloration is superficial or deeply embedded by attempting a light clean with a stiff nylon brush and mild cleaner.
Step 4
Identify areas with poor airflow or persistent dampness as potential mold hotspots.
Step 5
Assess the condition of the grout sealant; water beading indicates a good seal, while water absorption indicates a compromised seal.
DIY vs Professional Costs
| Repair Type | DIY Cost | Professional Cost | Time Required |
|---|---|---|---|
Surface Mold Cleaning | $10-25 | $200-400 | 1-2 hours |
Deep Cleaning & Sealing | $30-75 | $300-800 | 4-6 hours (w/ drying) |
Full Re-grouting | $100-300 | $500-1500+ | 2-3+ days |
When to Call a Professional Tile
- If mold covers a large area (more than 10 square feet) or is deeply embedded and resistant to DIY cleaning.
- If you suspect mold has spread beyond the surface grout into the tile backer board or wall structure, often indicated by a persistent musty smell.
- If you experience persistent respiratory issues or allergies in the bathroom, indicating significant mold presence.
- If the grout is crumbling, cracked, or severely deteriorated, requiring professional regrouting.
- If you've tried to clean it yourself and the mold returns quickly, indicating the roots are too deep for DIY methods.
Prevention Tips
- Ensure proper bathroom ventilation: Use an exhaust fan during and after showering for at least 30 minutes, or open a window.
- Wipe down shower walls and grout lines with a squeegee after each use to remove excess moisture.
- Regularly clean shower grout with a mild cleaner and brush (e.g., weekly or bi-weekly).
- Apply a high-quality penetrating grout sealer every 1-2 years, or as recommended by the product manufacturer, to create a barrier against moisture and mold.
- Address any leaks or plumbing issues promptly to prevent constant moisture exposure.
Frequently Asked Questions
Related Guides
Mold in Shower Grout (Troubleshooting & Fixes)
A veteran tile tech's guide to killing mold in your shower grout for good. Learn how to identify, clean, and prevent that nasty black stuff from coming back.
Hiring a Tile Guy: How to Not Get Ripped Off (Troubleshooting & Fixes)
Learn how to hire a qualified tile installer and avoid common pitfalls. This guide covers red flags, essential questions, credential verification, and detailed steps for securing a high-quality, lasting tile installation, preventing costly future repairs.
Cleaning Patio Tiles & Slabs: Ultimate Troubleshooting Guide for Moss, Algae & Stains
Revive your outdoor space with our comprehensive guide to cleaning patio tiles and slabs. Learn expert DIY methods for safely removing moss, algae, mold, grease, rust, and other stubborn stains. Includes material-specific advice, prevention tips, and when to call a professional for a pristine, safe patio.
Emergency Tile Repair: Quick Solutions for Cracked and Broken Tiles
Find quick solutions for cracked or broken tiles in your home. This guide helps you diagnose the damage, understand causes, and choose between DIY fixes or professional assistance for durable tile repairs.
Cracked Floor Tile (Troubleshooting & Fixes)
Comprehensive guide to troubleshooting and fixing cracked floor tiles (ceramic, porcelain, stone). Learn to diagnose causes, perform DIY epoxy repairs, and prevent future tile damage effectively. Expert advice for homeowners.
Grout haze is a dull, cloudy film or residue left on the surface of new tile after the grouting process has been completed and the grout has dried. It can obscure the true color and shine of the tile. Troubleshooting & Fixes (2024 Guide)
Got a cloudy film on your new tile? I'll tell you how to get rid of that annoying grout haze for good. A no-nonsense guide from a 25-year pro.
Need Professional Help?
Find top-rated tile experts in your area